volkswagen Workshop Repair Guides

Volkswagen Workshop Service and Repair Manuals

Removing and installing speaker damping > < Removing and installing rear door trim
Removing and installing door trim
Special tools and workshop equipment required
   
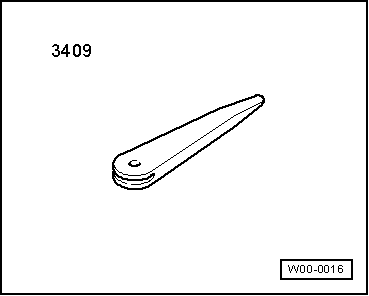
t  Removing wedge -3409-
  W00-0016
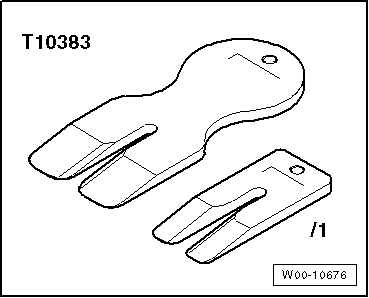
t  Wedges -T10383-
  W00-10676
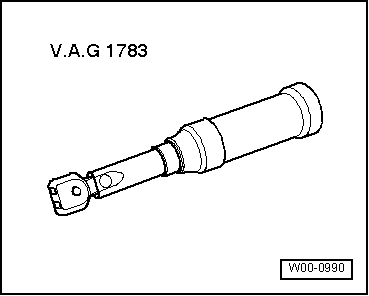
t  Torque wrench -V.A.G 1783-
  Note
Removal and installation are illustrated for the left vehicle side. The right side of the vehicle is analogous.
Removing
–  Switch off ignition.
  W00-0990
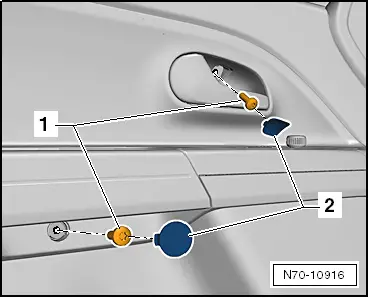
–  Unclip cover caps -2- and unscrew bolts -1- (4.5 Nm).
  N70-10916
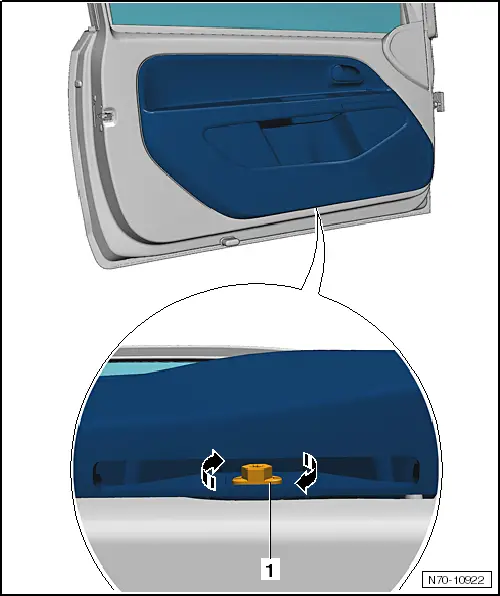
–  Release retaining clip -1- by turning through 90° -arrows-.

   
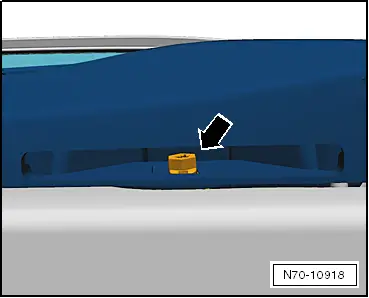
–  Retaining clip -1- is released.
  N70-10918
  Caution
When the door trim is separated, there is a risk that fastening elements may be damaged. To avoid this, always follow the specified order and positions of clips when removing the door trim.
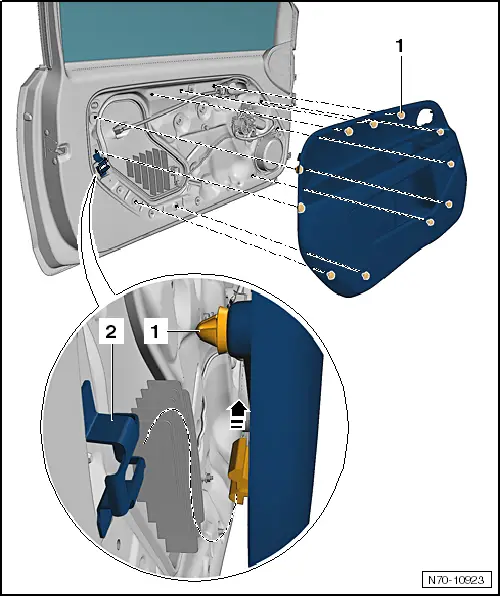
–  Release door trim from clip connections -1-. Use wedges -T10383- to do this.
–  Release door from retaining clip -2- by sliding in direction of travel -arrow-.

–  Remove door trim from door.
   
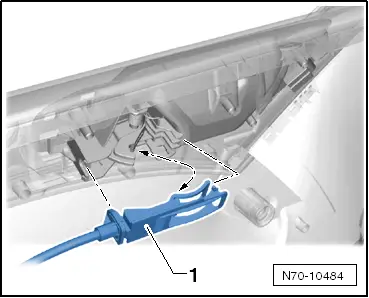
–  Unhook Bowden cable -1- from interior door handle on inside of door trim.
Installing
  Note
Before installing, check fasteners for damage and renew if necessary.
  N70-10484
  Caution
Before installing door trim, ensure that the locking mechanisms of all clips are in -position 1-.
It is not possible to install the door trim without problem if clips are in -position 2-!

–  Install in reverse order of removal.
  Note
t  When fitting the door trim, the first step is to engage the retaining lug in the retaining clip at the rear of the door trim.
t  Always fit cover for door trim screw attachment with slot facing upwards.
   

Removing and installing speaker damping > < Removing and installing rear door trim