
Vanagon F4-1915cc 1.9L (1984)
^
Remove bearing snap ring (13) with snap ring pliers (Mastercool tool No. 90903 or equivalent).
^
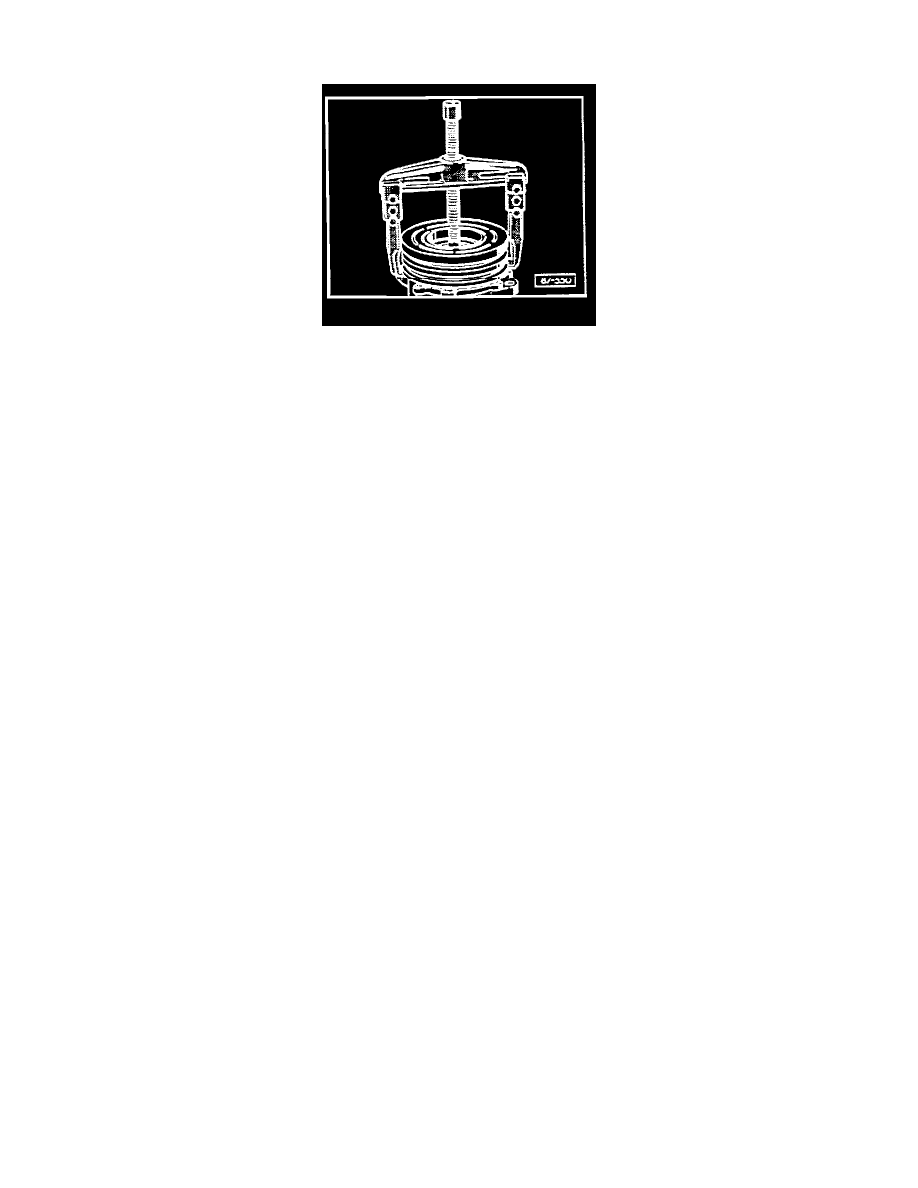
Remove rotor pulley (12) with puller US 1078.
^
Loosen field coil wire clamp (10) and connector holder, if equipped.
^
Remove field coil retainer snap ring (11) with snap ring pliers (Mastercool tool No. 90903 or equivalent).
^
Remove clutch field coil (9).
Clutch Installation
^
Install clutch field coil (9).
^
Field coil flange protrusion must match hole in front of compressor housing to prevent coil movement, and to correctly locate power leads for
attachment.
^
Install clutch field coil retainer snap ring (11) with snap ring pliers.
^
Attach field coil wire clamp (10) and connector holder, if equipped.
^
Support compressor on mounting tabs at base of compressor in bench vise.
^
Align pulley (12) on front housing hub squarely.
^
Install pulley, use YW 519. Make certain the outer edge of ring rests firmly on inner race of rotor bearing.
^
Tap with a small hammer on the end of VW 519 while guiding pulley (12) to prevent binding.
^
Tap VW 519 until pulley (12) bottoms out against compressor front housing hub.
^
Install snap ring (11) with snap ring - pliers (Mastercool tool No. 90903 or equivalent).
^
Install shims (14, 15, 16) removed earlier in procedure.
^
Install shaft key (17) with small hammer and screwdriver.
^
Install bearing dust cover, if equipped.
^
Align front plate keyway to compressor shaft key (17).
^
Install front clutch plate (18) onto compressor - shaft.