
Vanagon F4-1915cc 1.9L (1984)
^
Remove clutch front plate (18) with front plate puller (Mastercool tool No. 90902 or equivalent).
^
Remove bearing dust cover, if equipped with screwdriver.
Note:
Be careful to avoid distorting dust cover when removing.
^
Remove shaft key (17) by lightly tapping with slotted screwdriver and small hammer.
^
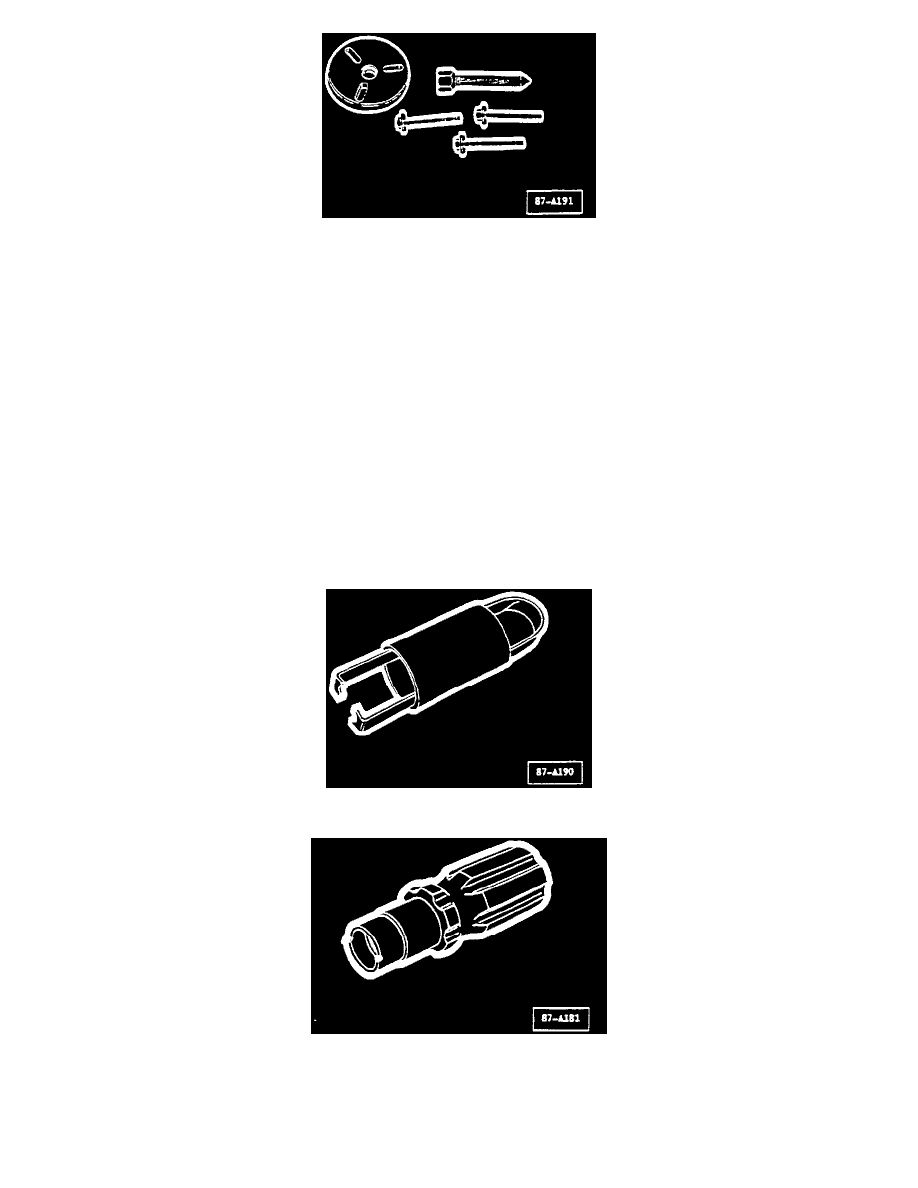
Remove all clutch shims (14, 15, 16) present on compressor shaft.
Compressor Shaft Seal Service
Note:
Shaft seal replacement must be performed on a clean, dry surface. Do not use old parts on the shaft seal assembly. Never touch the shaft seal with
your fingers. Oil from skin contact will cause seal deterioration. Always use the metal carrier to handle the seal assembly.
^
Remove felt ring (8) with small screwdriver or 0-ring hook.
^
Remove shaft seal retainer snap ring (7) with snap ring pliers (Mastercool tool No. 90903 or equivalent.)
^
On SD-508 compressors remove shaft seal seat (6) with seal seat remover tool (Mastercool tool No. 90414 or equivalent.)
^
On SD-709 compressors remove shaft seal seat (6) with seal seat remover tool (Mastercool tool No. 91139 or equivalent.)
Caution:
Do not scratch the O-Ring groove. Scratches will cause refrigerant leaks in the O-Ring area.