Vanagon F4-1915cc 1.9L (1984)

^
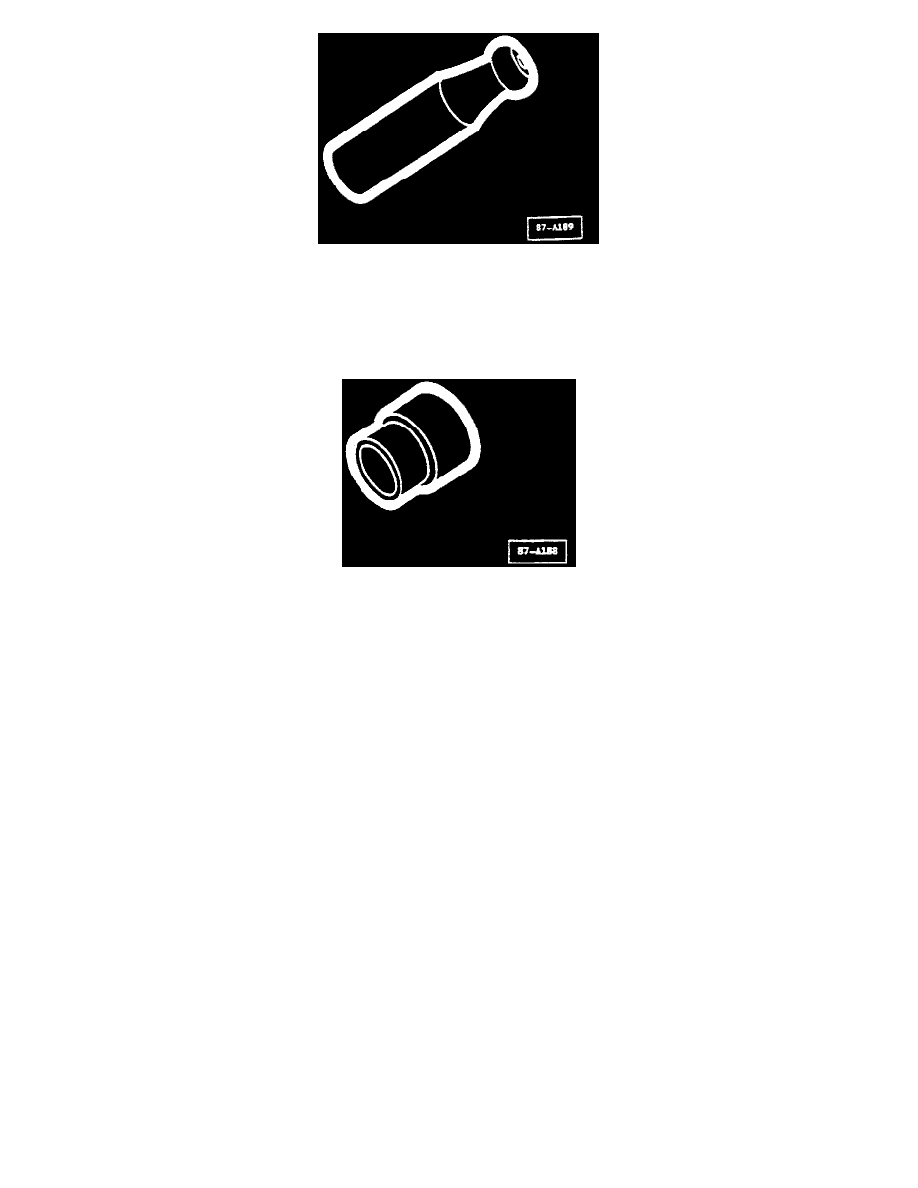
Install shaft seal sleeve protector over compressor shaft (Mastercool tool No. 90907 or equivalent)
^
Dip new shaft seal assembly (4) in clean, new refrigerant oil.
Caution:
Do not touch the sealing surfaces of the shaft seal. Skin oil will contaminate the seal and cause it to leak.
^
Engage seal remover/installer (Mastercool tool No. 90906 for Sanden SD-508 or Mastercool tool No. 91138 for Sanden SD-709, or equivalent tools)
into slots of shaft seal assembly (4).
^
Insert shaft seal (4) into compressor seal cavity firmly.
^
Twist installer tool in opposite direction to disengage tool from shaft seal.
^
Remove tool and shaft seal protector from compressor shaft.
^
Coat new 0-ring (5) with new clean refrigerant oil.
Caution:
Do not scratch the 0-ring groove. Scratches will cause refrigerant leaks in the seal area.
^
On SD-508 model compressors place 0-ring (5) into 0-ring groove in case using 0-ring hook.
^
On SD-709 model compressors install new 0-ring on new seal seat and coat with clean refrigerant oil.
^
Coat seal seat (6) with clean, new refrigerant oil.
^
Install seal seat (6) with installer/removal tool (Mastercool tool No. 90414 for SD-508 and Mastercool tool No. 91139 for SD-709 or equivalent
tools.)
^
Press lightly against seal seat (6) with tool to insure proper seating of seal seat.
^
Install snap ring (7) with snap ring pliers (Mastercool tool No. 90903 or equivalent.) Beveled edge lies outward (toward clutch) and flat side towards
compressor.
Note:
It may be necessary to lightly tap the snap ring to securely position it in the snap ring groove.
^
Dip new felt ring (8) into fresh, clean refrigerant oil and install on to compressor shaft.
