240 L4-2127cc 2.1L SOHC B21F (1982)

Brake Bleeding: Service and Repair
Bleeding With Bleeder Unit
Equipment: 998 5886-2 nipple, 998 5876-3 bleeder unit, 998 5884-7 adapter (front wheel) 11 mm, 998 5882-7 adapter (rear wheel) 8mm.
(It is not necessary to remove the wheels when bleeding the brake system.)
- Jack up the vehicle. Top-up the brake fluid reservoir to MAX.
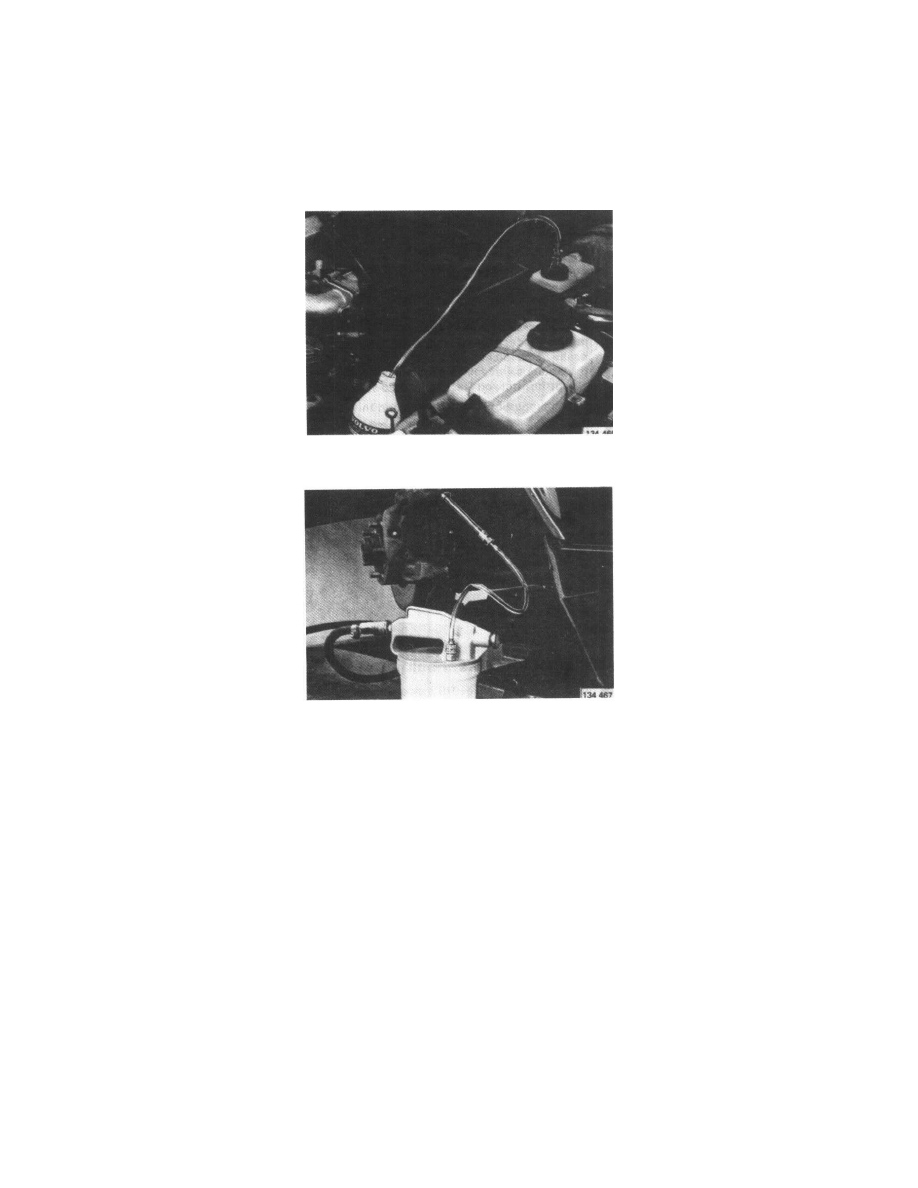
- Exchange the reservoir cap for a modified cap with a tube and nipple. Submerge the free end of the tube in a small quantity of new brake fluid.
- Starting at the front left-hand wheel, connect the adapter (P/N 998 5884-7) to one of the bleed screws and the bleeder unit. Connect an air hose to the
other side of the bleeder unit.
- When the unit has reached operating pressure unscrew the bleed screw and check to see if there are any air bubbles in the brake fluid. Re-tighten the
screw. Connect the unit to the other bleed screw and repeat the procedure.
- Repeat the above procedure in the following order:
‹› front right-hand wheel
‹› rear left-hand wheel
‹› rear right-hand wheel
Note! The adapter (998 5882-1) is intended for the rear wheels.
- Disconnect and remove all equipment.
- Check to see if there is any air remaining in the system by depressing the brake pedal, using approximately 20 kg (45 lb.) force. (This is equivalent to
a sudden, powerful braking). Note! The engine must be switched off.
- The pedal travel must not exceed 60 mm (2.4"), nor must the warning light flash or come on.
- The procedure must be repeated if air is found in the system.
- Do not forget to replace the rubber caps on the bleed screws.
- Lower the vehicle.
