
240 L4-2127cc 2.1L SOHC Turbo B21FT FI (1982)
7. Pull off the bearing on the output shaft.
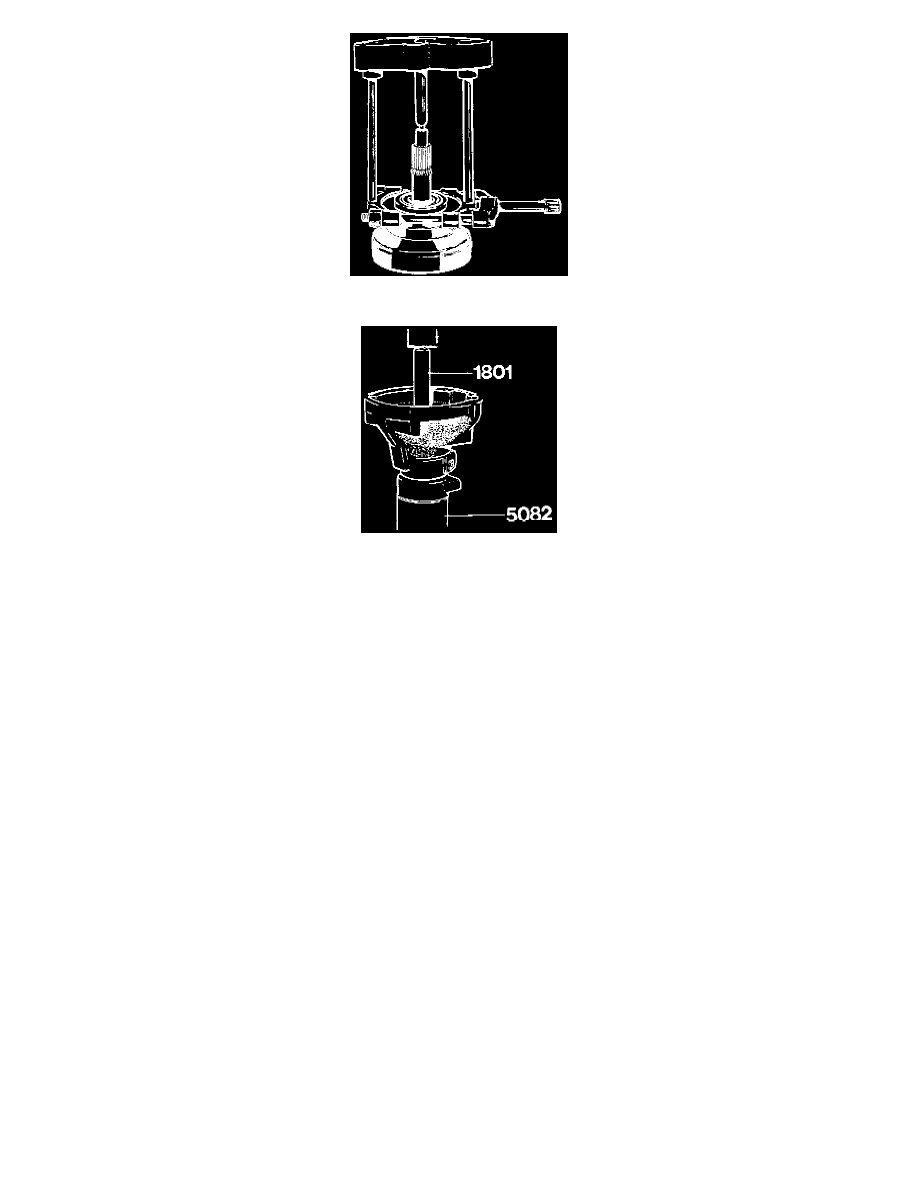
1801 Standard Handle
8. Use drift P/N 1797 and standard handle P/N 1801 when pressing out the bearing in the rear housing. Use sleeve P/N 5082 to support the housing.
Cleaning and Checking
-
Clean all parts with solvent and blow them dry with compressed air. Pay particular attention to filters and oil passages.
-
Make sure the orifice in the channel between the relief and control valve is open. If compressed air is not enough, use a pointed wooden stick.
Hard objects must not be used, since this can alter the bore of the channel.
-
Make sure the groove inside the ring gear on the output shaft is properly cleaned. Dirt easily collects there due to the centrifugal force.
-
After cleaning, check all parts carefully for wear, cracks or other damages.
-
Use a 12-Volt battery to check the solenoid. The current draw should be 1.5-2.0 Volts. Check valve movement when engaging/disengaging.
-
Make sure filter and strainer are not damaged. Check the hydraulic system pistons for wear and abrasion.
-
Check the valves for wear. Make sure the springs are not damaged.
-
Check all gears and ball bearings for wear.
-
If a planetary gear has to be replaced, the other two must also be replaced at the same time. Otherwise the planetary gear assembly may cause
noise.
-
For the same reason, both needle bearings for a planetary gear should be replaced at the same time.
-
Check the brake drum for scoring. cracks and wear.
-
Check the clutch disc linings for wear and heat deformations.
Assembling Overdrive
CAUTION: Use new gaskets, O-rings, lock plates and seals. Exercise utmost cleanliness. The hydraulic system is very sensitive to dirt.