
240 L6-2383cc 2.4L DSL SOHC D24 FI (1982)
2. Remove retainer P/N 5076 and torque screws to 10 Nm (7 ft lb).
3. Install gasket, spacer and oil strainer. Torque to 5 Nm (3.6 ft lb). Spacer not fitted to early type AW55 and BW55 with "shallow" oil pan.
4. AW70/71: Install two oil tubes. Carefully tap tubes into position with a plastic mallet.
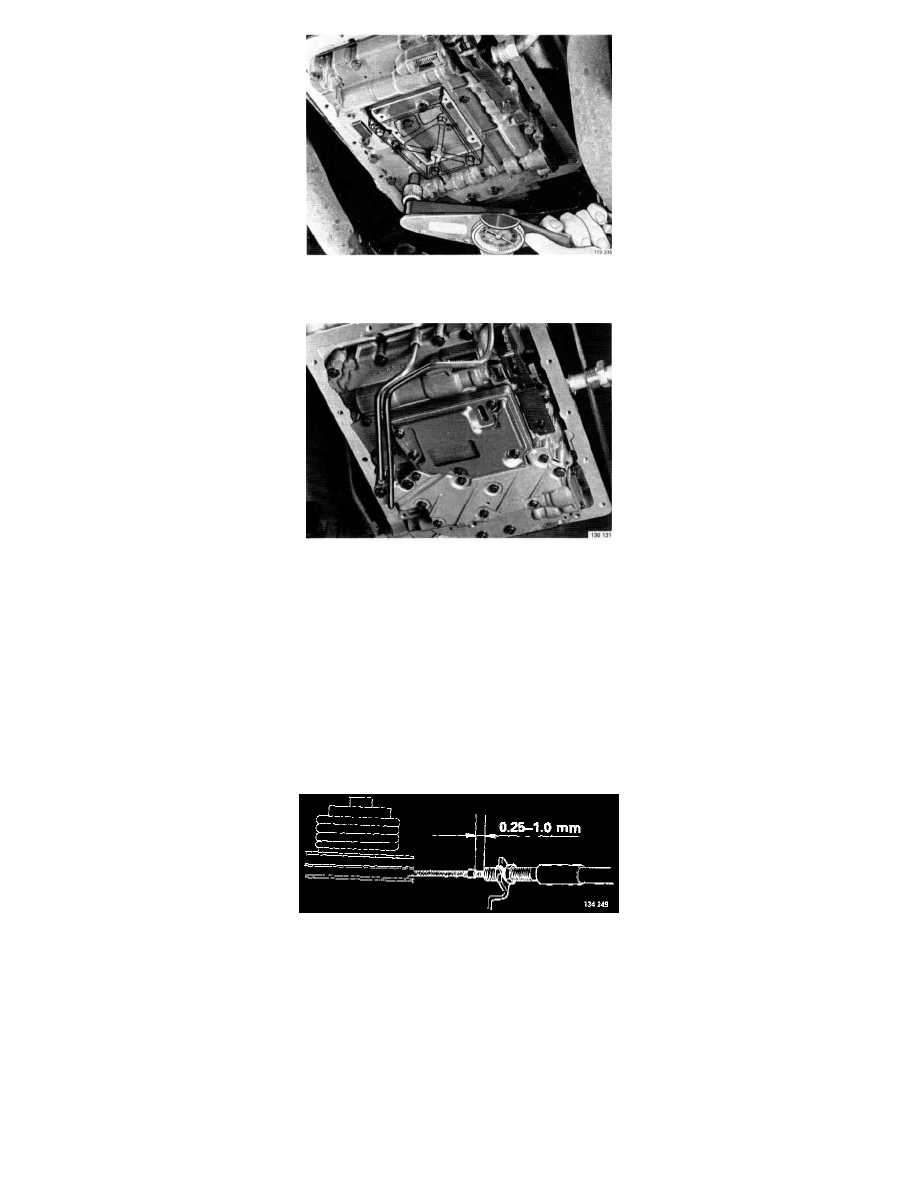
5. Clean and install magnet.
AW55/BW55: Install magnet in valve body assembly.
AW70/71: Place magnet beneath oil strainer in oil pan.
6. Install oil pan with new gasket. Gasket tightening torques:
AW55, grey - 4.5 Nm (3.3 ft lb)
BW55:
yellow - 8 Nm (6 ft lb)
blue - 10 Nm (7 ft lb)
AW70/71 - 5 Nm (4 ft lb)
NOTE: Blue type gaskets should be smeared prior to assembly.
7. Connect oil filler tube. Tightening torque 90 Nm (66 ft lb).
8. Re-connect kick-down cable to throttle pulley. Adjust cable sheath to obtain a 0.25-1.0 mm (0.01-0.04 in) gap between clip and sheath. Make sure
that throttle rod play does not exceed 0.5 mm (0.02 in).