
240 L6-2383cc 2.4L DSL SOHC D24 FI (1982)
-
Screw in the center screw until tight.
-
Screw in nut C until seat and cylinder come loose.
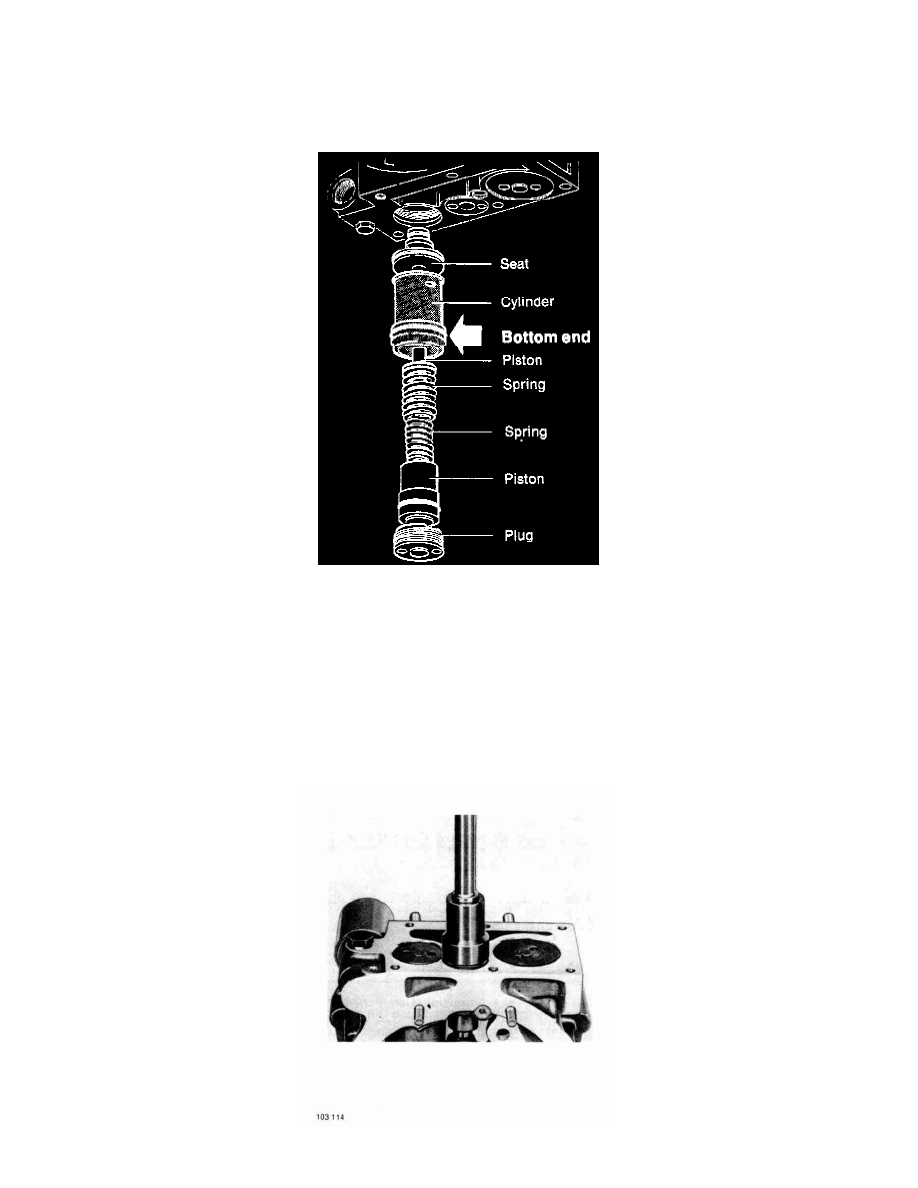
5. Clean all parts in solvent. Blow clean and dry with compressed air. Carefully check for wear and damage. Make sure the pistons run easily in the
cylinders. Replace defective parts.
6. Use compressed air to blow clean the control orifice prior to installation.
7. Install new O-rings on seat, cylinder and plug. Lubricate with oil.
8. Position the seat in the housing. Use the cylinder to press it into correct position.
NOTE: The cylinder O-ring end should be DOWN.
9. Fit the small piston and springs in the large piston. Insert the assembly in the cylinder. Make sure the small piston fits correctly in the seat.
10. Install the plug. Torque to 19-24 Nm (14-18 ft lb).
11. Make sure the magnet is cleaned. Use a new gasket and install strainer and oil pan. Fill oil to plug level.
NOTE: Make sure the relief valve cylinder is correctly assembled (see arrow).
Check Valve Checking/Replacing