
760 L4-2320cc 2.3L SOHC Turbo B23FT (1984)
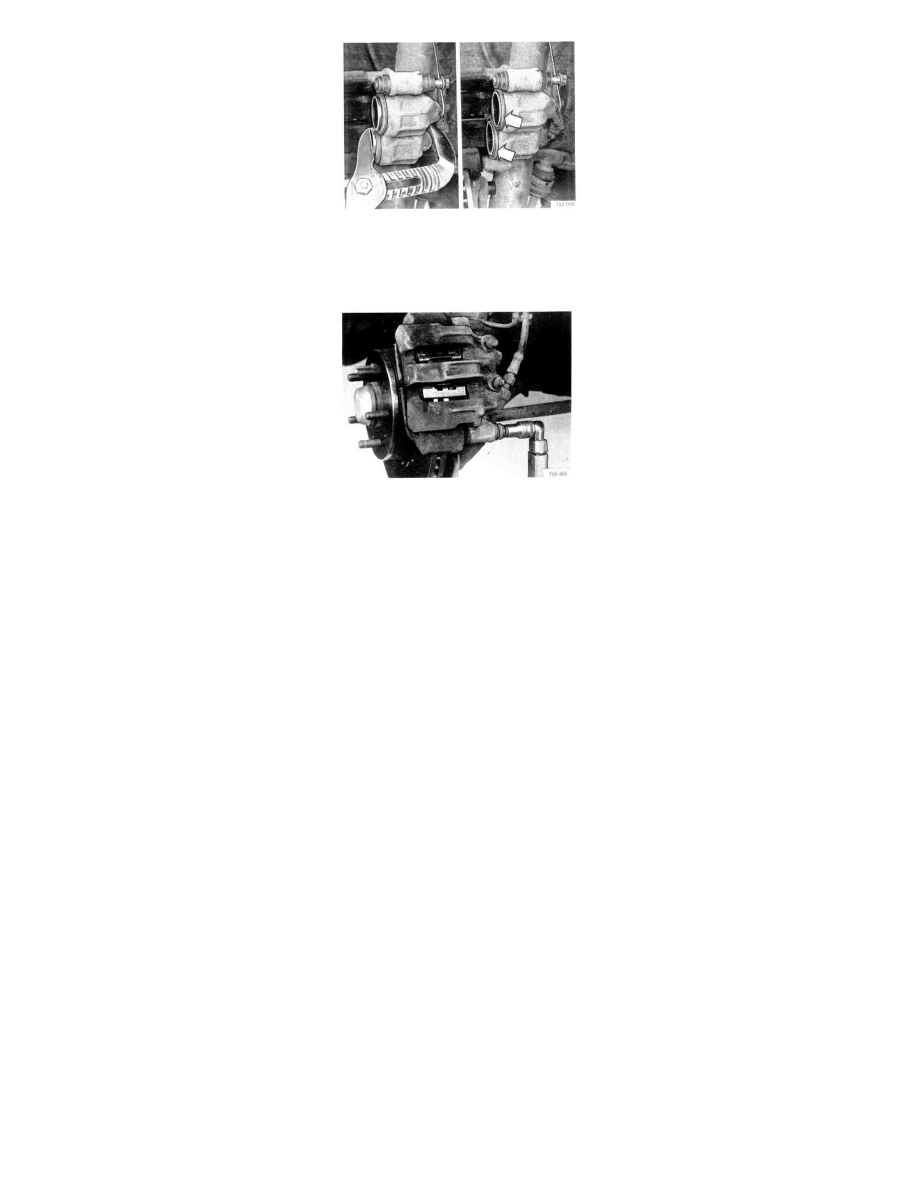
L14. Press back caliper pistons
Press back pistons slowly and carefully using universal pliers, taking care to avoid damage to dust seals. Ensure that seals are slightly inside piston
ends to prevent damage from pad backing plates when caliper is lowered into position.
L15. Install brake pads
Lubricate pad backing plates with thin coating (0.1 - 0.2 mm) of silicone grease, P/N 11 61 325-4.
Note: This applies only to Bendix (DBA) calipers. Pad backing plates on Girling calipers are provided with rubberized anti-squeal coating. Lower
caliper into position.
Install guide sleeve/pin retaining bolt. Use new bolt.
Tighten to 34 Nm (25 ft. lbs.).
Note: Take care when lowering caliper to avoid puncturing guide pin gaiter, otherwise sliding action may be impaired by entry of water.
Note: Correct torque is extremely important. If torque is too low, joint may work loose.
If torque is too high, guide sleeve may be deformed.
Operate brake pedal several times and check fluid level.
L16. Refit wheels as per markings
Finger-tighten nuts, then torque diagonally to 85 Nm (63 ft. lbs.).
Test drive car.
Recommend customer to limit hard braking whenever possible during first 500 miles after repair in order to allow the brakes to bed in properly.
Front Brake Disc, Replacement
Cars from 1988 on
Special tool: 999 5418
M1. Jack up and support car. Remove wheel