
760 L6-2383cc 2.4L DSL Turbo D24T (1983)
2. Apply ATF oil to the new O-rings. Install solenoid. Use crow-foot wrench and torque wrench. Torque to 50 Nm (36 ft lb).
3. Check the oil level.
4. Check the operation of the solenoid valve.
Relief Valve Checking/Replacing
1. Remove transmission crossmember assembly. Use the lift to support transmission.
2. Remove oil pan and filter. Use a vessel to collect the oil.
WARNING: The oil can be very HOT if the car was recently driven. There is danger of scalding.
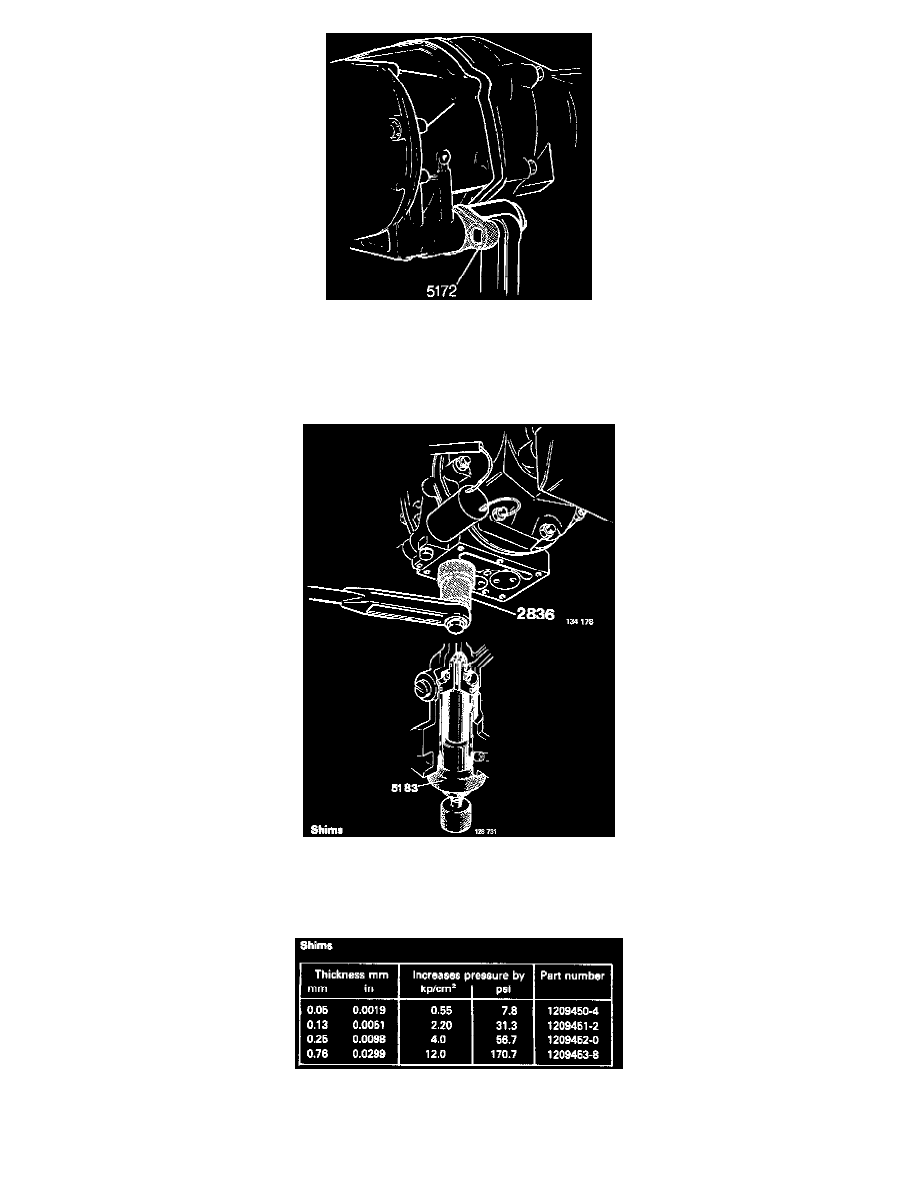
3. Remove relief valve. Use wrench P/N 2836 to remove plug. Pull out relief valve parts. Note the shims for pressure adjustment. Use puller P/N
5183 to pull cylinder and valve seat.
4. Clean relief valve assembly. Use white spirit or parts cleaner to clean all parts. Use low pressure compressed air to blow dry. Carefully check all