
760 V6-2849cc 2.8L SOHC B28F (1983)
WARNING: The oil can be very HOT if the car was recently driven. There is danger of scalding.
3. Use wrench P/N 2836 to remove plug. Remove gasket and pressure filter.
4. Use white spirit or parts cleaner to clean all parts. Use low pressure compressed air to dry.
5. Install pressure filter, a new gasket and the plug. Torque plug to 20 Nm (15 ft lb).
6. Install oil filter and pan with a new gasket. Make sure the magnet is clean and correctly installed in the oil pan.
7. Fill with oil.
Cleaning Control Orifice
1. Remove the relief valve cylinder sleeve to gain access to the control orifice.
2. Use low pressure compressed air to blow the orifice clean.
NOTE: The solenoid should be removed prior to applying pressure to the control orifice.
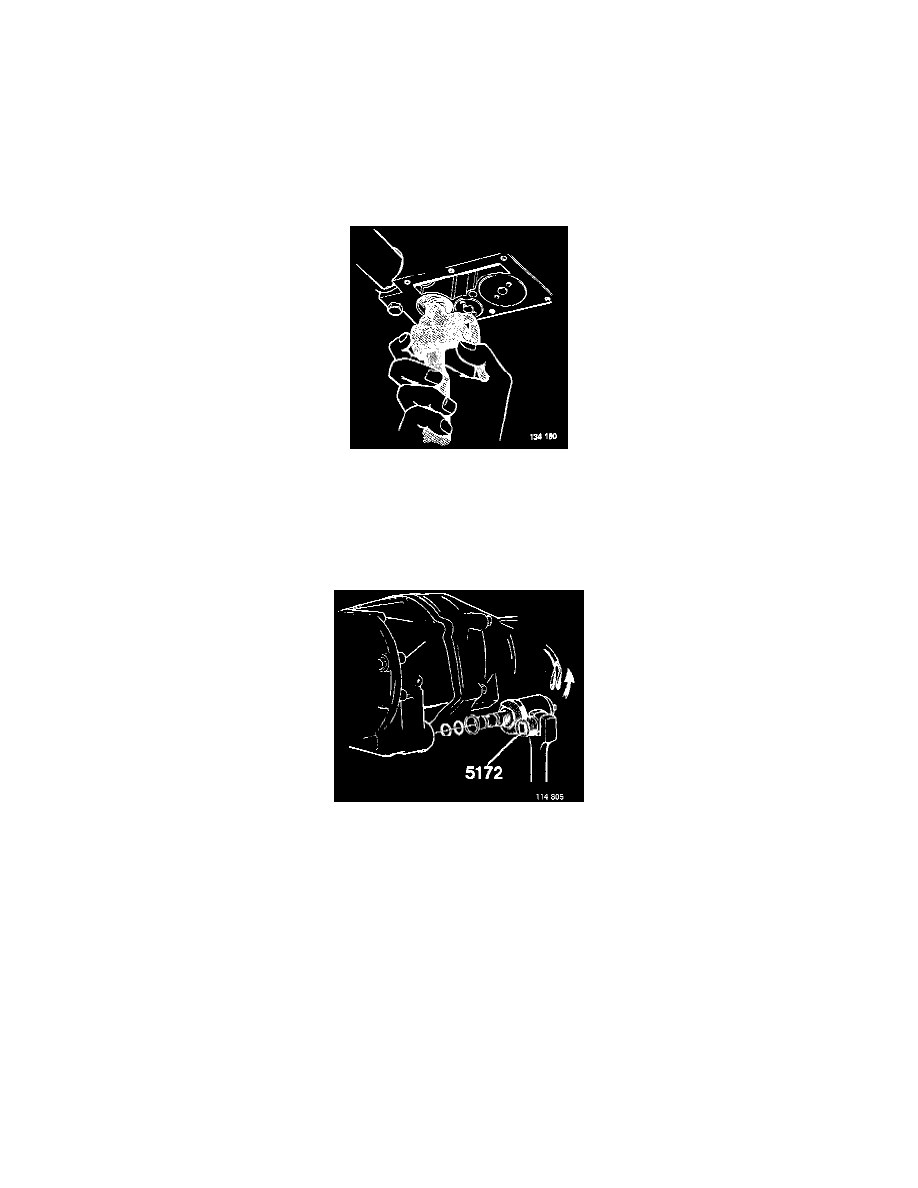
Solenoid Replacement
NOTE: The solenoid unit consists of a solenoid and a valve, integrated into one unit. If replacement is necessary, the complete unit must be replaced.
Use 25 mm (1 in) crowfoot wrench (Volvo tool P/N 5172) for removing and installing.
1. Disconnect wires at connectors. Attach crow-foot wrench. Use extension and wrench as appropriate. Remove solenoid.