
850 T-5R L5-2.3L Turbo VIN 58 B5234T5 (1995)
Brake Master Cylinder: Service and Repair
NOTE: If master cylinder is damaged, it must be replaced complete with the brake fluid reservoir. Do not open the master cylinder under any
circumstances. Reassembling it calls for special equipment and facilities.
Removal [LJ1]
-
Ignition off.
-
Remove battery negative lead
-
Remove connector from brake fluid level sensor.
-
Put rags under master cylinder to prevent brake fluid spilling on painted surfaces.
-
Clean around pipe connectors to cylinder
[LJ2]
-
Remove brake pipe and master cylinder nuts.
-
Remove the two hoses from brake fluid reservoir. If car has a hydraulic clutch, there are three hoses to be removed.
[LJ3]
-
Hang up hoses to prevent fluid running out and dirt getting in.
-
Plug hole in fluid reservoir to prevent fluid spilling.
NOTE: If master cylinder is damaged, it must be replaced complete with brake fluid reservoir. Master cylinder must not be opened under any
circumstances. Reassembling it requires special equipment and facilities.
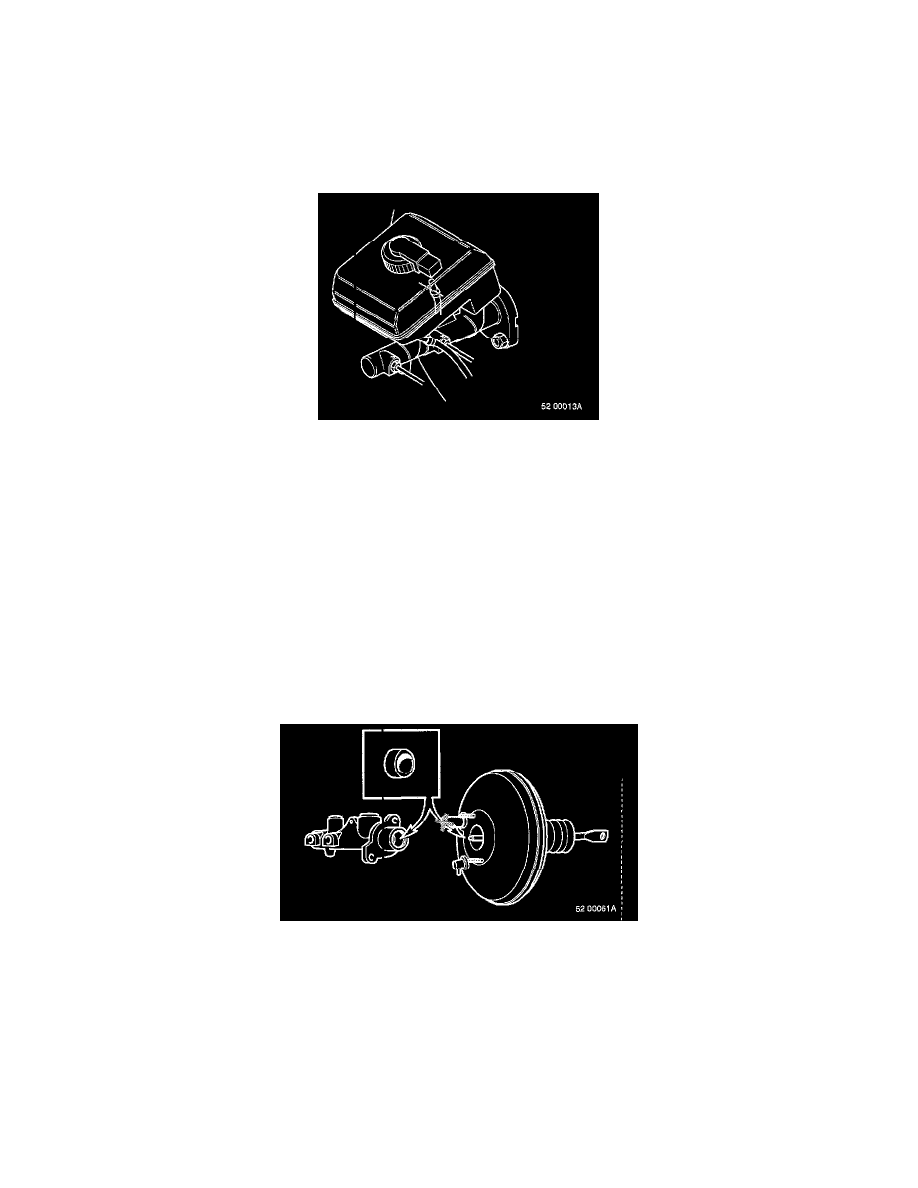
Remove master cylinder along with brake fluid reservoir.
NOTE! Check car's chassis number. USA/Canada, 4-door up to chassis no.60654 USA/Canada, 5-door up to chassis no. 258 Europe, 4-door up to
chassis no.76400 Europe, 5-door up to chassis no. 2800 In cars with lower chassis numbers than above, the pushrod seat in the brake master
cylinder may come out with the end of the pushrod when separating power brake booster and master cylinder. Do not replace seat in master
cylinder. If seat has come out of the master cylinder, install new master cylinder.
When installing new master cylinder check that the seat from the old master cylinder is not still on the end of the pushrod.
Installing [LJ4]