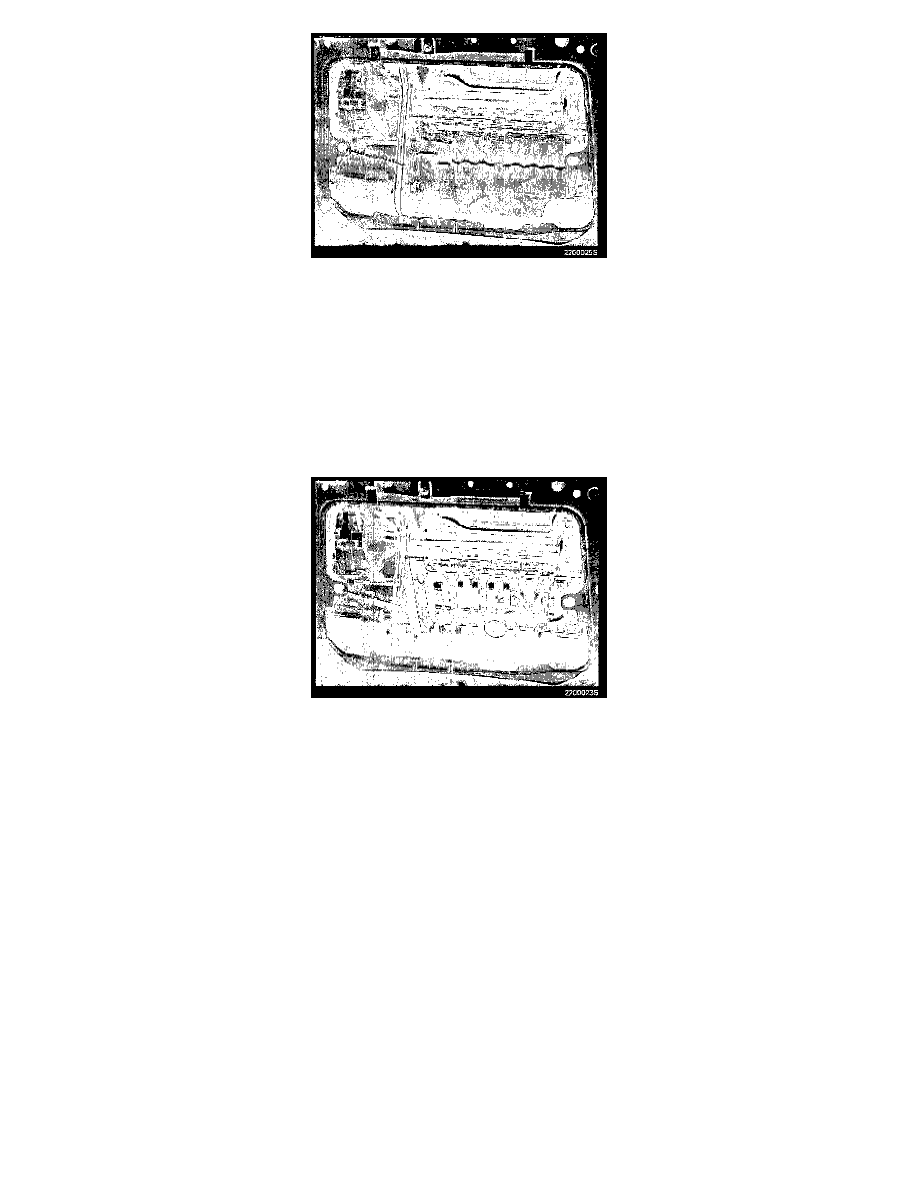
850 T-5R L5-2.3L Turbo VIN 58 B5234T5 (1995)

Carefully move the pipes to one side so they are to the left of the division between the engine and the transmission. Use tie straps or similar to hold in
place.
If there is an oil thermostat, detach the cover with the oil line (the screws can be reached by bending the fender liner in the wheelhousing to one side).
Remove all the oil pan screws except for one at each corner.
Use a suitable tool at the marked points to pry apart the joint so the liquid gasket releases. Remove the remaining screws, work the oil pan sideways, and
down to the left.
CLEANING
Wipe off oil and remove any gasket residue from the bottom engine surfaces using gasket solvent P/N 1161440-1. Scrape with a plastic scraper if
necessary. Discard O-rings and install new rings
(NOTE: there are two types of O-ring).
If reinstalling the same oil pan, clean off using the same method. In addition, wash the pan in degreasing solvent and hot water internally and externally.
INSTALLATION OF OIL PAN.
Apply liquid gasket P/N 1161059-9 using a short-bristle roller P/N 9511205 on the oil pan.
Install oil pan, guiding the dipstick tube into its hole at the same time Use several of the screws to attach the oil pan loosely in place.
Install all the screws but do not tighten.
