
850 T-5R L5-2.3L Turbo VIN 58 B5234T5 (1995)
Automatic Transmission Dipstick - Dipstick Tube: Technical Service Bulletins
A/T Dipstick Tube - Added Plastic Strip
GROUP
37
NO.
108
DATE
9/93
Plastic strip on transmission dipstick 850 1993--> Automatic Transmission
REFERENCE: TP 31833/2 (ENGLISH); 10/92; AW 50-42 AUTOMATIC TRANSMISSION
PLASTIC STRIP ON TRANSMISSION DIPSTICK
All automatic transmission vehicles are now equipped with a plastic strip on the automatic transmission dipstick tube bracket. This modification was
introduced on production models from Chassis No. 088346.
The engine wiring harness is encased in a plastic conduit (packard tube), located to the right of the dipstick tube bracket. The conduit protects the wiring.
If the following conditions occur:
- loss of engine performance
- reduced A/C performance
- dash instruments erratic
- cruise control inoperative
First check the conduit at the bracket. To protect the conduit, install the plastic strip as described below.
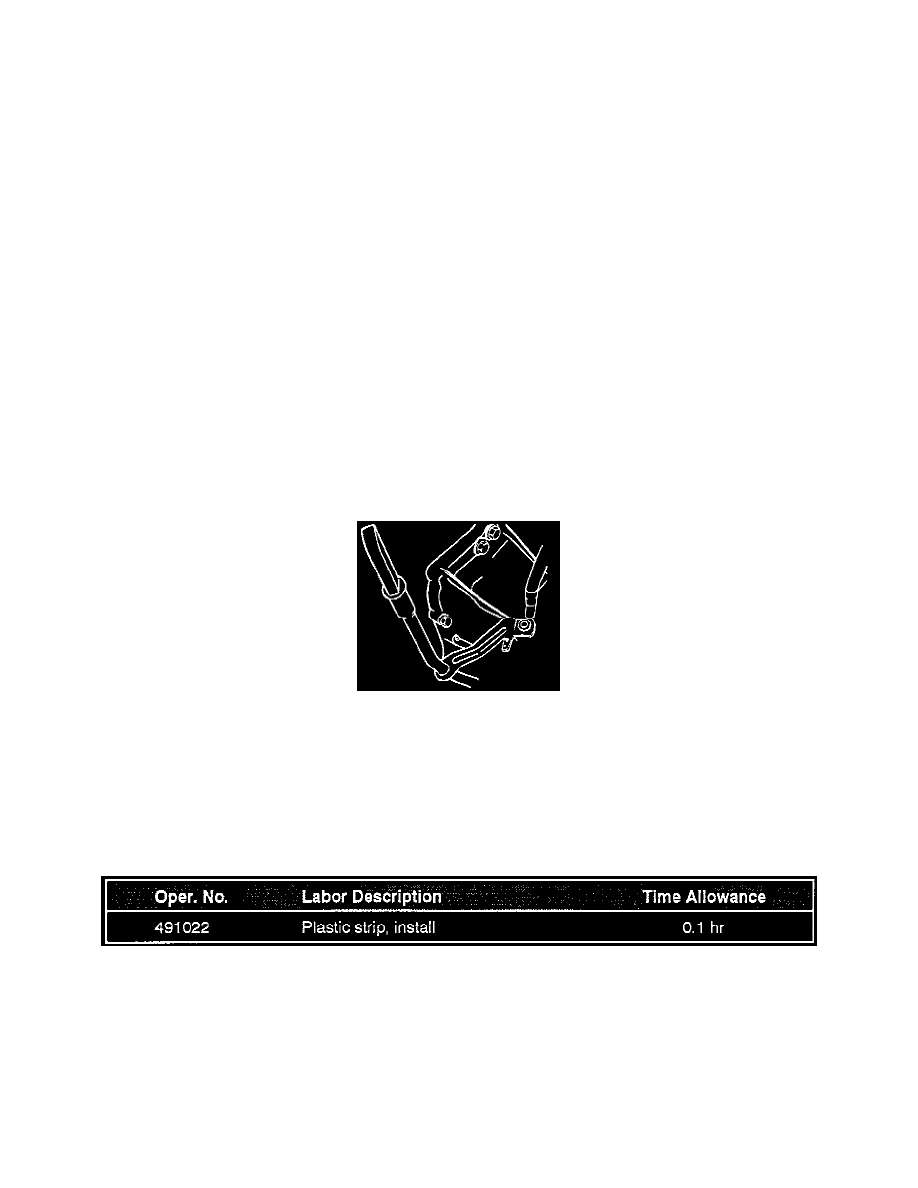
Installing plastic strip
Remove air inlet duct.
Push the conduit away from the bracket and install a 75 mm piece of plastic strip, p/n 679754-2, on the edge of the bracket facing the battery.
Reinstall the air inlet duct making sure it is properly installed in both ends.
WARRANTY STATEMENT: Claims may be submitted during the New Car Limited Warranty when a manufacturing defect is present using claim type:
01.