
940 L4-2320cc 2.3L SOHC Turbo VIN 86 B230FT (1994)
-
Remove the microswitch.
Installing a new microswitch
-
Take a new microswitch from the service kit.
-
Crimp the stripped wire into the moisture proof butt connector on the new microswitch. Use crimping tool *951 2656-1 or 999 9324-8.*
-
Protecting the gear selector mounting heat the butt connector with a hot air gun to moisture proof it.
See Service Manual Section 3(37) Wiring repairs and replacement of cable terminal 850, 900, section KC.
-
Install the new microswitch on the pin in the gear selector mounting.
-
Install a new locking clip on the pin.
-
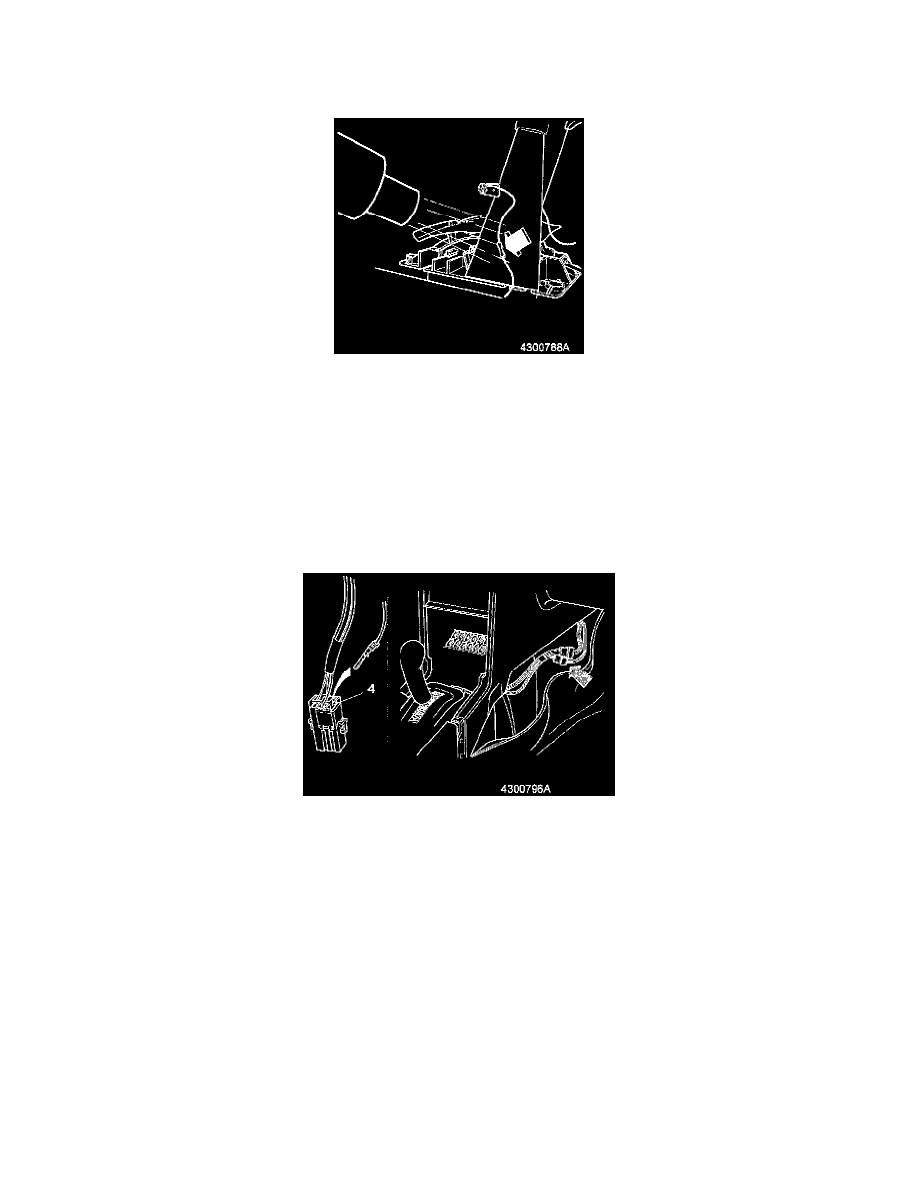
Route the black wire from the microswitch along the existing wire harness to the 4-pin connector.
-
Connect wire to position 4.
-
Connect connector to the car's wire harness at the right side panel (940) or left side panel (960).
-
Tape the new wire to the wire harness where the wire harness was previously taped.
960 models:
In the 960 the black wire will be too long.
-
Loop the excess on the existing wire harness and tape.
Finishing work, 960
-
Reinstall parts in reverse order.
-
Verify function.