C30 T5 L5-2.5L Turbo VIN 67 B5254T7 (2008)

Caution! The snap ring can easily come off. Wear protective goggles!
Wipe clean at the bearing position in the connecting rod and the cap.
Install the bearing shells and center them in the bearing position.
Caution! If previously used bearing shells are used, they must be placed as before. Ensure that they are correctly positioned in relation to the
direction of rotation of the crankshaft.
Installation
Installing pistons in cylinder bores
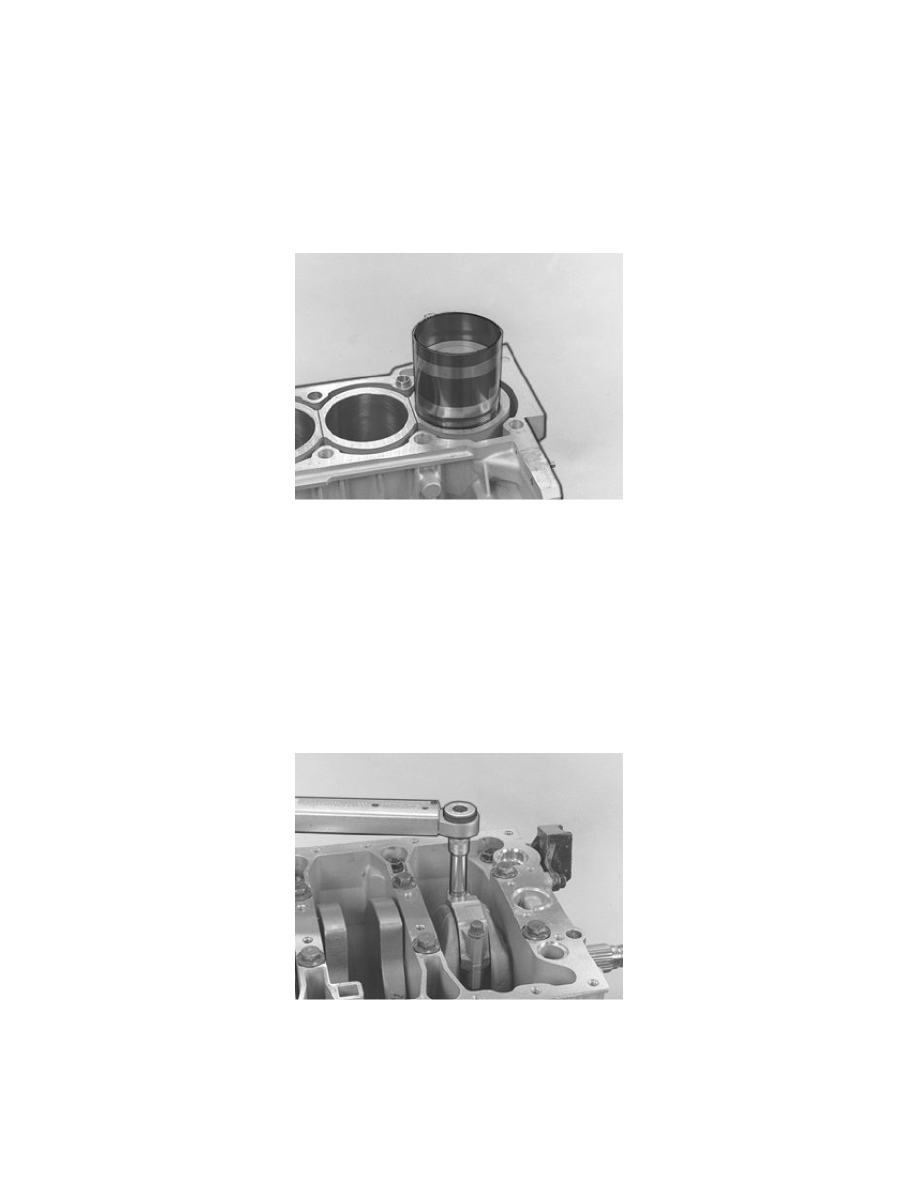
Use piston ring compressor.
Lube the cylinder bores, pistons and bearing shells with oil.
Turn the crankshaft so that the crank pin is in lower dead center for the cylinder that the piston is to be installed in.
Make sure that the engine is suspended in such a way that the cylinder bores are as vertical as possible.
Note! The piston's arrow (on top of the piston) shall point forward. Make sure that the classification matches.
Carefully press/tap down the piston (e.g., with the handle of a hammer).
When the piston has released the piston ring compressor, turn the engine 180° in the stand.
Install: 999 5746 Holder See: Tools and Equipment/999 5746 Holder in the connecting rod.
Tighten the connecting rod until it is fixated against the big-end bearing journal.
Tightening connecting rod's cap
Install the cap. Check that the marking, if any, matches.
Lube new screws with oil and install them. Tighten according to: Tightening torque. See: Specifications/Mechanical Specifications/Tightening Torque
in two steps:
Check that the connecting rod can be moved slightly sideways.
Note! The crankshaft must not be rotated before the connecting rod cover has been tightened.
