
C30 T5 L5-2.5L Turbo VIN 67 B5254T7 (2008)
Front Crankshaft Seal: Service and Repair
Crankshaft front seal
Replacing the front crankshaft seal
To replace the front crankshaft seal, see: Oil pump.
Oil pump
Special tools:
999 5304 SEPARATOR See: Tools and Equipment/999 5304 Separator
999 5919 PULLER See: Tools and Equipment/999 5919 Puller
999 5455 PUNCH See: Tools and Equipment/999 5455 Punch
999 5747 Socket See: Tools and Equipment/999 5747 Socket
Note! The illustrations in this service information are used for different model years and/or models. Some variation may occur. However, the
essential information in the illustrations is always correct.
Preparatory work
Removing the timing belt
Remove the cam belt as shown:
Removal
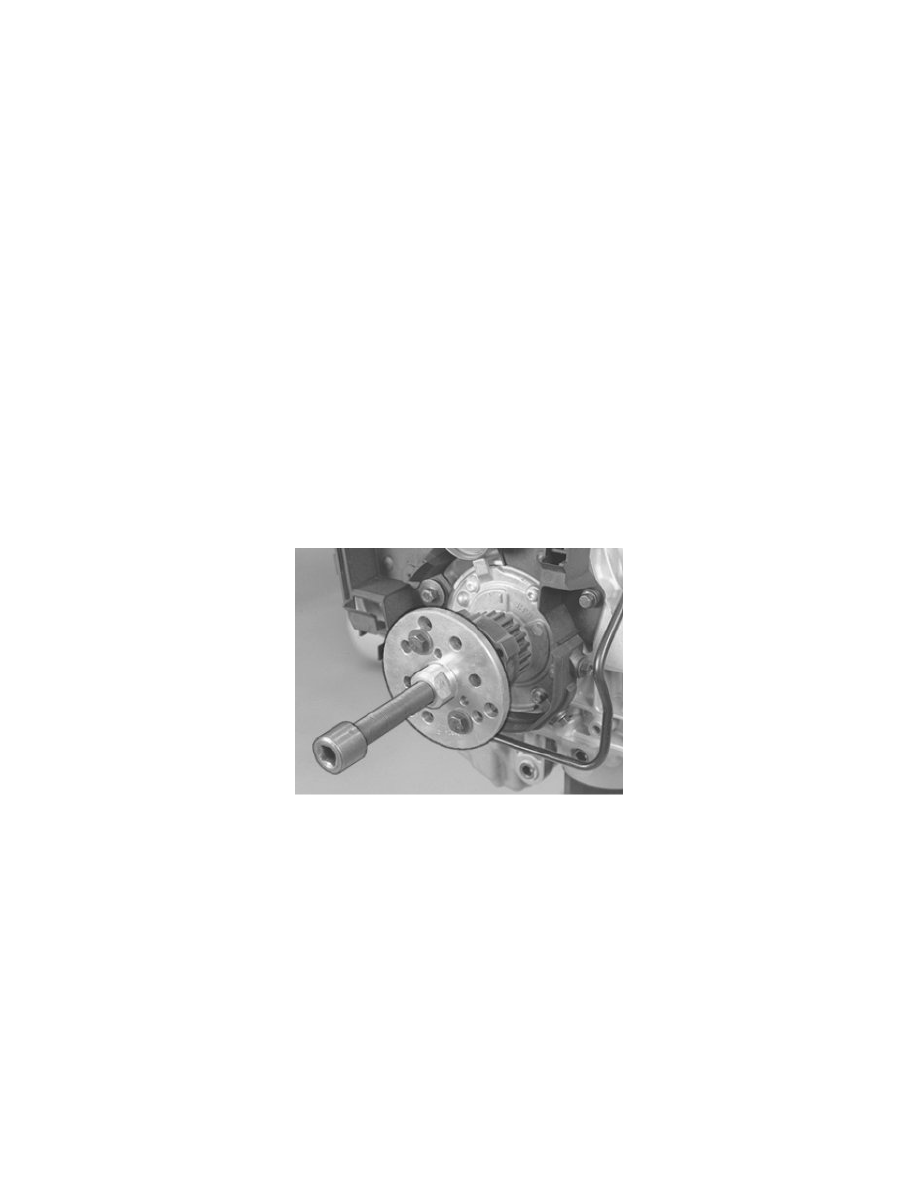
Removing the crankshaft pulley
Caution! The crankshaft must not rotate.
Use: 999 5304 SEPARATOR See: Tools and Equipment/999 5304 Separator. And the 2 pcs. M8 screws, with washers. Pull off the timing gear pulley.
Replacing the front crankshaft seal
Remove the old seal using a grooving chisel or 999 5919 PULLER See: Tools and Equipment/999 5919 Puller.
Installation
Note! For tightening torques, see Specifications. See: Specifications/Mechanical Specifications/Tightening Torque
Cleaning
Note! When cleaning work around the shaft journal, not in and out. It is essential that any residue from the emery cloth and any other
contaminants are completely removed before the new seal ring is installed.
To clean the shaft journal and mating surface, use emery cloth P/N 951 1024.
Installing the crankshaft seal