
C30 T5 L5-2.5L Turbo VIN 67 B5254T7 (2008)
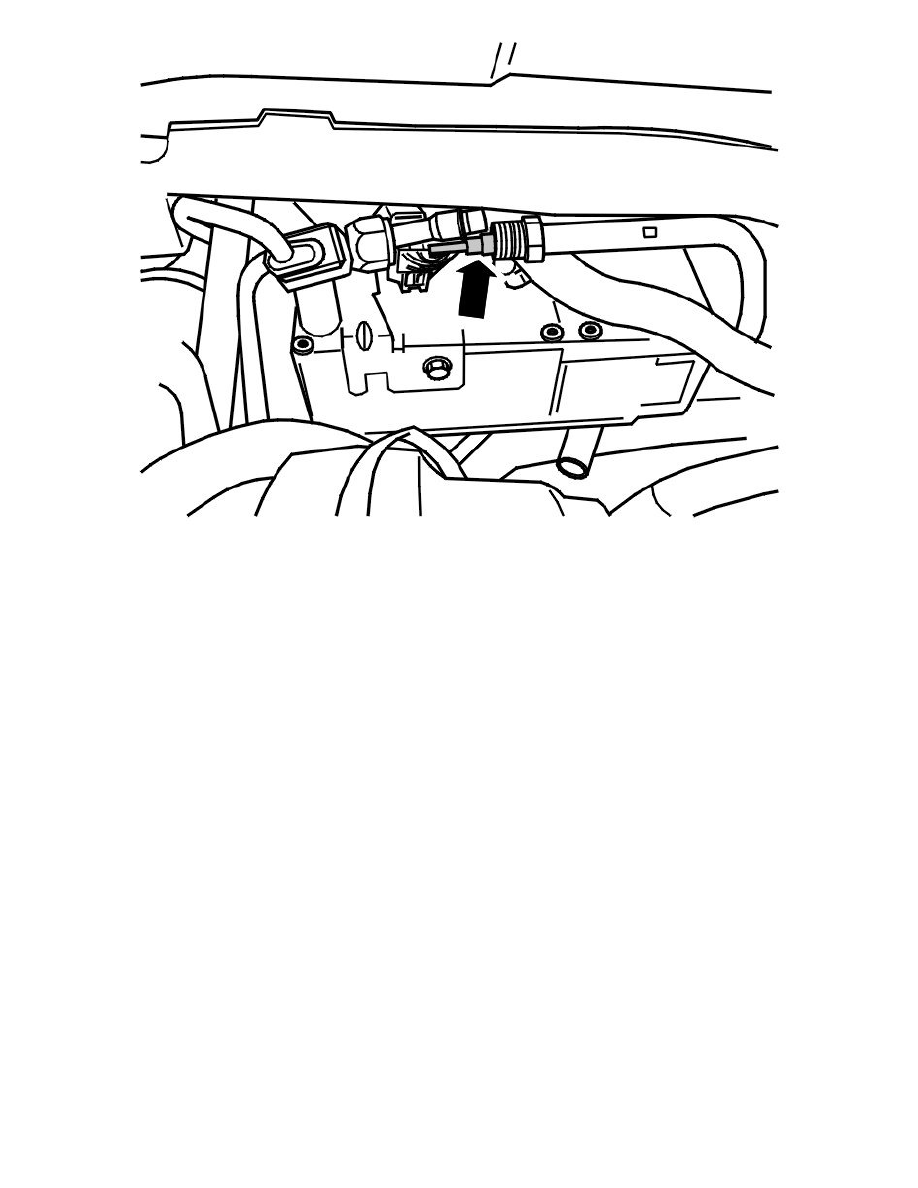
Remove the cap nut for the expansion valve. See the illustration.
Installing the pipe between the expansion valve and the evaporator
Note! For tightening torques, see: Specifications See: Body and Frame/Specifications.
Install:
-
the mounting block in the grooves on the pipe
-
the plastic clip holding the mounting block
-
the M8 screw securing the air conditioning (A/C) pipes to the evaporator
-
the cap nut for the expansion valve.
Press in the hose into the mounting below the right-hand suspension turret.
Carry out finishing work. See: Checking the function and leak tracing.
Finishing work (the same for all methods)
Installing components
Install:
-
the coolant reservoir
-
the power steering fluid reservoir
-
the ground strip on the connection at the right-hand suspension turret
-
the 2 switches for the air conditioning (A/C) system pressure sensor on the air conditioning (A/C) pipes / hoses
-
the front bumper cover. See: Cover bumper front. .
Checking the function and leak tracing
Vacuum pump the air conditioning (A/C) system. See: Vacuum pumping See: Service and Repair/Vacuum Pumping.
Fill the air conditioning (A/C) system with refrigerant. See: Refrigerant, filling See: Service and Repair/Refrigerant, Filling.
Leak trace the air conditioning (A/C) system. See: Leak detection, tracer agent See: Testing and Inspection/Component Tests and General
Diagnostics/Leak Detection, Tracer Agent or: Leak tracing, electronic leak tracer See: Testing and Inspection/Component Tests and General
Diagnostics/Leak Tracing, Electronic Leak Tracer.