
C30 T5 L5-2.5L Turbo VIN 67 B5254T7 (2008)
Install the counterhold for the clutch's automatic adjustment, see Installing counterhold.
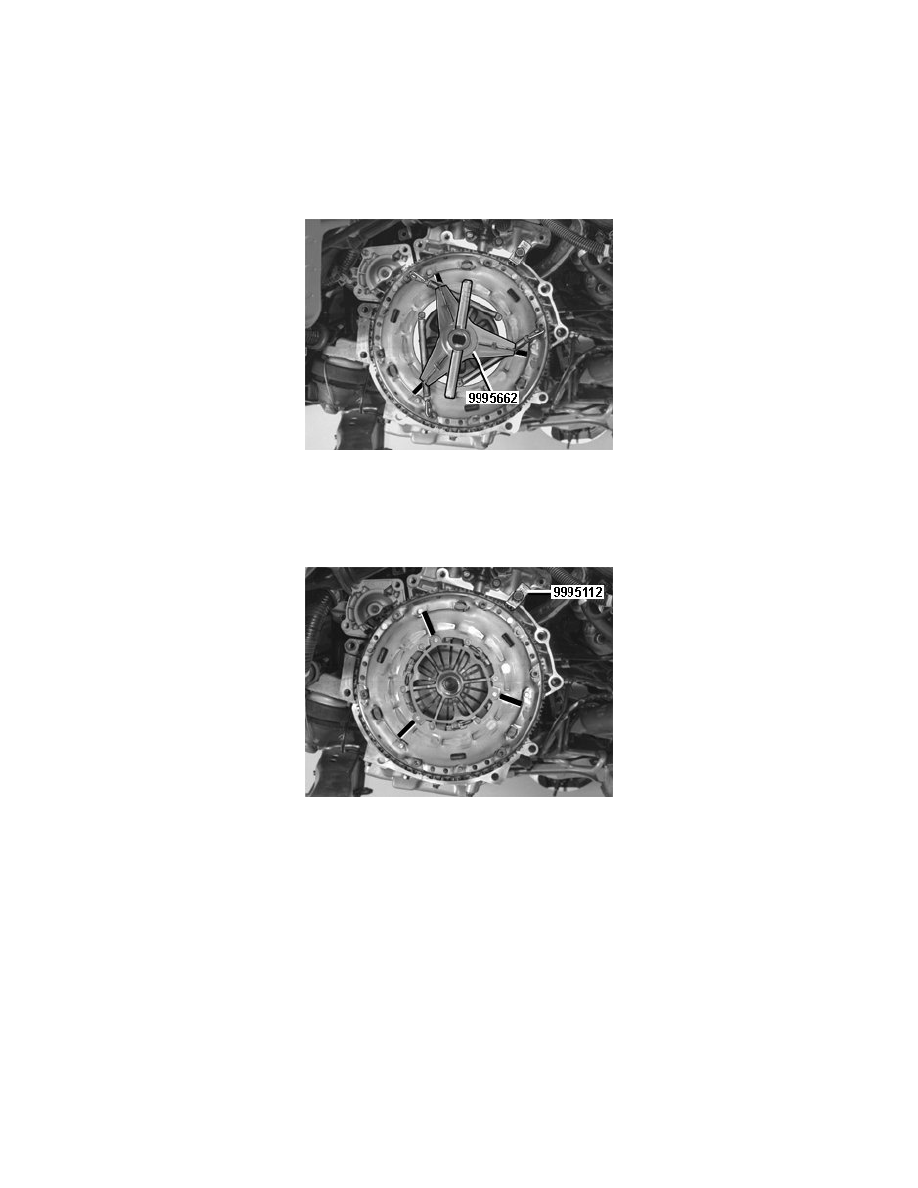
Install the compression tool on the clutch, see Installing compression tool.
Tighten the compression tool until the sun spring has pressed the clutch's pressure plate to free position. A loud click is heard when the clutch's pressure
plate "snaps out.
The clutch is now ready for installation with the compression tool and counterhold in position.
Installing the clutch
Note! For tightening torques, see: Specifications, M56, MMT6, MPS6, M66, MTX75, IB5, AW55-50/51SN See: Manual
Transmission/Transaxle/Specifications/Mechanical Specifications
Install and align the clutch against the guide pins on the flywheel.
Check that the clutch is in contact with the flywheel all around its circumference.
Install and tighten the 6 x M8 screws crosswise.
Removing tools
Loosen the screw on the compression tool and remove it.
Note! Keep fingers away from the three clutch rivets when removing the compression tool. There is a risk of compression damage.
Remove the hooks. Remove the counterhold.
Remove the cone from the centering tool.
Loosen the nut and then tap lightly with a plastic mallet on the centering drift so that its expander releases. Use a plastic mallet so that the threads are not
damaged. Remove the centering drift.
Remove the flywheel gear sector. Check the flywheel.
To install the transmission, see: Transmission, installing. See: Manual Transmission/Transaxle/Service and Repair/Removal and
Replacement/Transmission, Installing