
S40 L5-2.4L VIN 38 B5244S4 (2004)
Install the two previously used flywheel/drive flange screws in the crankshaft's trailing edge.
Turn the crankshaft so that the piston for cylinder 1 ends up in lower dead center (LDC).
Check that the markings on the cap and connecting rods are there and see which way the marking is facing (exhaust-/intake side). Note this.
Mark, as needed, with center punch or digit punch, see: Crank mechanism, assembling See: Crank Mechanism, Assembling.
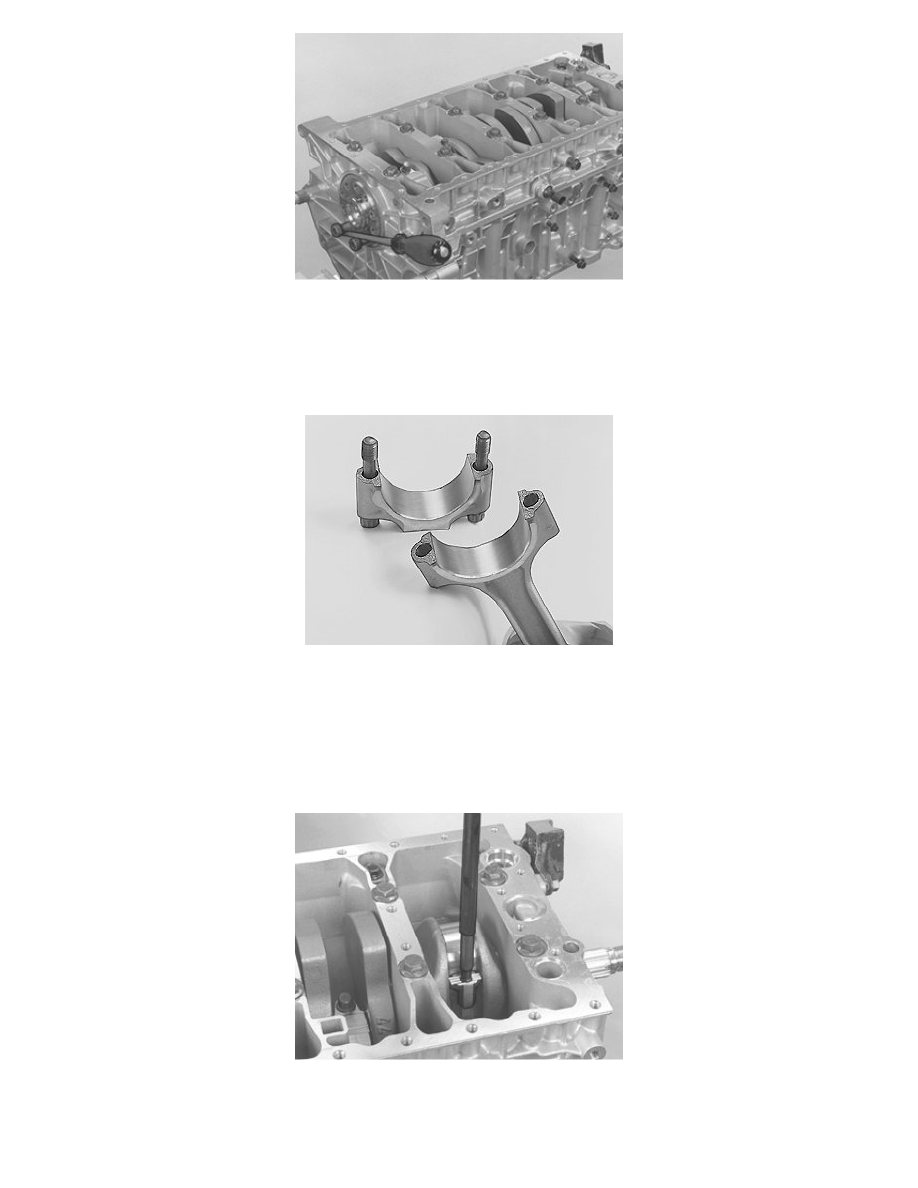
Contact face on connecting rod
The contact face between the cap and connecting rod is not machined. The fit takes place using a clean fracture surface.
Caution! If the cap is turned the wrong way and tightened, the structure of the fracture surface will be damaged and the connecting rod must
then be discarded.
Note! Clean the fracture surfaces with compressed air before installing caps.
Removing pistons from engine block
Caution! Make sure that the bearing halves are not mixed up. Pay attention to the position of the bearing halves position with regards to the
crankshaft's rotational direction.
Remove the screws for the big-end cap.