
S60 L5-2.4L VIN 64 B5244S6 (2003)
Fluid - A/T: Procedures
Oil Grade, Checking
Oil grade, checking
Check the fluid
Warning! Use rubber gloves when carrying out this procedure as it is easy to spill the fluid.
Note! Use only transmission fluid according to specifications.
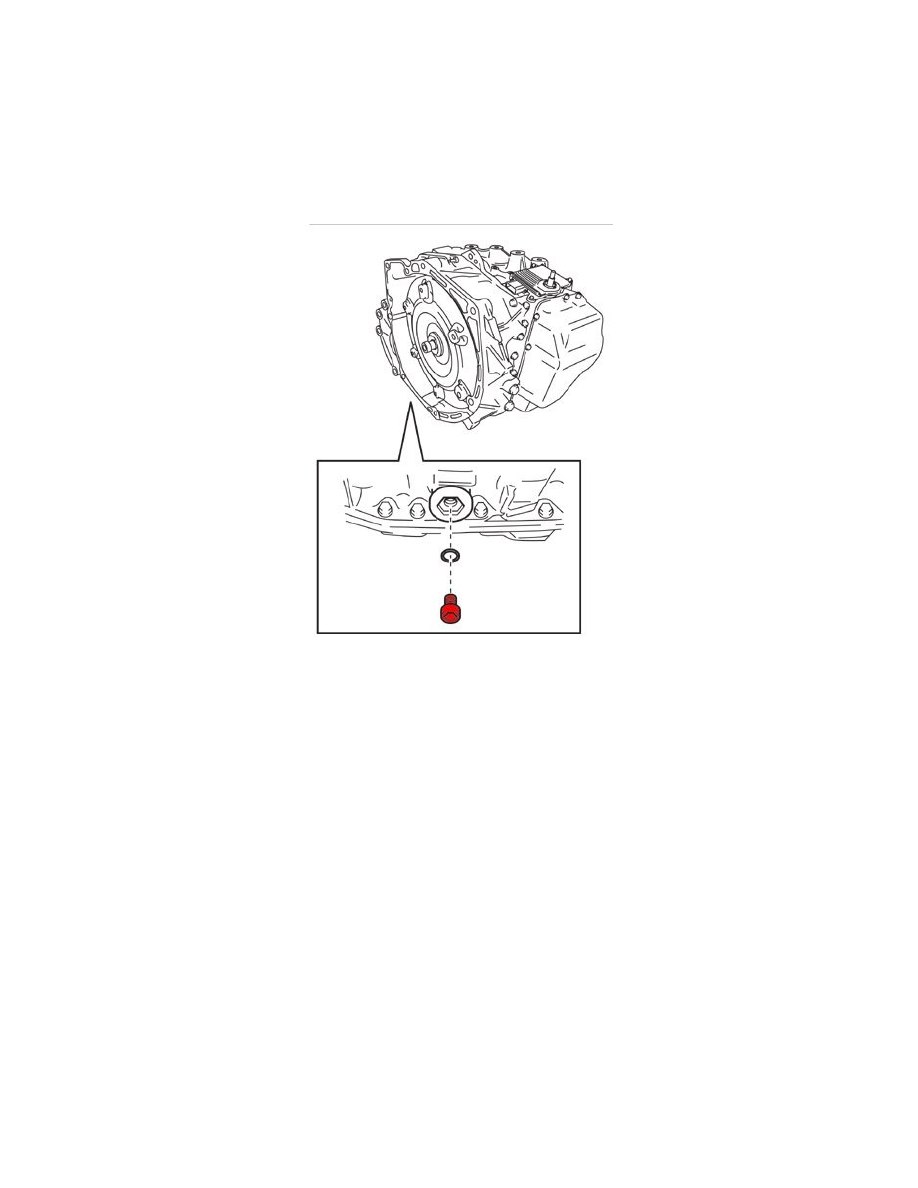
Check the fluid by draining off a small amount. Remove the integrated oil level plug quickly (Torx 40).
Fit the integrated oil level plug (Torx 40) by hand. Reuse the old O-ring.
Note! Use a clean measuring glass so the colour of the fluid can be seen.
Is the fluid level low?
-
Perform a basic fluid level check according to Oil level, checking See: Transmission and Drivetrain/Automatic Transmission/Transaxle/Service
and Repair/Procedures/Transmission Oil Level - Checking to remove a small amount of fluid.
Is the fluid discoloured or smell burnt?
-
Check if diagnostic trouble code (DTC) P089709 has been generated in the transmission control module (TCM).
-
When changing fluid, see Transmission fluid, replacing See: Transmission and Drivetrain/Automatic Transmission/Transaxle/Service and
Repair/Removal and Replacement/Transmission Fluid, Replacing.
Is there water in the fluid (fluid grey in colour)?
-
Find out the cause of the water in the fluid.
-
Replace the transmission. See: Transmission and Drivetrain/Automatic Transmission/Transaxle/Service and Repair/Removal and
Replacement/Transmission, Removing
Note! Always replace the radiator and the additional oil cooler (where applicable) if there are signs of water in the gearbox fluid.
Flush clean the oil cooler, pipes and oil hoses
Warning! Avoid skin contact with the transmission fluid.