
S60 L5-2.4L VIN 64 B5244S6 (2003)
Checking female socket terminals and male pin terminals
Greasing female terminals
Inspect terminals visually
NOTE: When checking the engine control module (ECM), do not remove the control module from the car before the main relay has interrupted the
power supply. This may take up to 4 minutes after the ignition has been switched off and the engine cooling fan (FC) has stopped running.
Inspect the terminals visually when checking, or taking readings from, opened connectors.
Repair wiring and cable terminals as required, using appropriate procedures.
Checks:
-
Check for oxidation. This can cause poor connections in the terminals
-
Check for damage to pins and terminals. Check that they are properly inserted into the connector. Check that the cable is properly connected to the
pin or terminal. Check pins and terminals particularly carefully
-
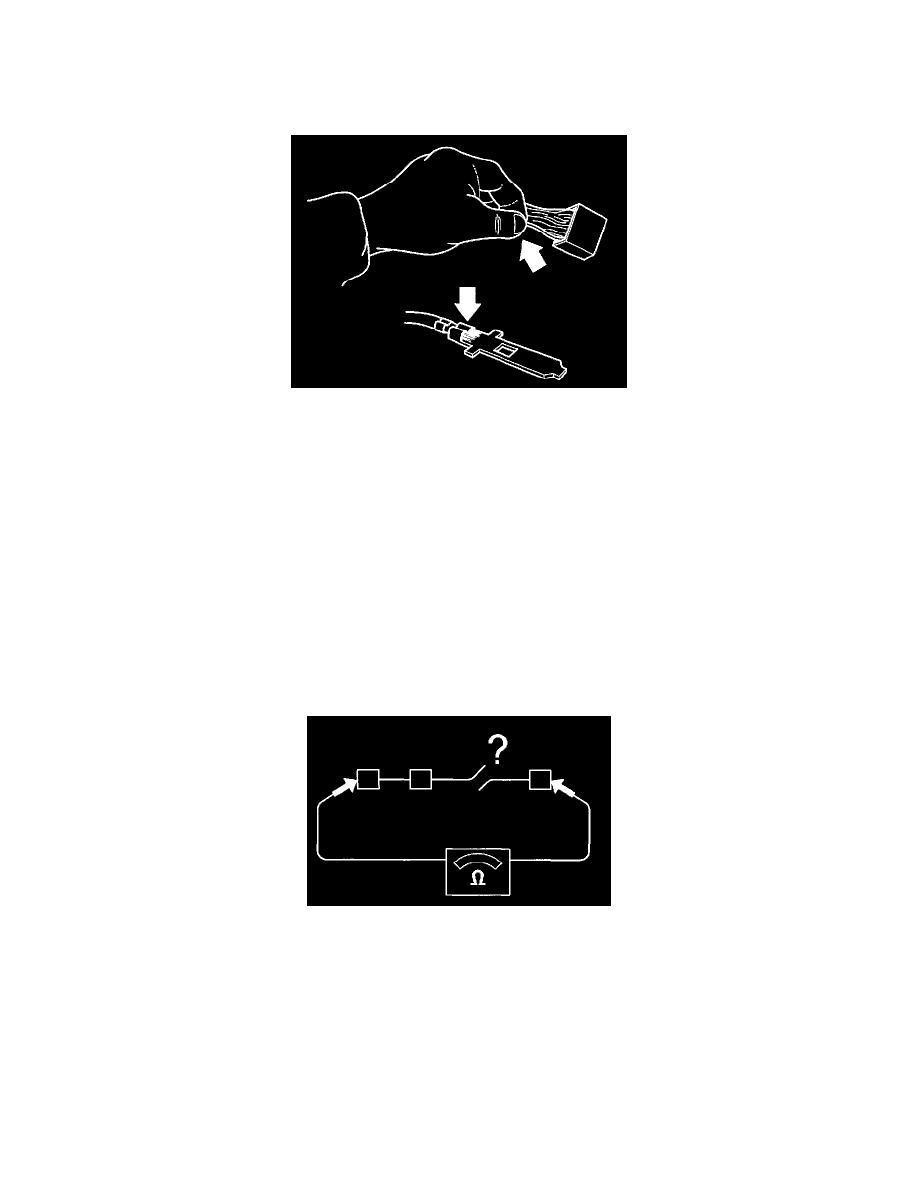
Using a loose male connector, test to see if the female connector provides a good contact and that the pin remains in place when the male
connector is pulled lightly
-
Shake the cable lightly and pull on connectors during measurement to locate damage.
Open-Circuit, Intermittent Faults
Open-circuit, Intermittent faults
An open-circuit in a cable will be indicated by the loss of a function (or functions).
Chafed and broken leads are common causes of faults.
Repair wiring and cable terminals as required, using appropriate procedures.
Checks:
-
Disconnect the connectors at both ends of the cable.
Check the cables visually according to "Inspect Terminals Visually".
Connect an ohmmeter between the ends of the cable. The ohmmeter should read approximately 0 [ohm] if there is no open-circuit in the cable.
Shake the cable lightly and pull on connectors during measurement to locate the damage.