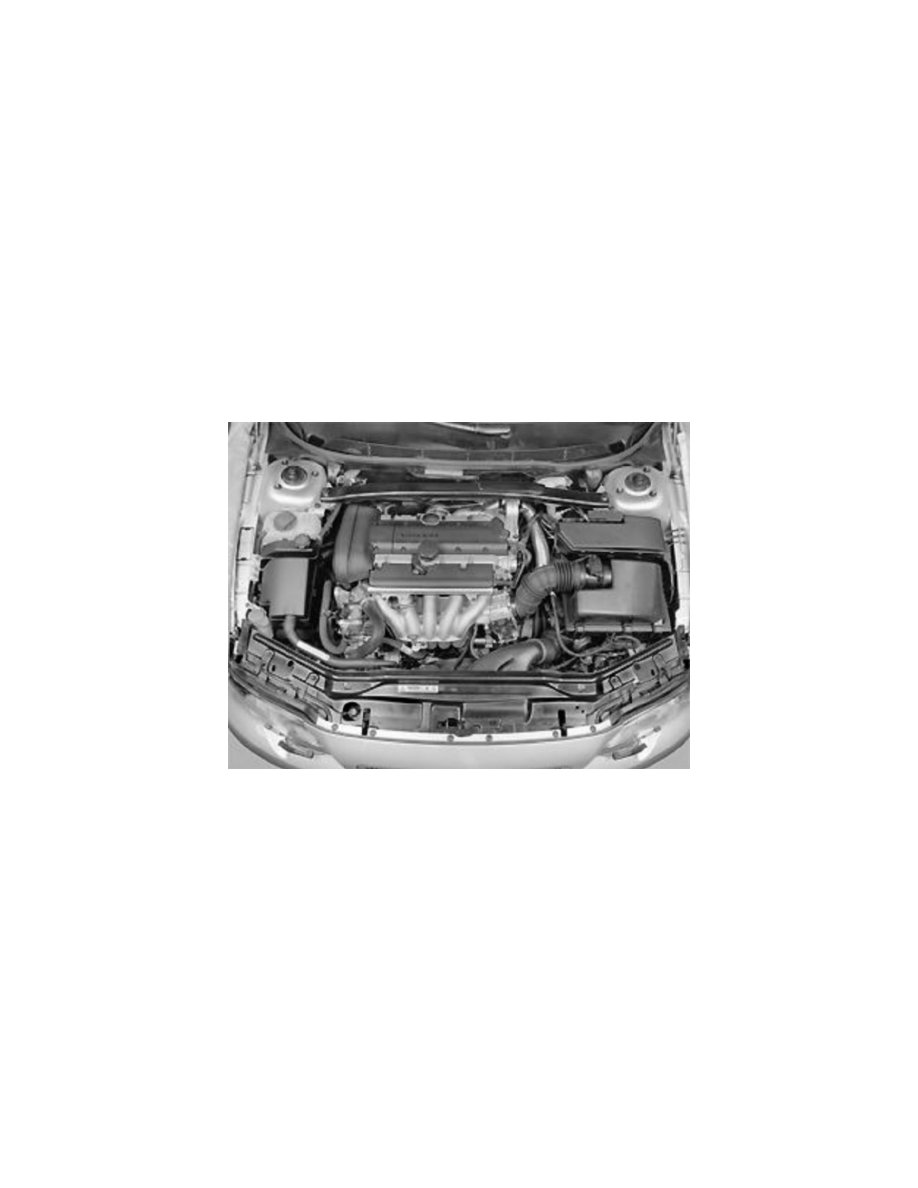
S60 2.4 L5-2.4L VIN 61 B5244S (2001)

Allow the crankcase ventilation hose to run through the intake manifold without disconnecting it from the flame trap.
Transferring components when replacing the intake manifold
Transfer the electronic throttle module.
-
Use a new gasket.
-
Tighten to 10 Nm.
Installing the intake manifold and gasket
NOTE: Ensure that the gasket faces are clean.
Install:
-
a new gasket held in position by the lower screws for the intake manifold
-
the intake manifold
-
the crankcase ventilation. The crankcase ventilation must be installed through the gap between the second and third channels
-
the three upper screws. Tighten all screws (starting from the center) to 20 Nm
-
the screw at the support bracket (under the intake manifold).
Finishing
Install
-
the fuel rail and the injector nozzles.
-
Use new screws. Tighten to 10 Nm. Press the quick-release connector together until a clicking sound is heard.
-
the connectors for the injectors and the cover plate
-
the crankcase ventilation hose on the top of the cam cover. Use a new clamp
-
the vacuum hoses.
Ensure that the plastic nipple, located in the terminal at the intake for the crankcase ventilation hose, is in the correct position
-
the inlet hose between the air cleaner (ACL) and throttle body (TB)
-
the hose for vacuum controlled crankcase ventilation in the inlet hose
-
the cover over the ignition coils
-
the connectors to the throttle body (TB)
-
the dip stick in the intake manifold.
-
the battery negative lead.
Final check
Test drive the car. Check the following:
-
that there is no fuel leakage
-
that the engine operates normally.
