
S60 2.4 L5-2.4L VIN 61 B5244S (2001)
-
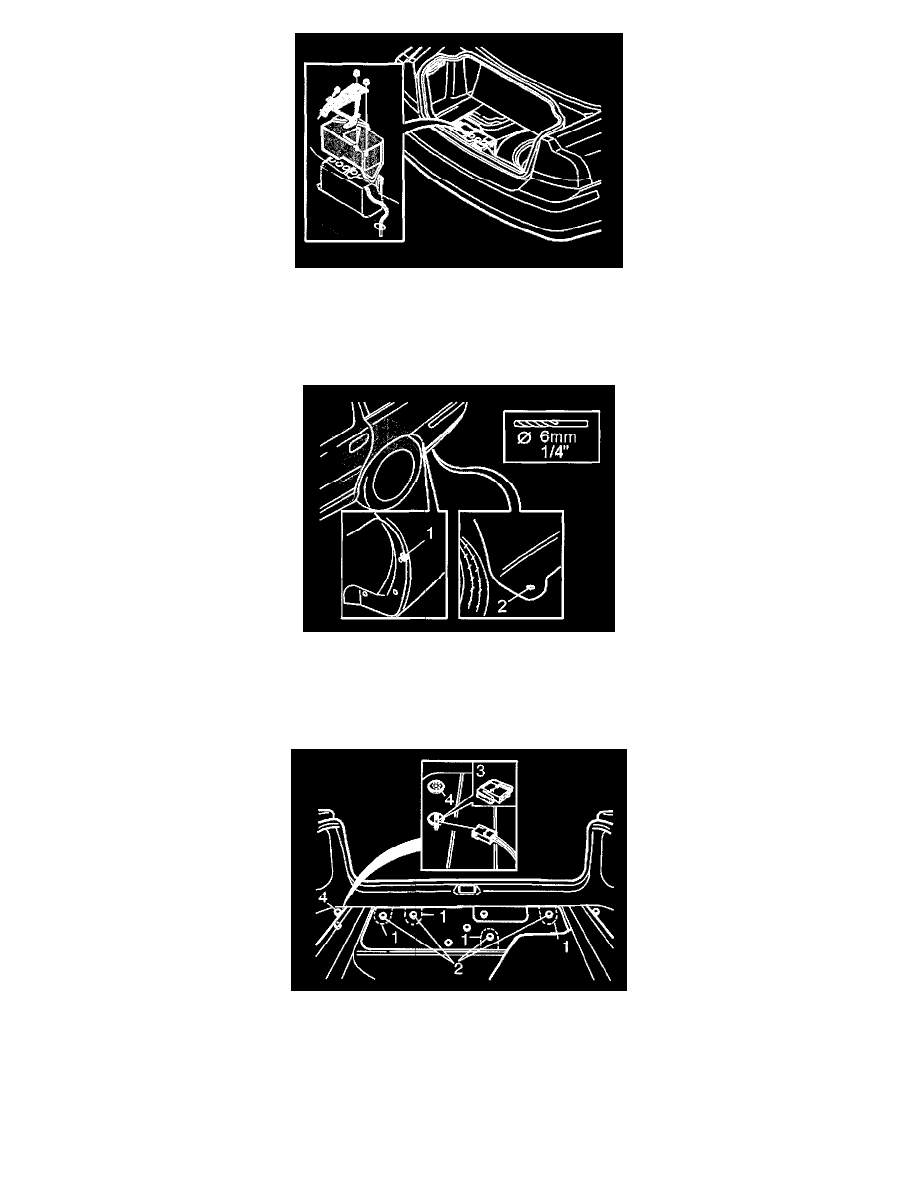
the two nuts from the front edge of the battery holder and the screw from the rear edge
-
the battery holder
-
the cover
-
the battery negative lead
-
the battery, or move the battery to facilitate access.
-
Slacken off the screw (1) almost completely in the rear edge of the wheel arch on the left and right hand sides
-
Press the screw using a screwdriver. This is so that the loose ends on the inside of the bumper cover bend backwards
-
Carefully drill out the rivets (2) underneath the bumper on both sides. Use a dia. 6 mm (1/4") drill bit. Do not damage any of the plastic parts.
Remove:
-
the perforated sections of the insulation panel (1) and the nuts (2) for the bumper in the rear crossmember
-
the antenna connector (3)
-
the rubber seal (4) covering the hole over the antenna connector. Save the seal as it will be used to lead-in the cable harness for the sensors in the
existing hole.