
S60 2.4 L5-2.4L VIN 61 B5244S (2001)
-
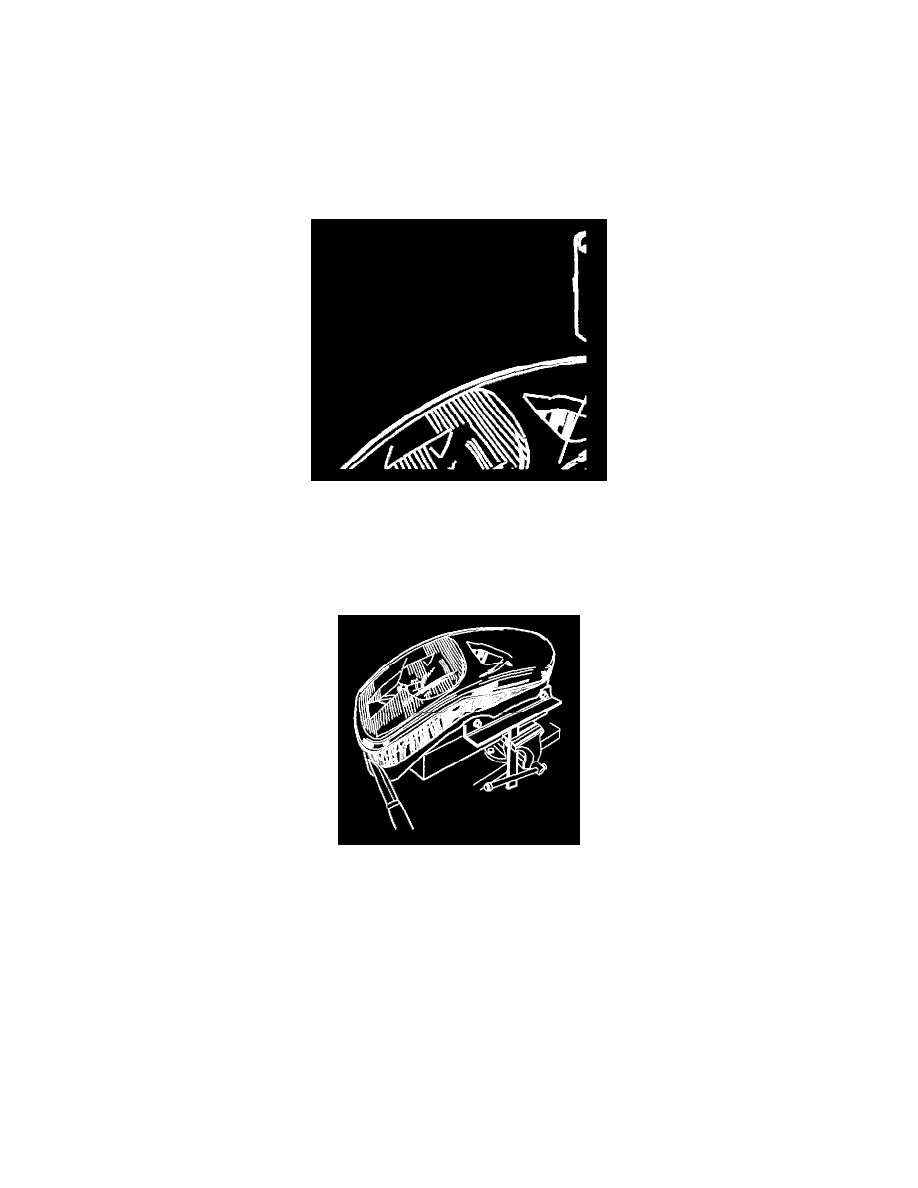
Tape around the housing, the black area in the illustration (1) towards the edges of the lens. Also tape the mounting points for the trim strip.
Preparation
-
Tool 999 7067 for removing adhesive residue.
-
Tool 999 7066 for spreading out the adhesive.
-
Hot-air gun, knife, masking tape/paper as protection (the reflector).
-
Protective goggles, leather gloves.
-
Isopropanol cleaning agent (P/N 1161 721).
Removing the headlamp lens
NOTE: Do not heat the edge or groove on the housing; it may deform.
-
Wear protective gloves.
-
Begin by heating around the top of the lens towards the bonding in the housing.
-
Use a high heat setting so that the lens become very hot (the hotter it is, the easier it is for the knife to penetrate the adhesive).
-
Insert the knife between the lens and the plastic edge. Carefully run the knife through the adhesive all the way around the housing a couple of times
while heating the top of the lens. Do not damage the plastic edge with the knife.
NOTE: The adhesive leaves strings which will stick to the base and are difficult to remove.
-
Pry the glass straight up approximately 5 cm. Start at the side of the outer end. Do not damage the plastic edge on the housing.
-
Lift and hold up the lens.
-
Using the knife, gradually remove the adhesive from the inside of the housing all the way around, ensuring that no adhesive residue gets on the
black trim panel when the lens is lifted straight up from the housing.
Removing adhesive residue from the groove
-
Use tool 999 7067.
CAUTION: Use protective goggles.