
S60 2.4 L5-2.4L VIN 61 B5244S (2001)
CAUTION: Leather protective gloves and protective goggles must be worn when carrying out the following operations.
NOTE: Do not heat the edge or groove on the housing excessively so that it deforms.
-
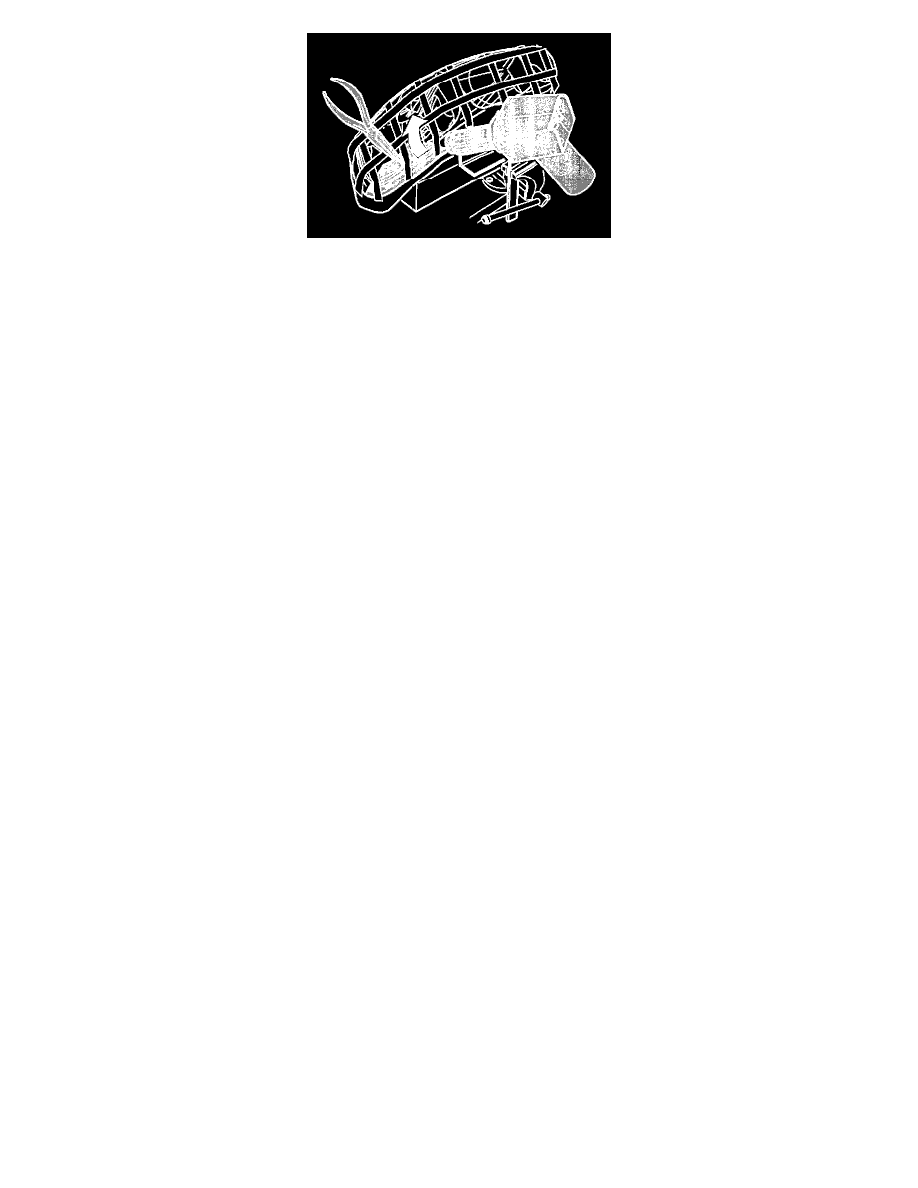
Take a hot-air gun and a flat-nosed pliers.
-
Heat the lens and the groove where the lens is bonded using a hot-air gun.
NOTE: Be careful when removing pieces of glass and splinters.
-
Turn the headlamp housing downwards so that pieces of glass do not fall into the housing and damage the reflector.
-
Pull the pieces of glass straight out using the flat-nosed pliers. Work the lens and the adhesive out of the groove and housing.
-
The adhesive leaves strings which will stick to the base and are difficult to remove.
-
Shake out any pieces of glass and splinters that may have got into the housing. Take care!
Removing
-
Remove the housing from the mounting.
Installing the headlamp
-
Install the headlamp housing in the car.
-
Check the light and align the headlamp.