
S60 T5 L5-2.3L Turbo VIN 53 B5234T3 (2002)
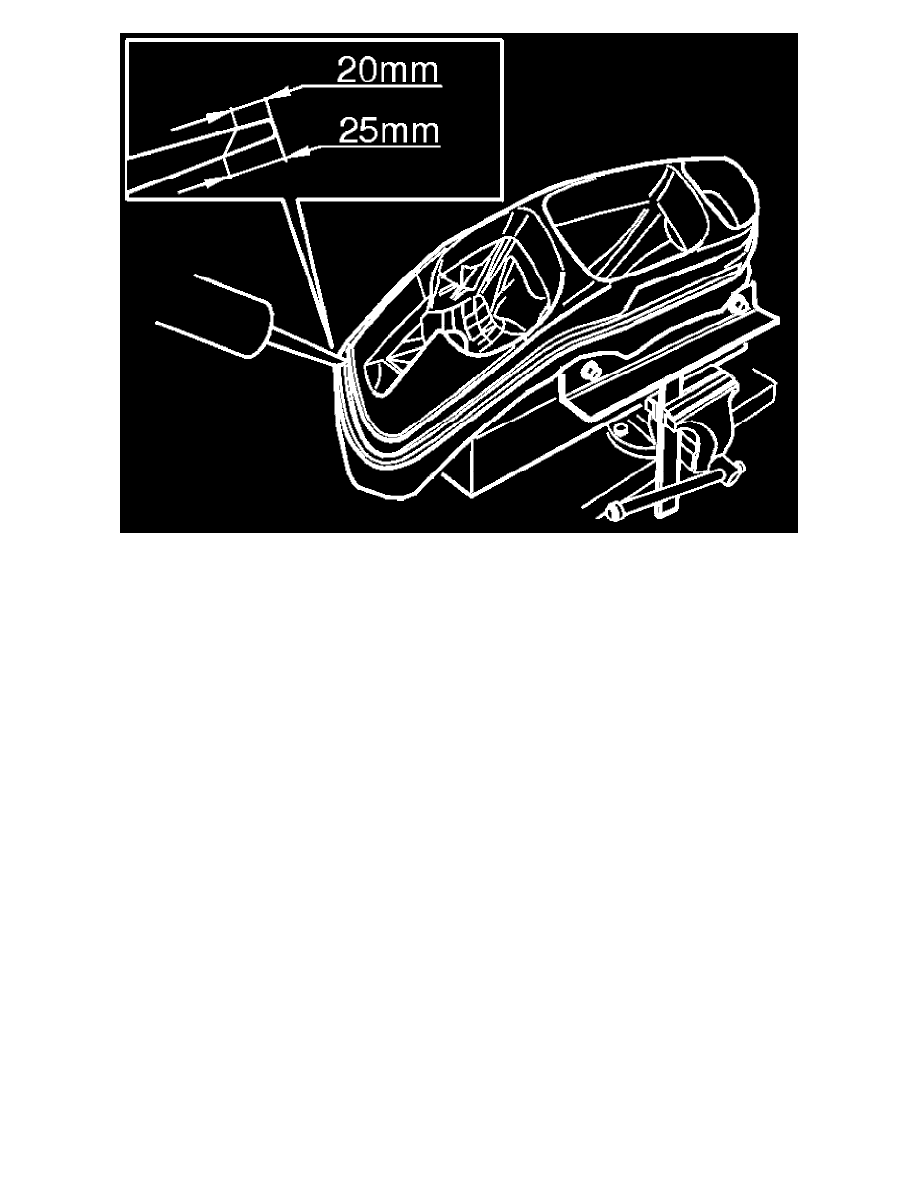
Fill the groove with adhesive all the way around so that it is about a millimeter lower than the height of the groove.
Carefully smooth out the adhesive using a brush.
Installing the headlamps lens
Apply glass primer all around the edge of the lens.
-
Position the lens in the groove and press it into place
-
Position and press the clips into place. A further 2 clips must installed at the serrated mountings at the marking
-
Wipe away any excess adhesive from the housing.
-
Remove the masking tape around the housing
-
Position the headlamp housing with the lens upwards (leave it in the mounting if applicable) while it cures. This takes approximately 12 hours
because the adhesive is a one-part cure adhesive
-
Clean the headlamp lens using denatured alcohol and window cleaner
-
Reinstall the trim strip over the housing.
Installing the headlamp lens
Remove the housing from the mounting.
-
Install the headlamp.
-
Check the light and align the headlamp.