
S70 L5-2.4L VIN 61 B5244S (2000)
When overhauling or replacing the brake caliper, mechanical bleeding in the usual way will normally be enough, but the brake pedal must be kept held
down during the procedure, so that the braking system is not drained of brake fluid. If the braking system has been completely or partly drained, use
the bleeding unit.
Note: Use only genuine Volvo brake fluid marked DOT 4+. Never reuse brake fluid. Always keep brake fluid in original pack and well sealed.
Preparations
Ignition off.
^
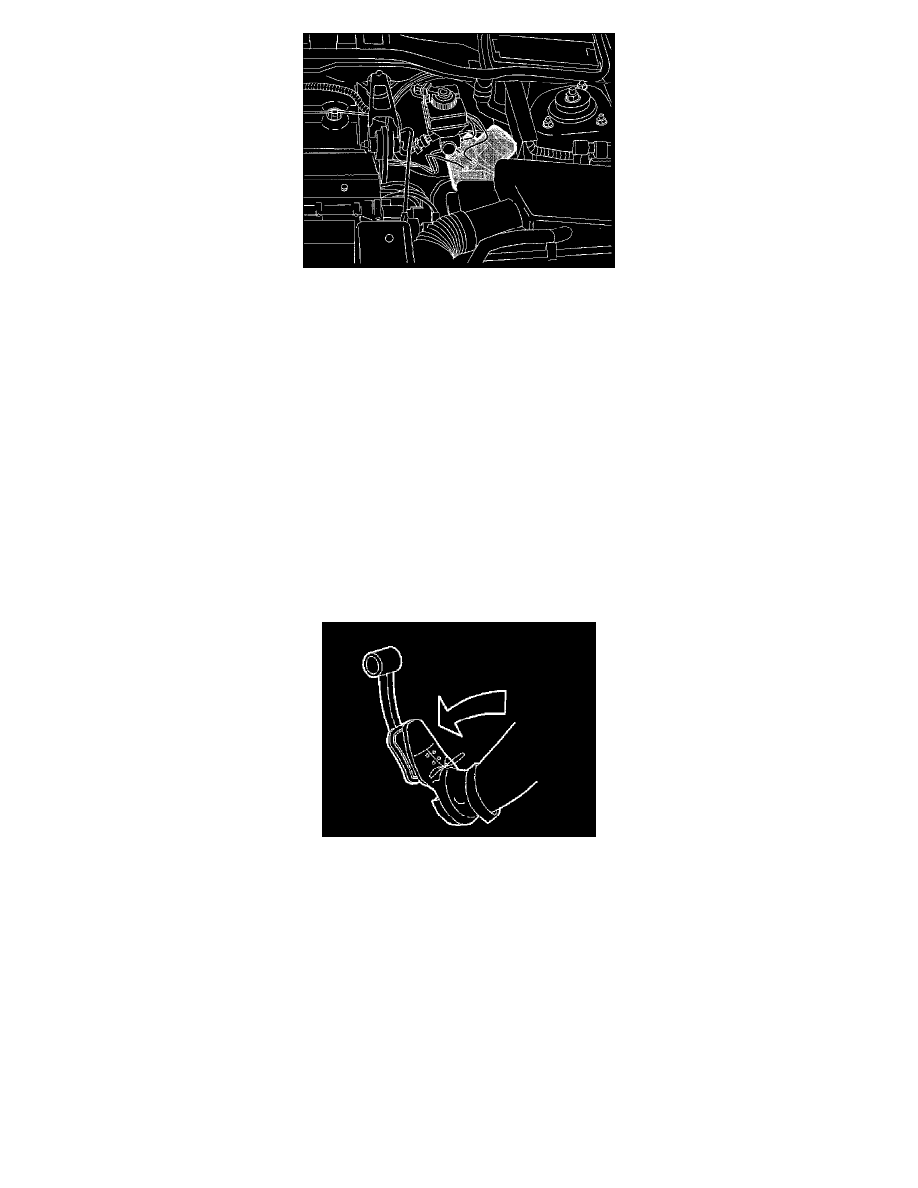
Jack car up. Clean brake fluid reservoir filler cap and area around it.
Remove:
^
Remove filler cap. Fill brake fluid reservoir completely.
Bleeding LH front wheel
Depress brake pedal a few times to remove any air bubbles in the master cylinder.
Note: This step must be carried out between bleeding each brake caliper concerned.
Note: Check continuously that there is enough brake fluid in the brake fluid reservoir when replacing brake fluid.
^
Remove protective cap from bleed nipple and connect hose from collecting bottle.
^
Open bleed nipple.
^
Push brake pedal right down and hold it there for approximately 2 seconds before releasing it. Repeat this 20-30 times until there are no visible air
bubbles in the drained fluid.
^
Close bleed nipple.
^
Depress brake pedal a few times.
^
Open bleed nipple and close it when the break pedal is at the bottom. Repeat this 3-5 times.
^
Remove hose and re-fit protective cap.
Bleeding other wheels
Continue bleeding as per in the following order:
^
RH front Wheel.
^
LH rear wheel.
^
RH rear wheel.
Check