S70 T5 L5-2.3L Turbo VIN 53 B5234T3 (1998)

-
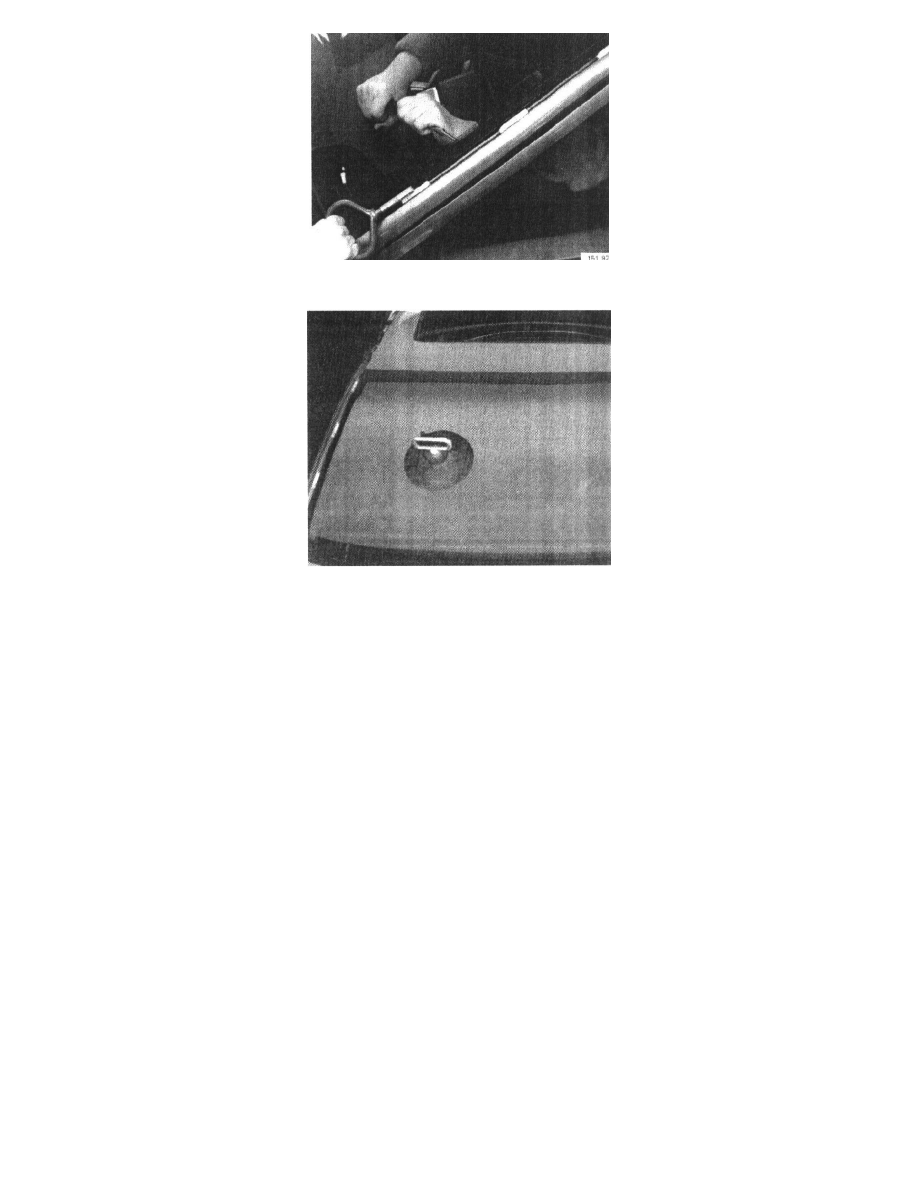
"Saw" around corners. Take particular care at roof edge moulding.
-
Attach suction cups to windshield and lift out glass.
TREATMENT OF PUR ON BODY FLANGE
WARNING: USE OF PROTECTIVE GLOVES IS RECOMMENDED. ENSURE THAT VENTILATION IS SATISFACTORY.
If surface is uneven, use chisel approx. 13 mm wide to even bead.
After removing windshield, wash adhesive remaining on body with cleaning agent.
CAUTION: DO NOT USE GLASS ACTIVATOR FOR THIS PURPOSE.
WARNING: DO NOT TOUCH BEAD WITH HANDS.
BODYWORK
If any part of windshield opening requires painting, body flange must be masked after application of sealing coat. Masking should be removed when
all painting has been completed.
If body flange has been painted with top coat, primer must be applied to ensure maximum adhesion of PUR.
PREPARATIONS FOR INSTALLING WINDSHIELD
-
Cut away all PUR from upper body flange.
-
Use cleaning agent H to clean dirt from upper body flange and edge between flange and roof
INSTALL SUPPORT:
