S80 T6 L6-2.9L Turbo VIN 91 B6294T (2002)

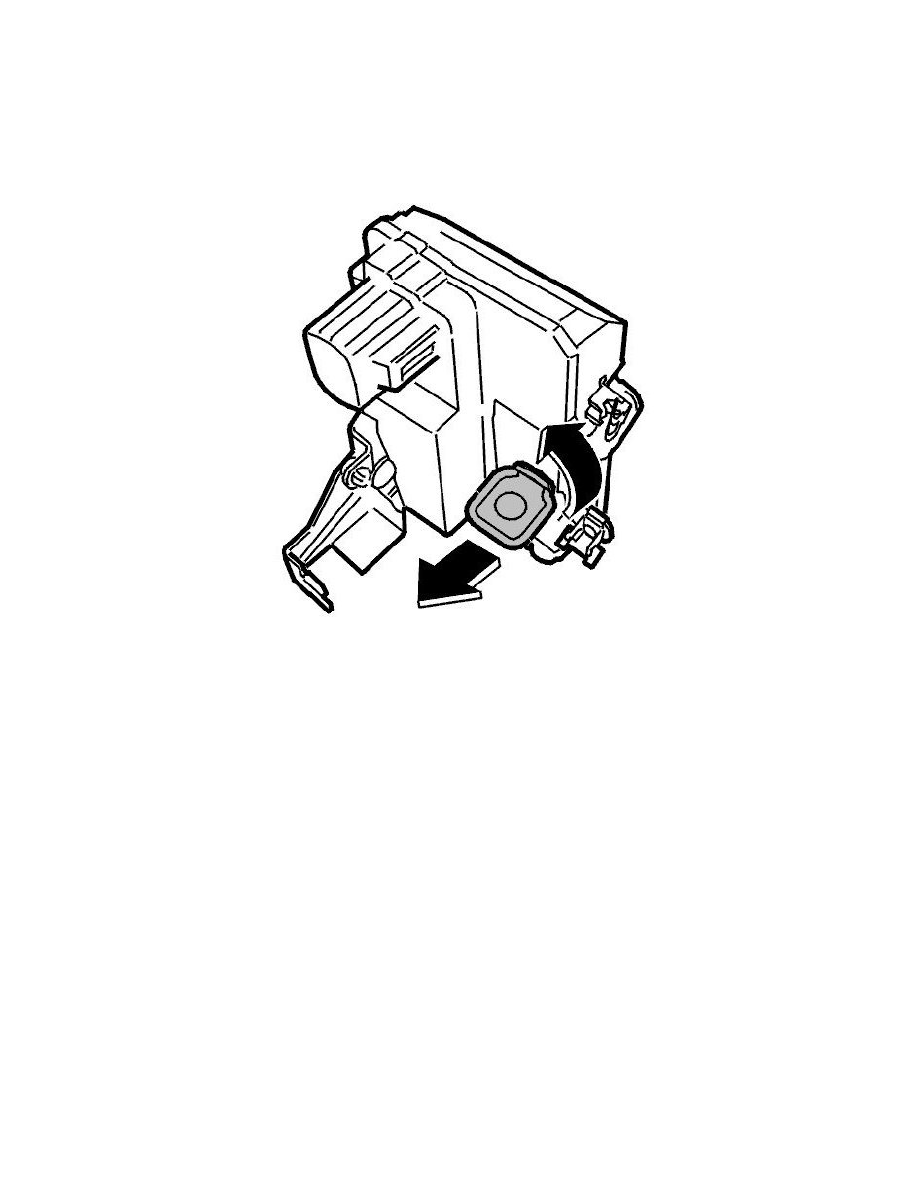
Unhook the end of the mechanical cable.
Remove the connector.
Installing the front door lock mechanism
NOTE: For tightening torques, see Specifications.
When installing a new lock (replacement part), the clip which determines the position on the link for the lock cylinder must be removed after the lock
mechanism and link for the lock cylinder have been installed. Turn the clip 90 degrees and pull it out.
HINT: Keep the clip. The clip can be used the next time the lock is removed, in order to establish the position of the link for the lock cylinder.
Angle in the lock mechanism.
Install:
-
the 3 M6 screws. Tighten.
-
the link from the outside handle.
-
the link from the lock cylinder.
CAUTION: Ensure that the lower link mounting (for the lock cylinder link) on the lock mechanism has been placed in the center position, so
that the holes (for the transit safety catch) in the casing for the lock mechanism and the hole in the link mounting arm correspond.
Install:
-
the link for the lock button.
-
the connector.
-
the end of the cable.
CAUTION: For vehicles with deadlocking, the cover must be installed. See Handle, outer, front side door, replacing.
Install guide rail. Always use a new blind rivet, P/N 982 565.
Install:
-
the guide molding for the guide rail
-
the run-off profile. See Run-off profile and bracket.
-
the door panel. See Panel, front side door, replacing.
