
S80 T6 L6-2.9L Turbo VIN 91 B6294T (2002)
Remove
-
ground strip from the engine stabilizer brace
-
the screw from the upper mounting for the transmission dipstick pipe
-
engine stabilizer brace
-
ignition coils, without disconnecting connectors.
Note! Mark up before removal.
-
both ground terminals
-
the connector for the variable valve timing solenoid
-
the connector for the engine coolant temperature (ECT) sensor.
Put the wiring and ignition coils to one side.
-
the right front wheel
-
the plastic nuts on the cover on the fender liner.
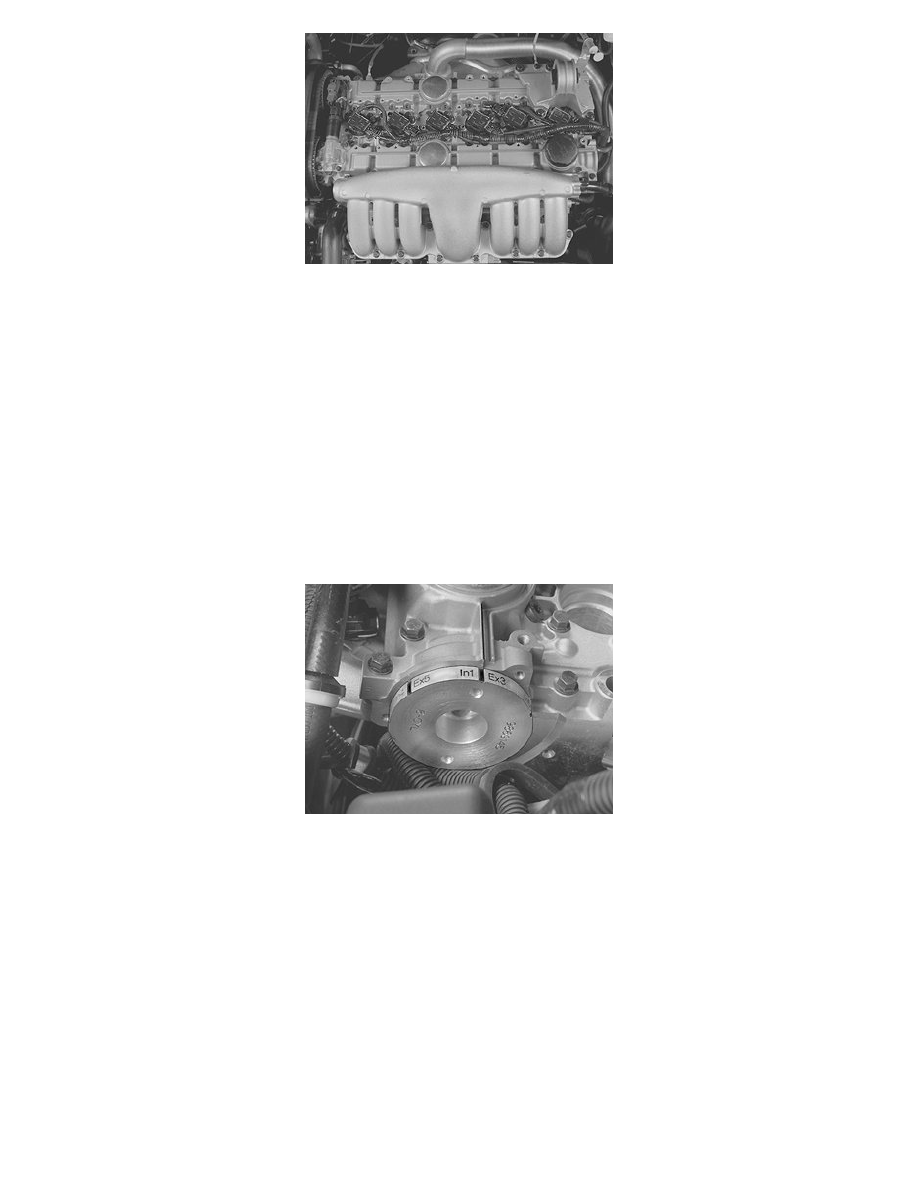
Setting up the engine in test mode
Install tool 999 5755 Camshaft pos. See: Tools and Equipment/999 5755 Camshaft Pos. at the rear edge of the intake camshaft.
Turn the crankshaft in the direction of engine rotation (clockwise) until the marking on the tool ("In1/Ex3") is opposite the thin flange running straight
over the entire top of the cylinder head.
Remove all plugs from the test holes.
Note! If the crankshaft is turned to far, it is essential that it is turned back at least a quarter of a turn so that it can then be turned clockwise to
the correct position.
Checking valve clearance