
S80 T6 L6-2.9L Turbo VIN 91 B6294T (2002)
Hose/Line HVAC: Service and Repair
Pipes/Hoses, Replacing
Pipes / hoses, replacing
Pipes / hoses
Note! For cars with chassis numbers up to -86697, see Txv-valve and connector pipe See: Heating and Air Conditioning/Expansion
Valve/Service and Repair/TXV-Valve and Connector Pipe.
Before starting work on the compressor or magnetic clutch compressor
Warning! Follow the safety instructions for work on air conditioning systems. See Refrigerant, safety regulations See: Heating and Air
Conditioning/Service Precautions/Technician Safety Information.
Note! First read the instructions covering slow and fast leaks. See Oil in the A/C system See: Fluids/Refrigerant Oil/Service and Repair.
Note! Always plug the pipes and couplings when working on the climate control system.
Removal
Common operations
-
First read Before starting work on the compressor or magnetic clutch compressor
-
Disconnect the battery negative lead. See Battery, replacing See: Starting and Charging/Battery/Service and Repair/Removal and
Replacement/Battery, Replacing
-
Drain the refrigerant from the system. See Refrigerant, draining See: Heating and Air Conditioning/Service and Repair/Refrigerant, Draining
-
Remove the engine stabilizer brace in the engine compartment. See: Engine, Cooling and Exhaust/Engine/Drive Belts, Mounts, Brackets and
Accessories/Engine Mount/Engine Torque Strut/Service and Repair/Replacing Cross Stay/Upper Torque Rod
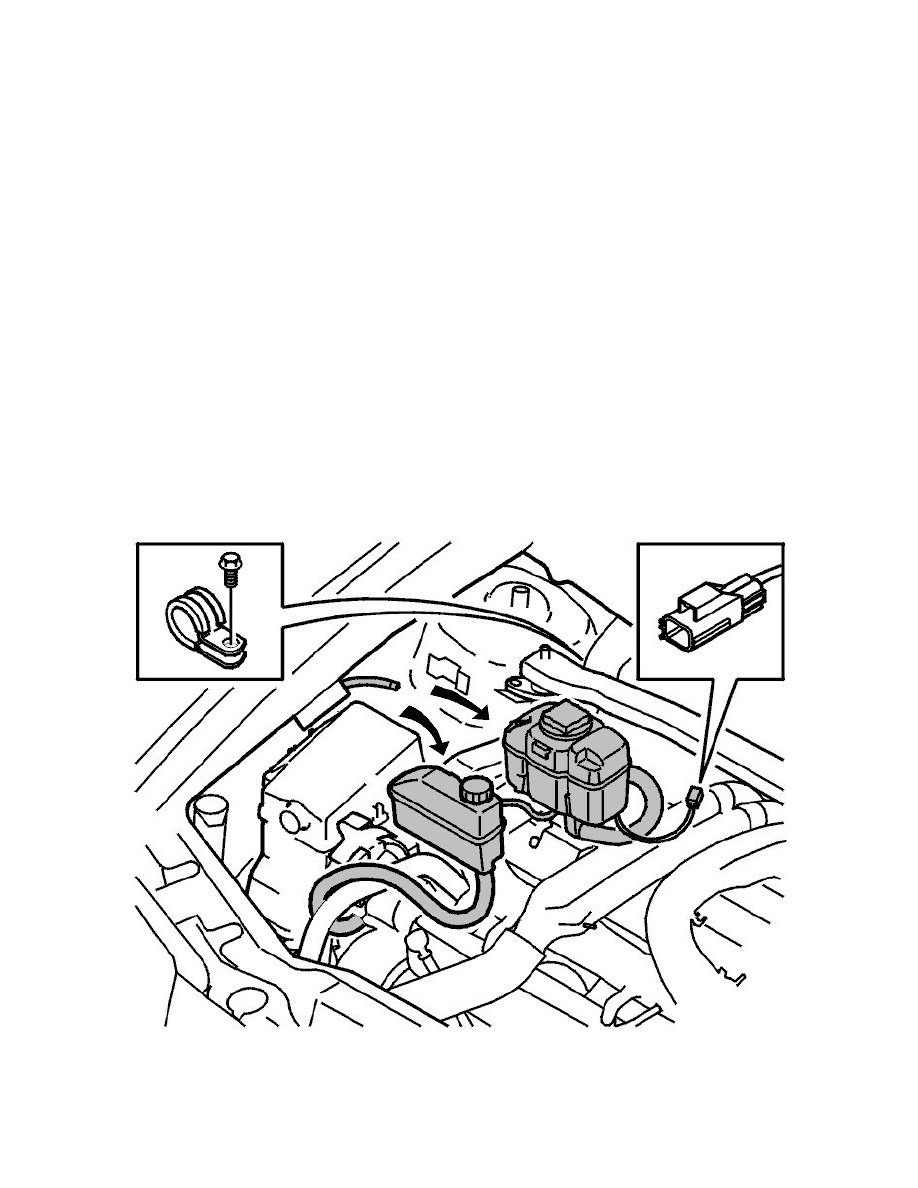
Remove:
-
the servo oil reservoir: Place it on top of the engine
-
the hose from the expansion tank. Clamp the hose with pliers
-
the switch for the level sensor
-
the switch at the cable duct
-
the expansion tank: Place it on top of the engine.