
S80 T6 Executive L6-2.8L Turbo VIN 90 B6284T (2001)
Carefully press in tool 999 5651 Extractor See: Tools and Equipment/999 5651 Extractor between the seal and the camshaft. Pry out the seal.
Installing the front camshaft seal
Note! The purpose of "Installing the VVT unit/timing gear pulley" is to ensure that the VVT unit is correctly positioned and to reset the
camshaft timing gear pulley to the correct position using the markings made at the factory. This is to ensure that the conditions are correct for
any later fault-tracing.
Note! For tightening torques, see Specifications See: Specifications/Mechanical Specifications/Tightening Torque.
Cleaning
To clean the shaft journal and mating surface, use emery cloth P/N 951 1024.
Note! When cleaning work around the shaft journal, not in and out. It is essential that any residue from the emery cloth and any other
contaminants are completely removed before the new sealing ring is installed.
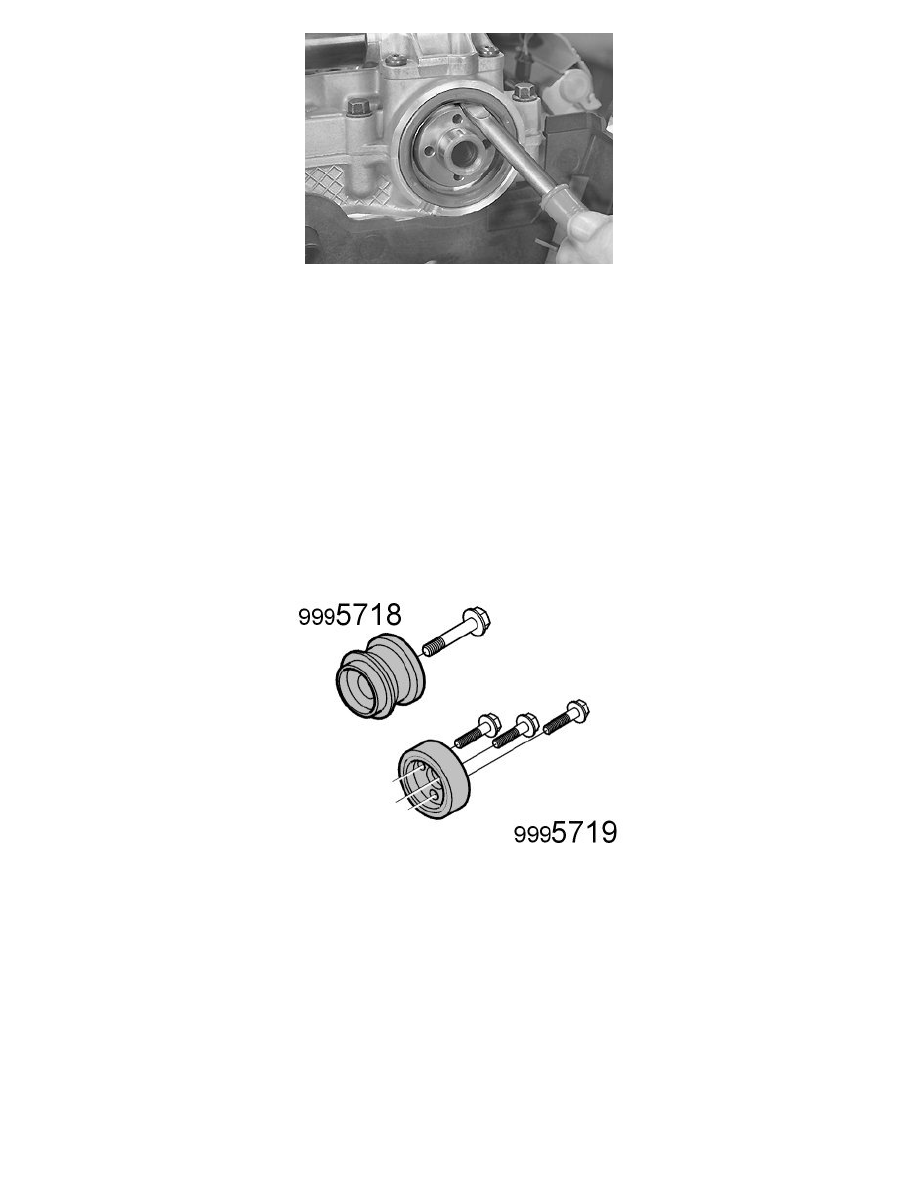
Installing the front camshaft seal
Lubricate the surface of the seal that the camshaft rotates against. Install the camshaft seal. For camshafts with variable valve timing:
Use drift 999 5718 Drift See: Tools and Equipment/999 5718 Drift.
Use the mounting screw for the variable valve timing unit. Tighten until the drift bottoms out. for camshafts without variable valve timing:
Use drift 999 5719 Drift See: Tools and Equipment/999 5719 Drift.
Checking the variable valve timing (VVT) unit
Check the variable valve timing (VVT) unit. See: Variable valve timing unit, checking and adjusting See: Adjustments
Finishing
Install:
-
the starter motor. Tighten screws at gearbox. Tighten. See Tightening torque See: Specifications/Mechanical Specifications/Starting and Charging
-
the screw at the support bracket for the starter motor. Tighten
-
the trigger wheel. Tighten the screw
-
the camshaft position (CMP) sensor housing. Tighten the screws