
V40 L4-1.9L Turbo VIN 25 B4204T2 (2000)
connecting rod assembly. Follow manufactures recommended
procedures for proper use of ring compressor
Lubricate the cylinder bore, the pistons and the bearing
shells with engine oil.
Turn the crankshaft so the connecting rod is at bottom
dead center for the cylinder piston.
Note!
The arrow on top of the piston should point forward.
Ensure that the classification corresponds.
Carefully press / tap the piston downwards (using a
hammer handle).
When the piston clears the ring compressor and is at head
surface level stop. Put ring compressor aside. Install
holder 999 5746 in the connecting rod.
Pull the connecting rod downwards until it lies against
the crankshaft connecting rod bearing journals.
Remove 999 5746.
10
Tightening the cap for the connecting rod
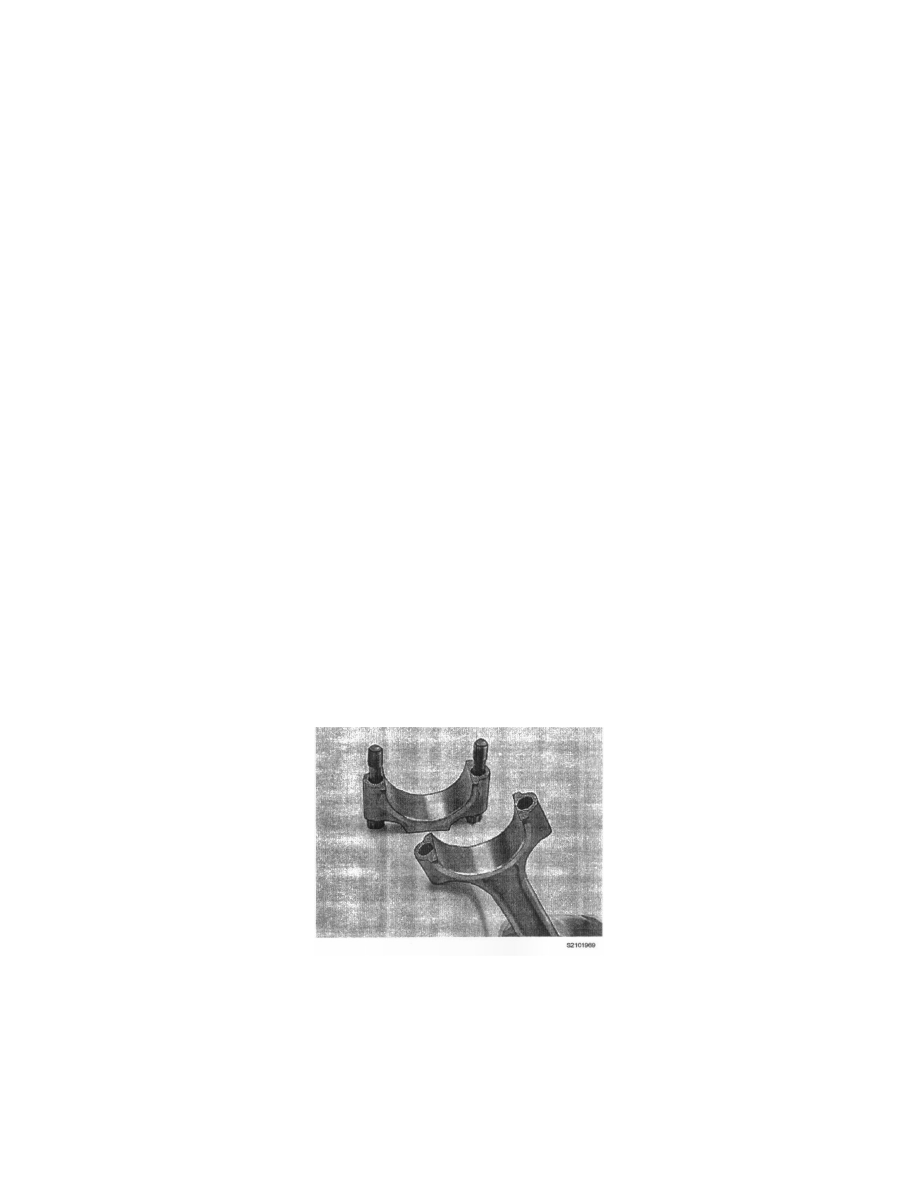
Install the end cap. Check that markings correspond. On
late types of connecting rods the mating surface between
the cap and the connecting rod are not machined. It is
aligned through a dedicated fracture surface.
Earlier types have serrated surfaces that only align
one way.
Caution!
If the cap is turned the wrong way and tightened,
the structure of the fracture surface will be damaged
and the connecting rod must then be discarded.
Note!
Blow the fracture surfaces of the connecting rod and end
cap dean using compressed air before installing the cap.
Lubricate and install the new screws. Tighten in two stages:
1
20 Nm
2
Angle-tighten 90°