
V50 L5-2.4L VIN 38 B5244S4 (2006)
Always rotate one wheel at a time!
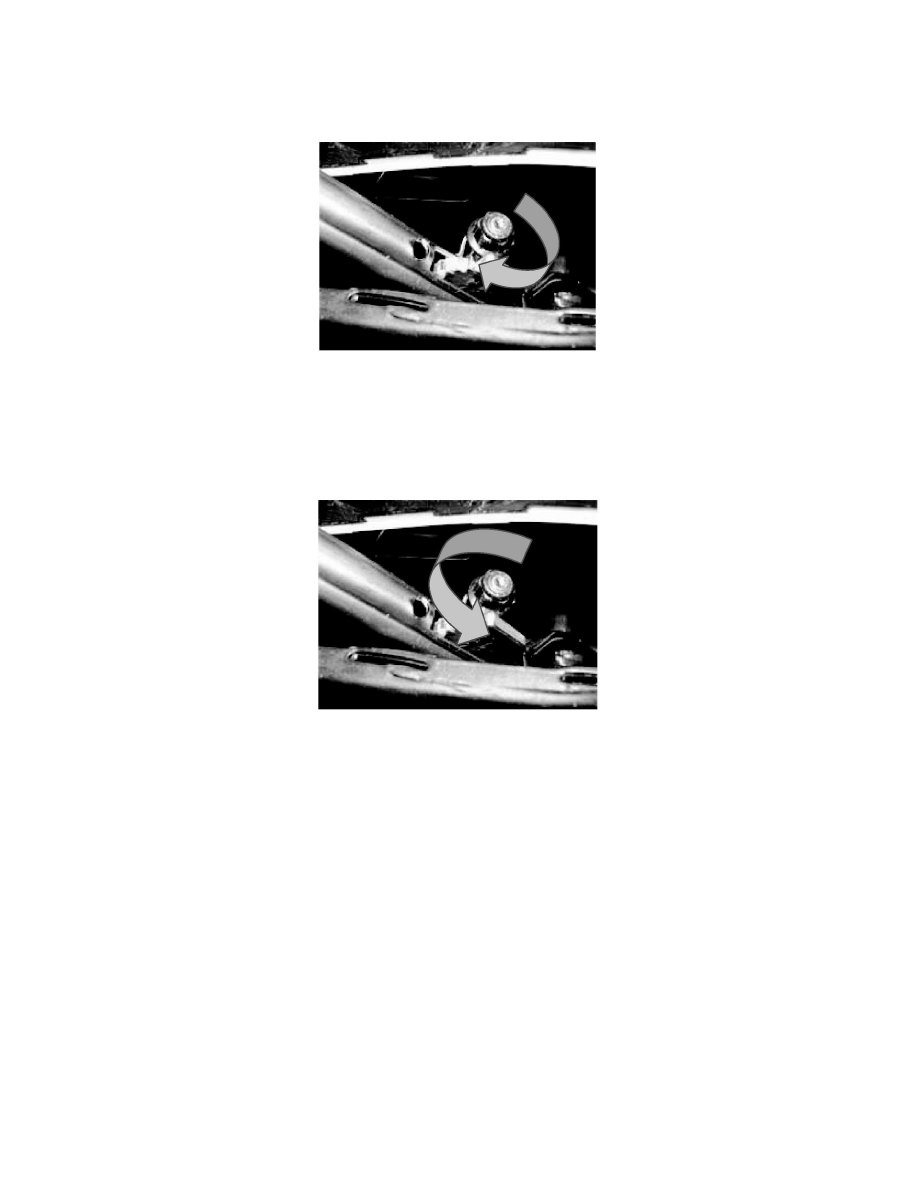
5.
Make final adjustments
First tighten the cable's adjuster nut clockwise until 7 mm (9/32") of the rod end sticks out above the nut.
Then tighten the adjuster nut until there is light drag (friction) on the brake discs with the lever in the released position (fully down).
Note!
For cars with an earlier version of the adjuster nut (M6), it may be necessary to tighten the nut down more than on the later version with M8 nut.
After adjusting the nut, pull up the lever at least five notches. Repeat this five times.
With the lever in its released position (fully down) , check that there is light drag (friction) on the brake discs when the wheels are rotated.
When there is light drag (friction) on one of the wheels, screw the adjuster nut back counterclockwise one full turn, and pull up the parking brake lever
five times, pulling at least five notches up each time.
With the parking brake lever in the released position (fully down), rotate the wheels to check that there is no drag (friction) from the parking brake.
If there is drag (friction), slacken the nut a little more and pull five times on the lever as specified above. Recheck.
Reinstall the lever boot.