
V50 L5-2.4L VIN 39 B5244S7 (2005)
-
Apply water with garden hose at the base of the A pillar on the suspected side.
-
Remove the plenum cover for better visibility of the A pillar cowl area, see VIDA:
-
Removal, replacement, and installation
-
8 Body and interior
-
84 Exterior trim, glass, weatherstrips
-
Glass and weather-strip for windshield and rear windshield
-
Plenum chamber
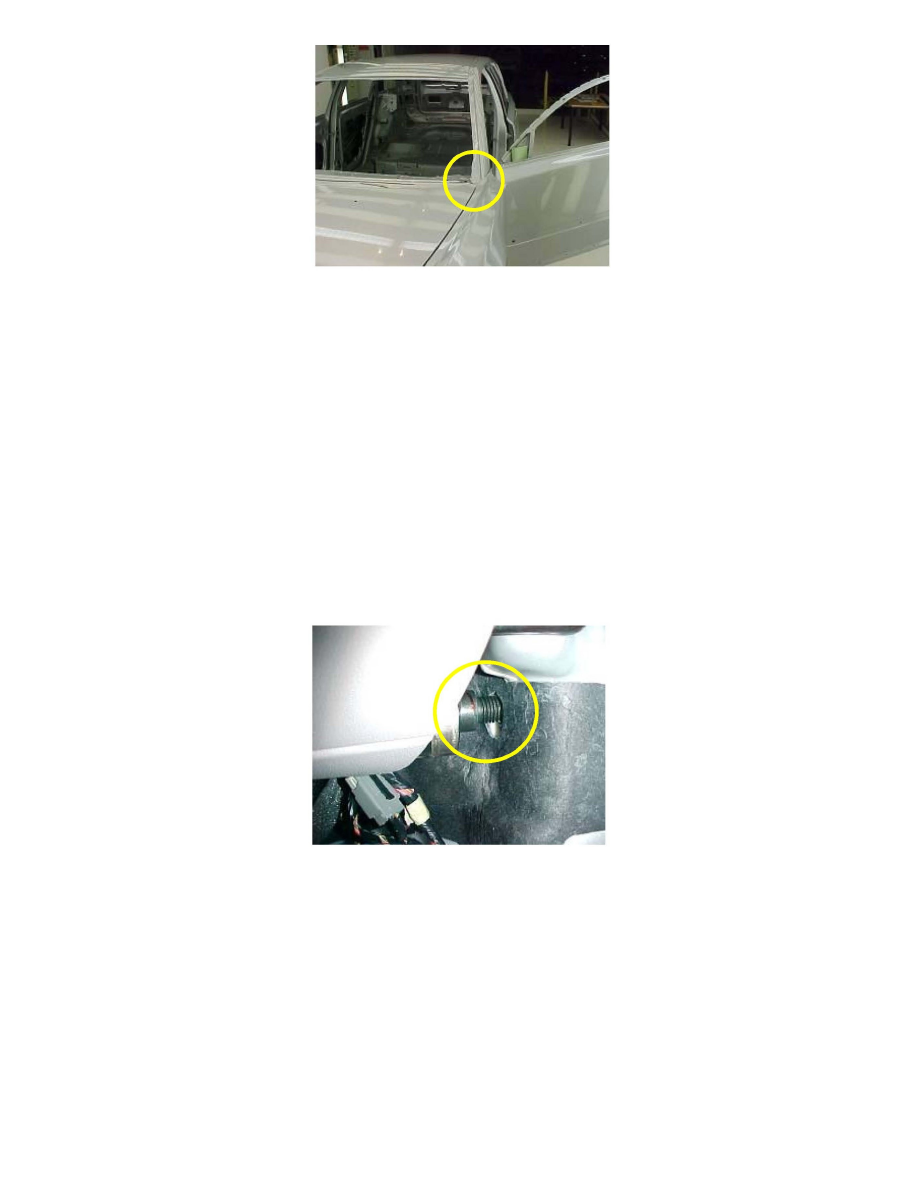
Be sure the marked area is tested thoroughly.
NOTE:
Only driver side is shown; however, the same issue can occur at either the driver or passenger sides.
With the water running, check if water enters either around the instrument panel mounting bolt, or the area directly surrounding.
The water leak can also be confirmed by checking the A pillar area where the door harness is located (see pictures in step 3).
If you can confirm water in either of these this areas, proceed to step 2.
If not, continue to fault trace for the cause of the water intrusion. See Water intrusion via A pillar at the cowl area for the next possible cause.
2.
Sealing the cowl top & A pillar connection