
V50 L5-2.4L VIN 39 B5244S7 (2005)
Install the clips so that they lock securely. A click must be heard.
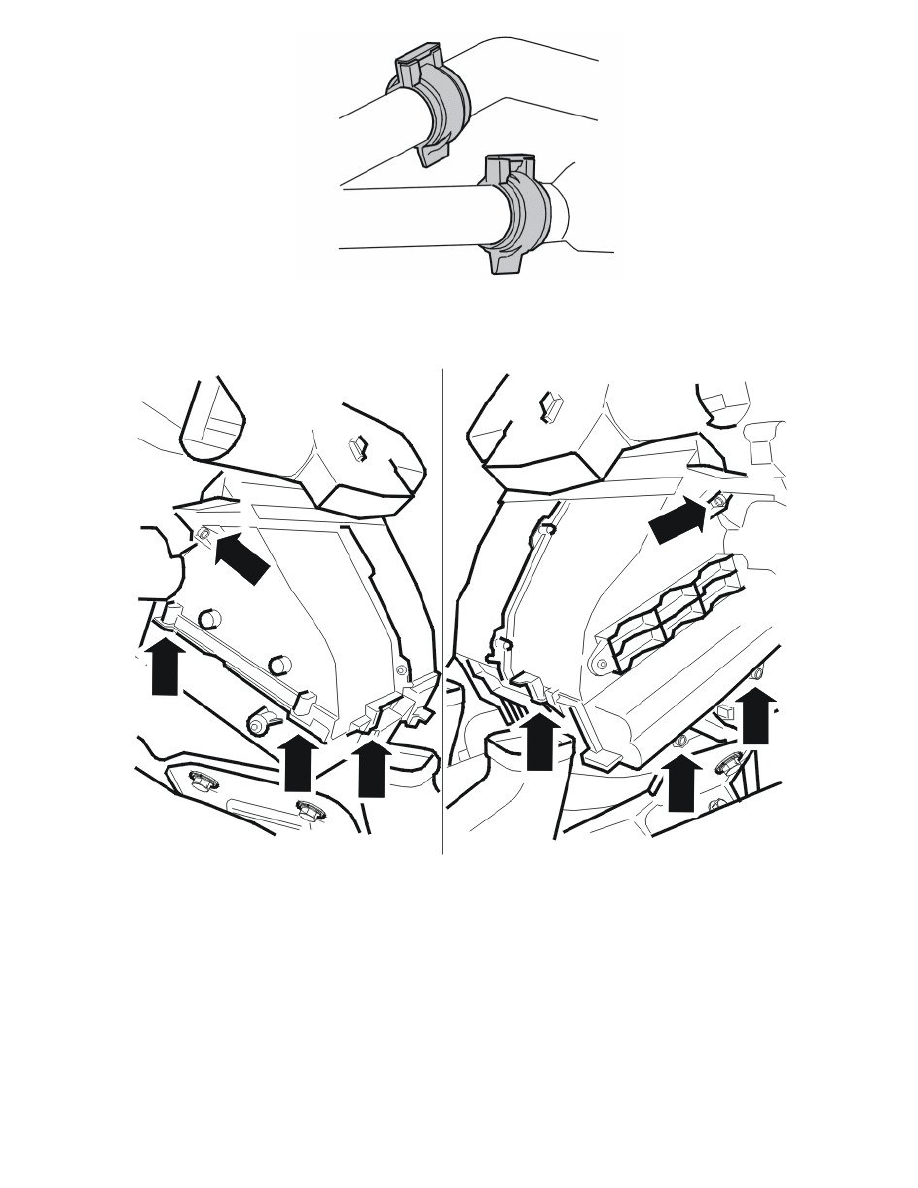
Note! The clips only fit one way in the pipe connection.
Install:
-
the 8 x screws for the cover. Tighten
-
the air duct
-
the brackets on both sides of the climate control unit and the screws, 3 per bracket. Tighten.
Finishing
Install:
-
the central electrical unit in its bracket. Refer to: Control module relay box passenger compartment See: Maintenance/Fuses and Circuit
Breakers/Relay Box/Service and Repair
-
the center console. Refer to: Floor console See: Body and Frame/Interior Moulding / Trim/Console/Service and Repair/Floor Console Floor
console See: Body and Frame/Interior Moulding / Trim/Console/Service and Repair/Floor Console.
Checking the function and leak tracing
Install the radiator hoses in the connections by the firewall.