
V50 L5-2.4L VIN 39 B5244S7 (2005)
Applies to the second or later changes
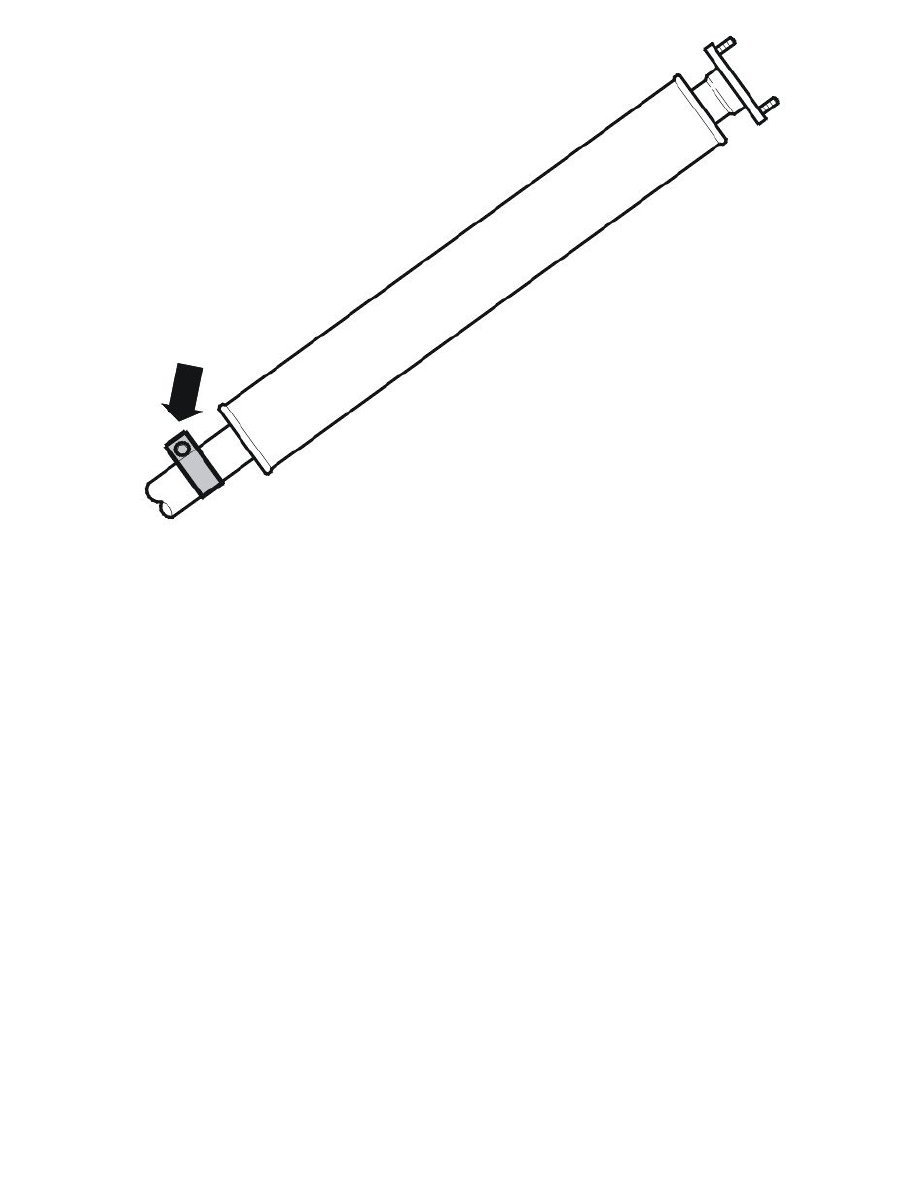
Remove:
-
the M10 nut for the clamp between the front and center muffler
-
the 2 x nuts
-
the muffler
-
the flange gasket.
Hint: Tap carefully around the joint to crack any rust and soot deposits in the joint. Use a hammer. Remove both the center and front mufflers.
Installation
Note! For tightening torques, see Specifications. See: Engine/Specifications/Mechanical Specifications/Tightening Torque
Note! To ensure that there is no exhaust leakage, see: Flanged joint, assembling See: Exhaust Pipe/Service and Repair
Installing the muffler
Only applies at the first change when the joint between the front and center mufflers is missing.
Install:
-
the front muffler. Use a new flange gasket
-
the 2 x M10 nuts. Do not tighten yet
-
the center muffler
-
the M10 nut for the clamp between the front and center muffler. Do not tighten yet
-
the M10 nut for the clamp between the rear and center muffler. Do not tighten yet
-
the rubber mountings.
Adjust the position of the exhaust pipe. Tighten the 4 x M10 nuts.
Applies to the second or later changes.
Install:
-
the front muffler. Use a new flange gasket
-
the 2 x M10 nuts. Do not tighten yet
-
the M10 nut for the clamp between the front and center muffler.
Adjust the position of the exhaust pipe. Tighten the 3 x M10 nuts.