
V50 L5-2.4L VIN 39 B5244S7 (2005)
951 2785 Crimping tool See: Tools and Equipment/951 2785 Crimping Tool
Note! The illustrations in this service information are used for different model years and/or models. Some variation may occur. However, the
essential information in the illustrations is always correct.
Caution! As the SRS system is a safety system, it is extremely important that these instructions are carefully followed when carrying out repairs
in the cable harness.
Caution! Ensure that the new pin has the same type of surface treatment as the old.
Warning! Do not carry out any work on the cable for the SRS system until the connector has been disconnected from the relevant airbag or
seat belt tensioner. There is otherwise a risk of static electricity deploying the component.
Preparatory work
Selection of repair kit, SRS system
Materials: SRS system repair kit for the selected car.
Note! Only special tools and materials from the SRS system repair kit for the selected car must be used. Choose a repair location where there is
plenty of room to guarantee that work is of the highest quality.
The cables should always be connected colour to colour. If the repair terminal colors do not correspond with the vehicle, check with the wiring diagram
for the vehicle in question. In the cases where the repair terminals have a completely orange cable then this is always fitted to terminal No. 1. In the cases
where the repair terminals have a blue and a brown cable, then blue is No. 1 and brown is No. 2.
Removing the battery lead and the ignition cable
Disconnect the negative battery cable. See: Battery, Disconnecting.
Disconnect the relevant ignition cable. See: Igniter wire connector See: Restraint Systems/Air Bag Systems/Clockspring Assembly / Spiral Cable/Service
and Repair/Igniter Wire Connector
Assembly
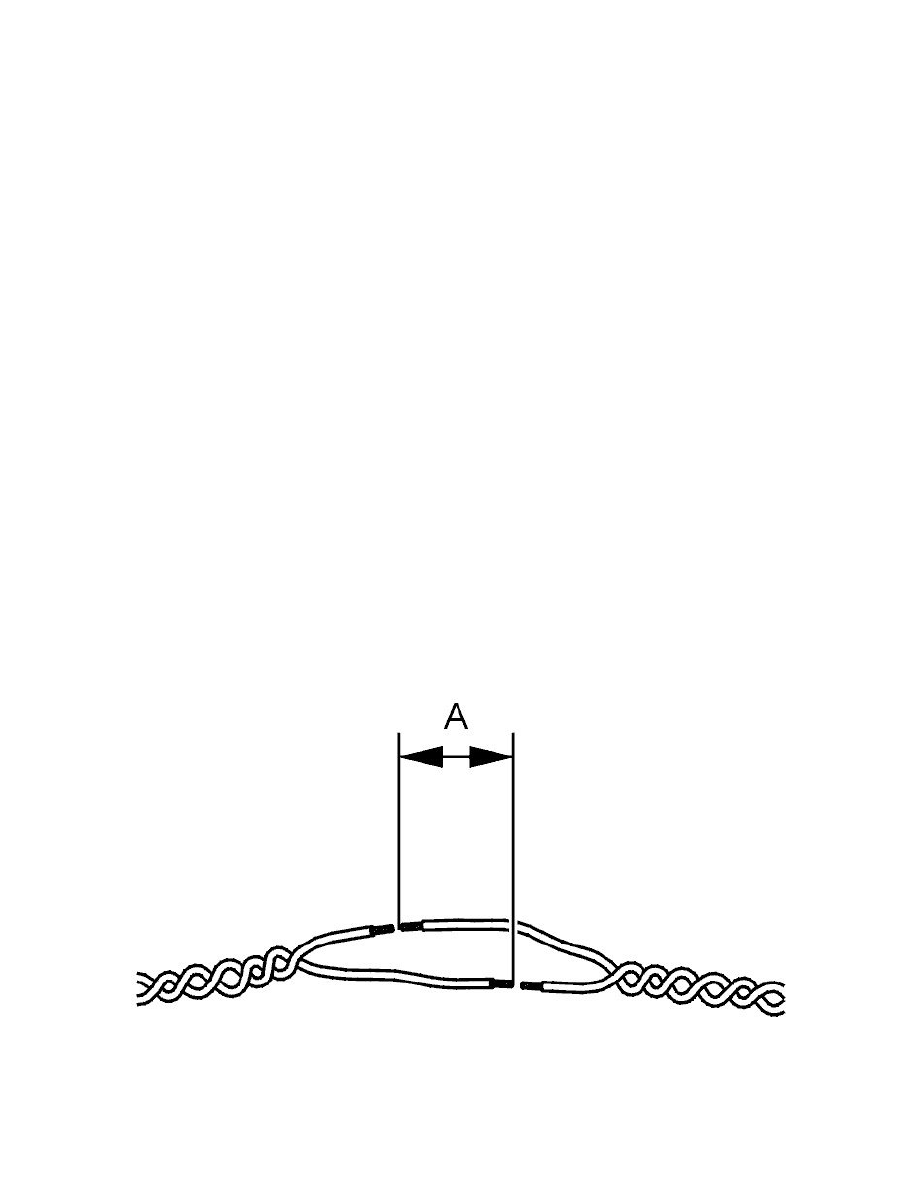
Cutting and stripping pairs of cables