
V50 AWD L5-2.5L Turbo VIN 68 B5254T3 (2005)
-
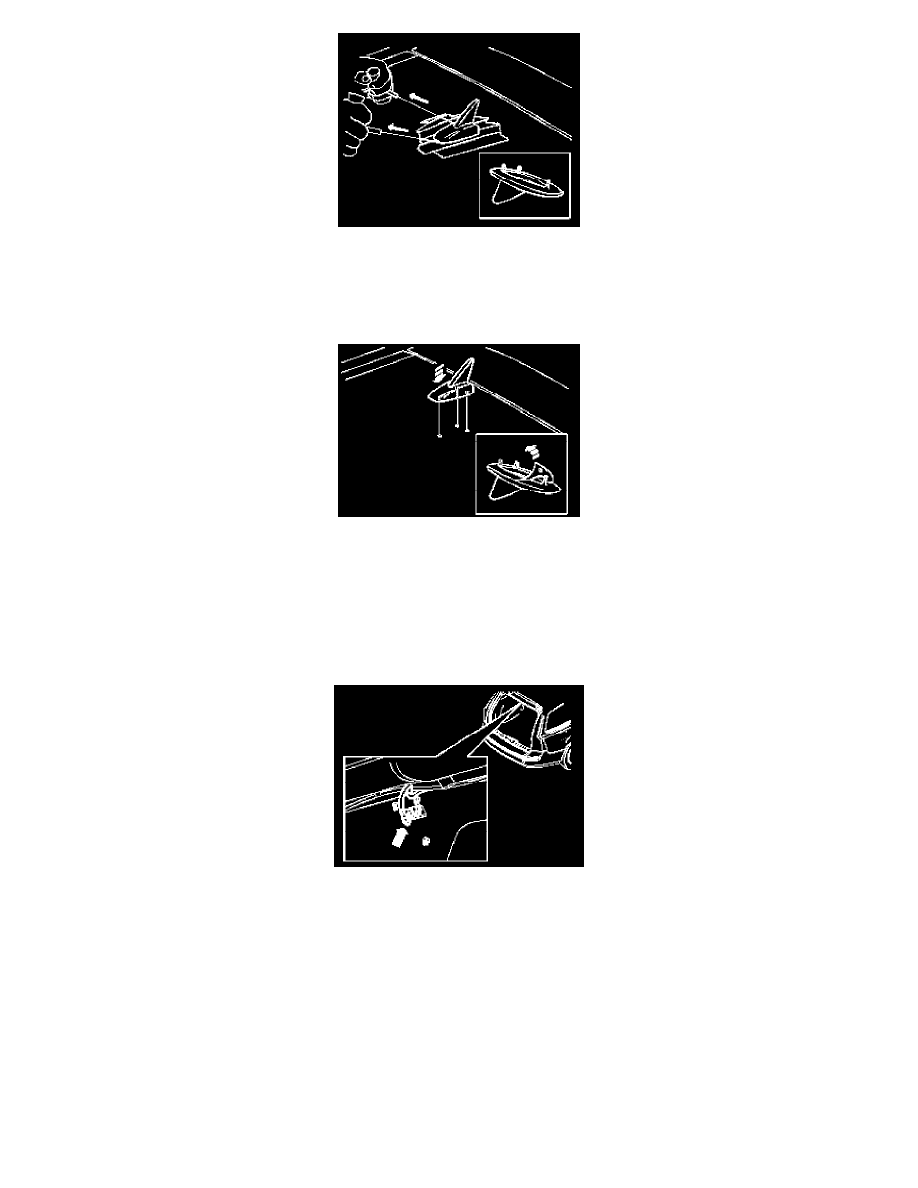
Remove the antenna dummy. Cut around the antenna dummy. Use handles P/N 9512333 with a thin piano wire.
NOTE: There are three locating pins in the antenna dummy so pull the wire from both ends. Pull evenly to prevent paintwork damage.
-
Remove the tape.
NOTE: To ensure the best results, it is recommended that two people press the new antenna onto the roof. One person should push against the
inside of the roof to prevent buckling when the antenna is pressed down.
-
Clean the area on the roof where the new antenna is to be positioned. Use a mixture of 30% isopropanol and 70% water. Wipe dry
-
Remove the protective film from the tape on the antenna
-
Align the locating pins for the antenna in the corresponding holes in the roof. Press the antenna securely into place.
NOTE: Apply pressure to the antenna for at least 30 seconds so that the tape secures properly.
-
Connect the violet connector on the pre-routed antenna cable to the left violet outlet on the antenna. The antenna cable is securely taped in the rear
edge of the headlining
-
Reinstall the clip in the headlining.
-
Reinstall the grab handles
-
Reinstall the C-post panels and the rubber strips
-
Reinstall the side cushions
-
Reinstall the mountings for the cargo compartment safety grille. Tighten the screws. Tighten to 24 Nm (18 lbf.ft)
-
Reinstall the D-post panels Press the side panels into place.
-
Reinstall the rubber strips Reconnect the interior lighting.
-
Reinstall the rear headlining.
CAUTION: Leave the car indoors for two hours after installing the antenna. Do not wash the car for at least 48 hours after installation.