
V50 AWD L5-2.5L Turbo VIN 68 B5254T3 (2005)
Checking the function and leak tracing
Install the radiator hoses in the connections by the firewall.
Tighten the drain nipple on the radiator.
Fill with coolant and warm up the engine until the thermostat opens. Top up if necessary.
Check that the pipe coupling does not leak.
Install driver's side soundproofing panel. See: Instrument panel lower See: Body and Frame/Interior Moulding / Trim/Dashboard / Instrument
Panel/Service and Repair/Instrument Panel Lower.
Automatic Transmission
Heat exchanger
Note! The illustrations in this service information are used for different model years and/or models. Some variation may occur. However, the
essential information in the illustrations is always correct.
Preparatory work
Remove the expansion tank cap.
Raise the vehicle.
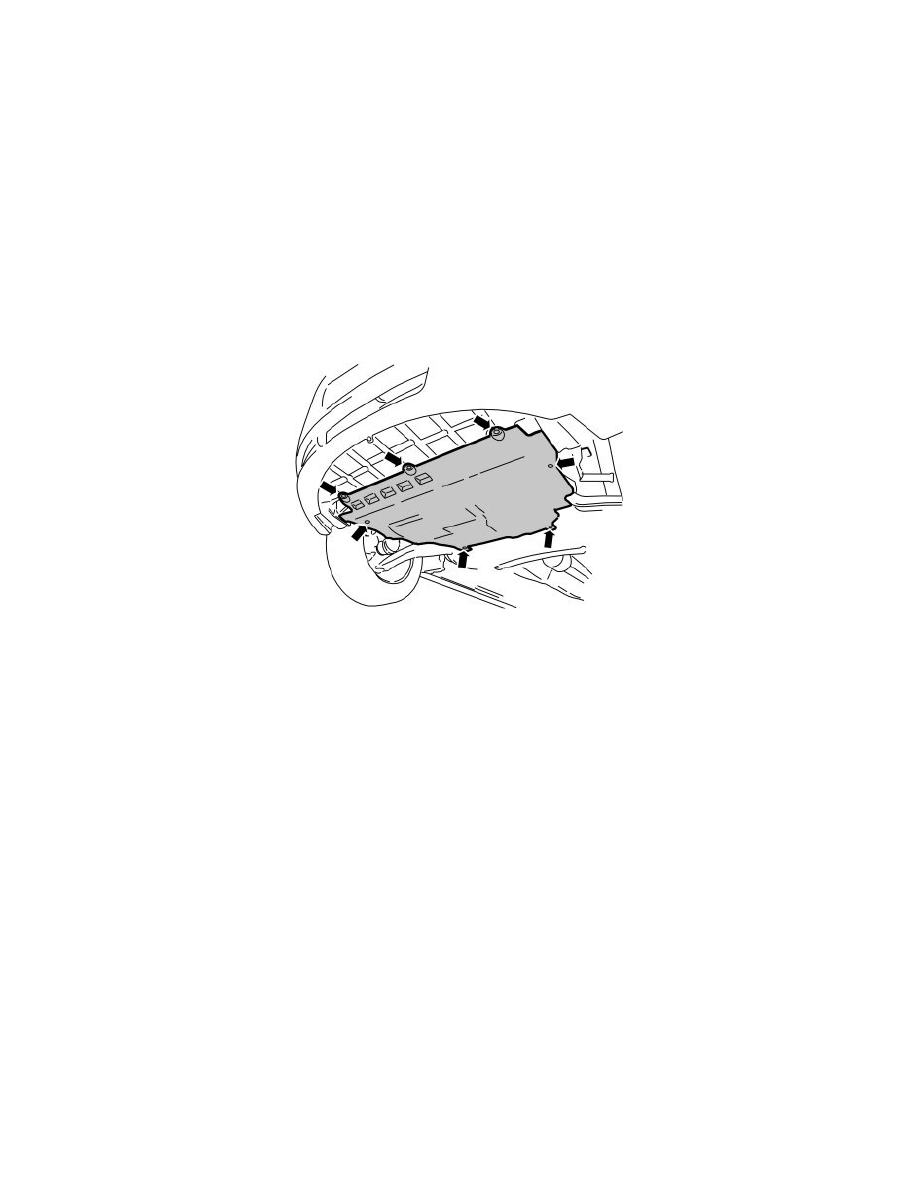
Remove the shield under the vehicle. It is secured with 7 clips. See the illustration.
Install a hose on the nipple at the radiator.
Feed the hose down to a container.
Open the nipple. Drain off the engine coolant.
Removal
Remove:
-
the tunnel compartment. See: Floor console See: Body and Frame/Interior Moulding / Trim/Console/Service and Repair/Floor Console
-
the glove compartment. See Glove compartment See: Body and Frame/Interior Moulding / Trim/Glove Compartment/Service and Repair/Glove
Compartment.
Detach the central electrical unit from its bracket but allow it to hang from the wiring. See: Control module relay box passenger compartment See:
Maintenance/Fuses and Circuit Breakers/Relay Box/Service and Repair/Control Module Relay Box Passenger Compartment.