
V50 AWD L5-2.5L Turbo VIN 68 B5254T3 (2005)
Note! Allow the activator to dry for at least 10 minutes before painting.
-
Spray the sensor holders and the sensors. Use the same colour code as the car. Use Volvo recommended paint. Only paint the parts that will be
visible after installation.
Caution! Apply a maximum of two layers of paint. Too many layers may have a negative impact on the function of the sensors. However, the
sensors must be painted for optimal functionality.
-
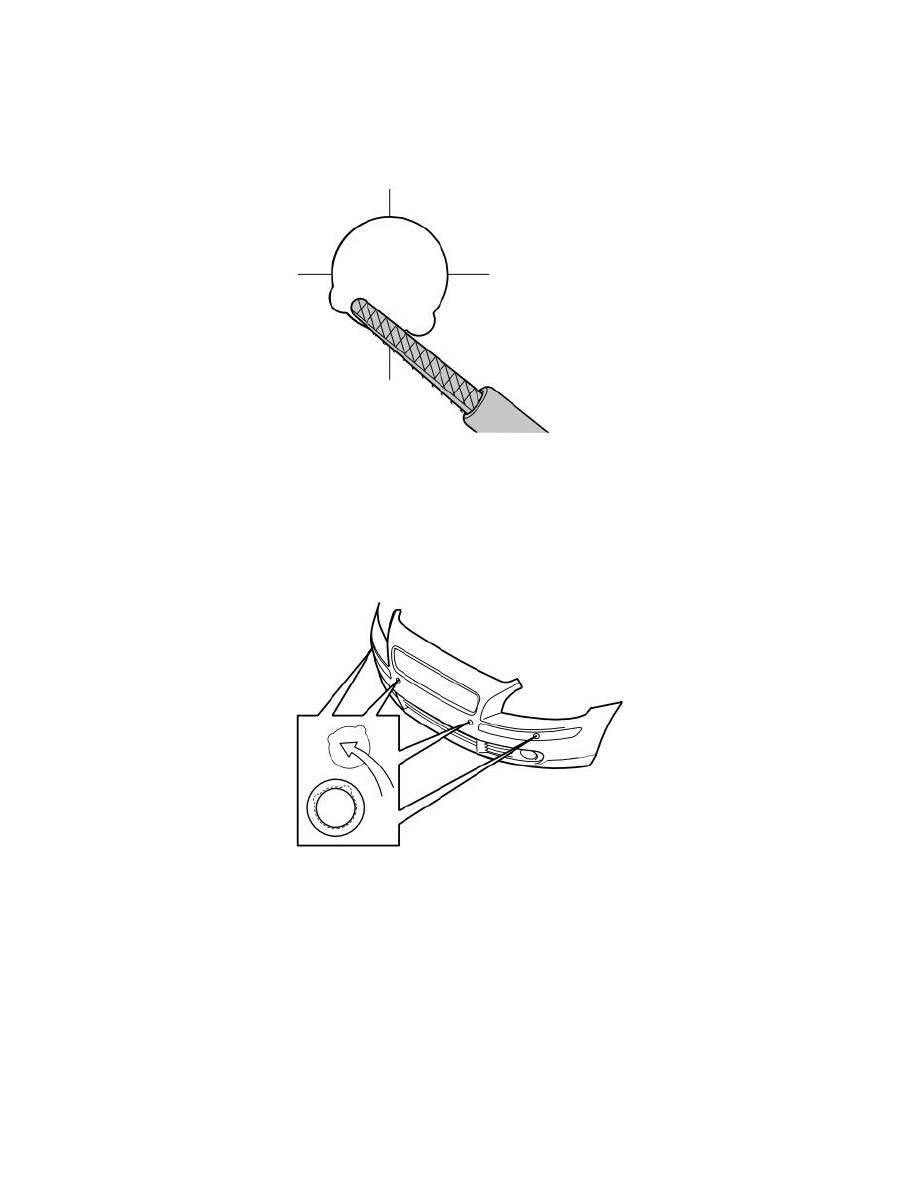
File out the small cut-outs. Do not damage the paintwork. Only file exactly what is required.
Note! If too much is removed, the cut-outs may be visible once the sensor holders are in position.
-
Smooth the edges after drilling if necessary. The hole may need adjusting using a file in order for the sensor holder to establish a good connection
with the bumper cover
-
Repeat this procedure at all four drill markings
-
Remove any swarf.
-
Align the sensor holders in the filed cut-outs on the outside of the bumper cover. Press the sensor holders in so that the hooks engage in the
bumper cover.
Note! The holders are marked L for left, M for both centre holders and R for the right holders. Each of the holders has a unique shape and will
only fit in one of the holes. Ensure you have found the correct hole before installing the holder and pressing it into place.
Note! The connectors for the sensors must be turned to the right.
-
Take the sensors and align them against the sensor holder hooks. Press the sensors into place until an audible click is heard confirming that they
are correctly positioned.
Note! The left outer sensor must be positioned loosely and not clicked into place.
-
Take the cable harness for the sensors from the kit. Ensure that the cable end faces the correct direction from the connector on the car.