
V50 AWD L5-2.5L Turbo VIN 68 B5254T3 (2005)
Tools and Equipment/999 5675 Socket. The drift is modified with conversion kit 998 9742 Conversion kit See: Tools and Equipment/998 9742
Conversion Kit.
Remove the cone from the centering tool.
Install the centering tool in the flywheel center as far in as possible.
Use a wrench as a counterhold for the outer section of the centering tool. Tighten the nut so that the expander locks the centering tool in the crankshaft.
Feel that the drift is secured in the crankshaft.
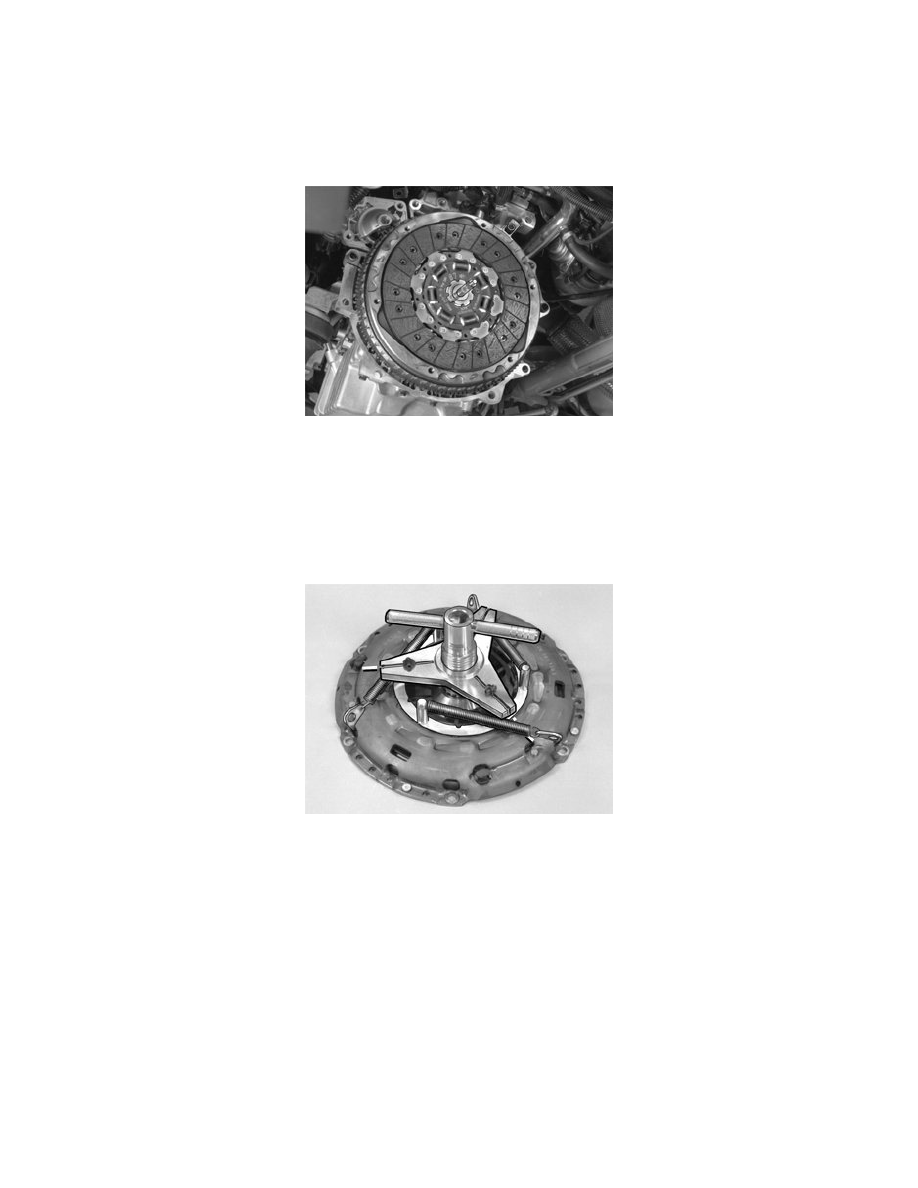
Installing the clutch driven plate
Caution! Turn the side of the clutch disc hub marked "Gearbox side" outward. If the marking on a previously used clutch disc is erased it is
clear from the illustration how the clutch disc must be installed.
Install the cone on the centering tool. Tighten the cone (by hand). Secure the clutch driven plate.
Note! Tightening tools must not be used on the cone or damage may be caused to the clutch driven plate.
Installing compression tool on loose clutch
Note! A clutch must never be installed without using a compression tool.
Mark up where the compression tool's hooks are to be positioned, see Blocking flywheel.
Install the counterhold for the clutch's automatic adjustment, see Installing counterhold.
Install the compression tool on the clutch, see Installing compression tool.
Tighten the compression tool until the sun spring has pressed the clutch's pressure plate to free position. A loud click is heard when the clutch's pressure
plate "snaps out.
The clutch is now ready for installation with the compression tool and counterhold in position.
Installing the clutch
Note! For tightening torques, see Specifications. See: Manual Transmission/Transaxle/Specifications/Mechanical Specifications