
V70 2.4 L5-2.4L VIN 61 B5244S (2001)
-
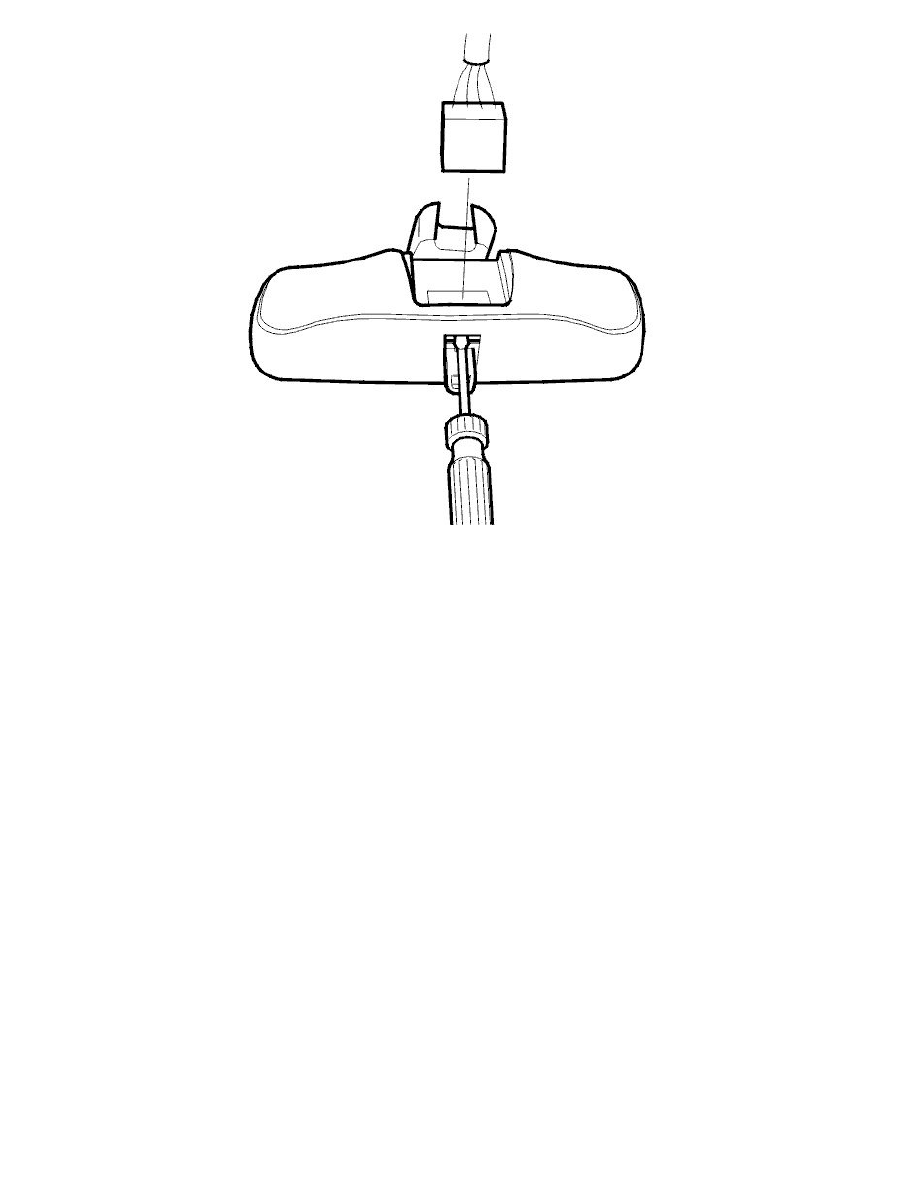
Flip the anti-dazzle button toward the lens. Disconnect the connector in the rear view mirror and control module by pressing the catch through the
opening. Use a screwdriver.
-
Remove the bulb holder together with the rear view mirror and control module.
Replacing the bulb holder in the rear view mirror unit
Installation
-
Connect the connector for the rear view mirror and control module.
-
Reinstall the cover for the rear view mirror and control module connector.
-
Connect the 2 connectors.
-
Install the ground lead.
-
Press the bulb holder into place.
-
Install the 2 screws at the front edge.
Caution! Check that the microphone cable is not trapped (if applicable).
-
Install the lens.
Hint: Only certain versions of the upper electronic module (UEM) have a ground lead.
Replacing the switch for the interior lighting
Removal
-
Remove the lens. See Replacing the lens and the bulb.
-
Remove the bulb holder. See Replacing the bulb holder in the rear view mirror unit.
-
Remove the bulbs.
-
Remove the screws.
-
Remove the back piece from the switch.
-
Detach and remove the printed circuit board and switch.
To replace the switch for the sun roof, see Switch, sun roof, replacing, M58, M66, M66 AWD, AW50/51 AWD, AW55-50/51SN, M56 See: Body and
Frame/Roof and Associated Components/Sunroof / Moonroof/Sunroof / Moonroof Switch/Service and Repair.
Replacing the switch for the interior lighting
Installation
-
In reverse order.