
V70 2.4T L5-2.4L Turbo VIN 58 B5244T3 (2002)
-
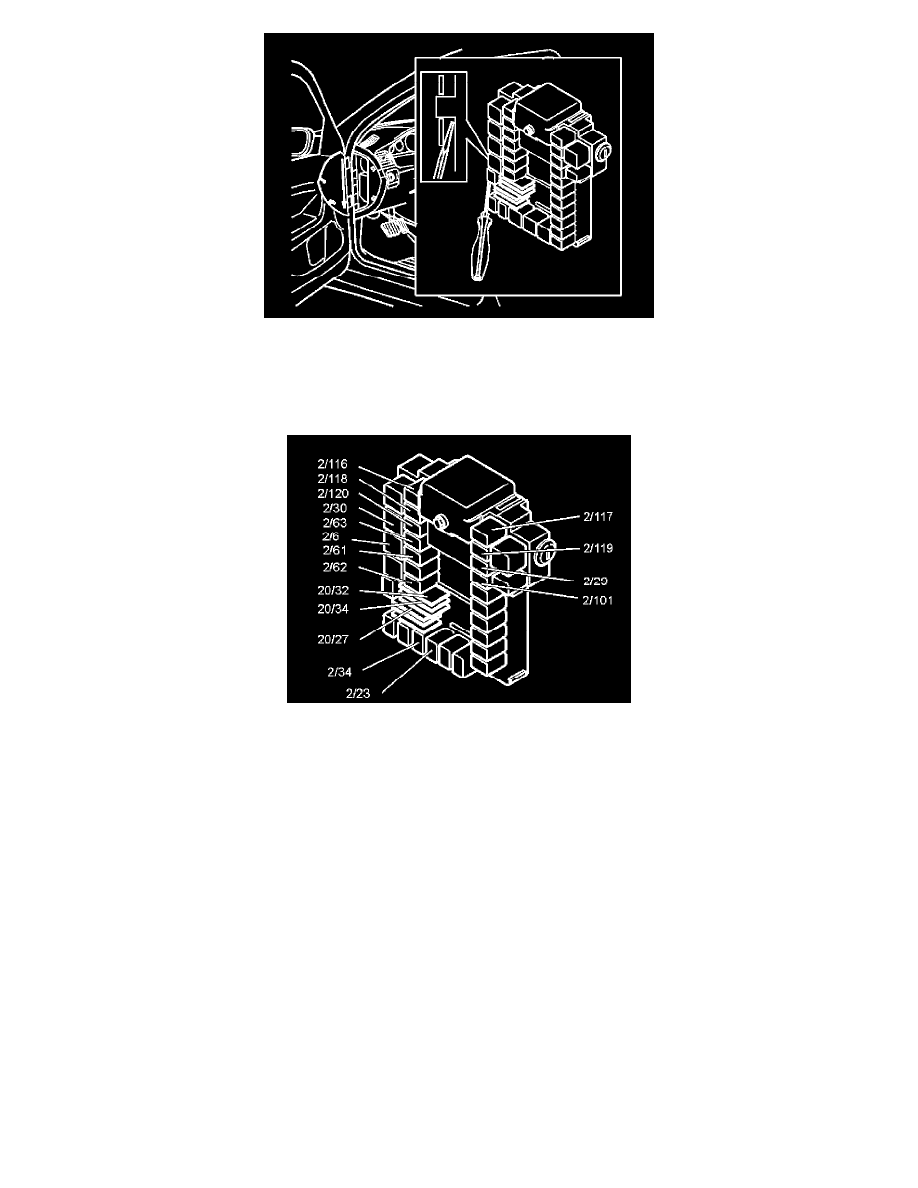
Insert a screwdriver between the bracket and the relay box. Turn the screwdriver so that the bracket opens out. At the same time, pull the relay box
out of the bracket towards the underside of the dashboard
-
Lift the relay box off the bracket. Pull the relay box downward under the dashboard.
Replacing the relay and/or shunt
-
Expose the relay box for better access.
-
Replace the relay and/or shunt.
Relay location
For the location of the relays, see:
1. Wiring diagram for relevant model year
2. Decals at both the integrated relay box and fusebox in the car
3. Pocket data book
4. Owner's Manual.
Installing the relay box in the passenger compartment
-
Install the relay box on the bracket
-
Press the relay box forward so that the catches engage in the bracket and "click"
-
Install the soundproofing panel on the driver's side.
Removing the control module
Preparations
CAUTION: The customer-programmed data must be read off before the control module is replaced. The information must then be entered
into the new control module after it has been installed. This is carried out via VADIS vehicle communication.
NOTE: The driver information module must not be replaced at the same time. This would erase the mileage.
CAUTION: New software can only be ordered after the control module has been installed in the car. VADIS reads off the new control module