
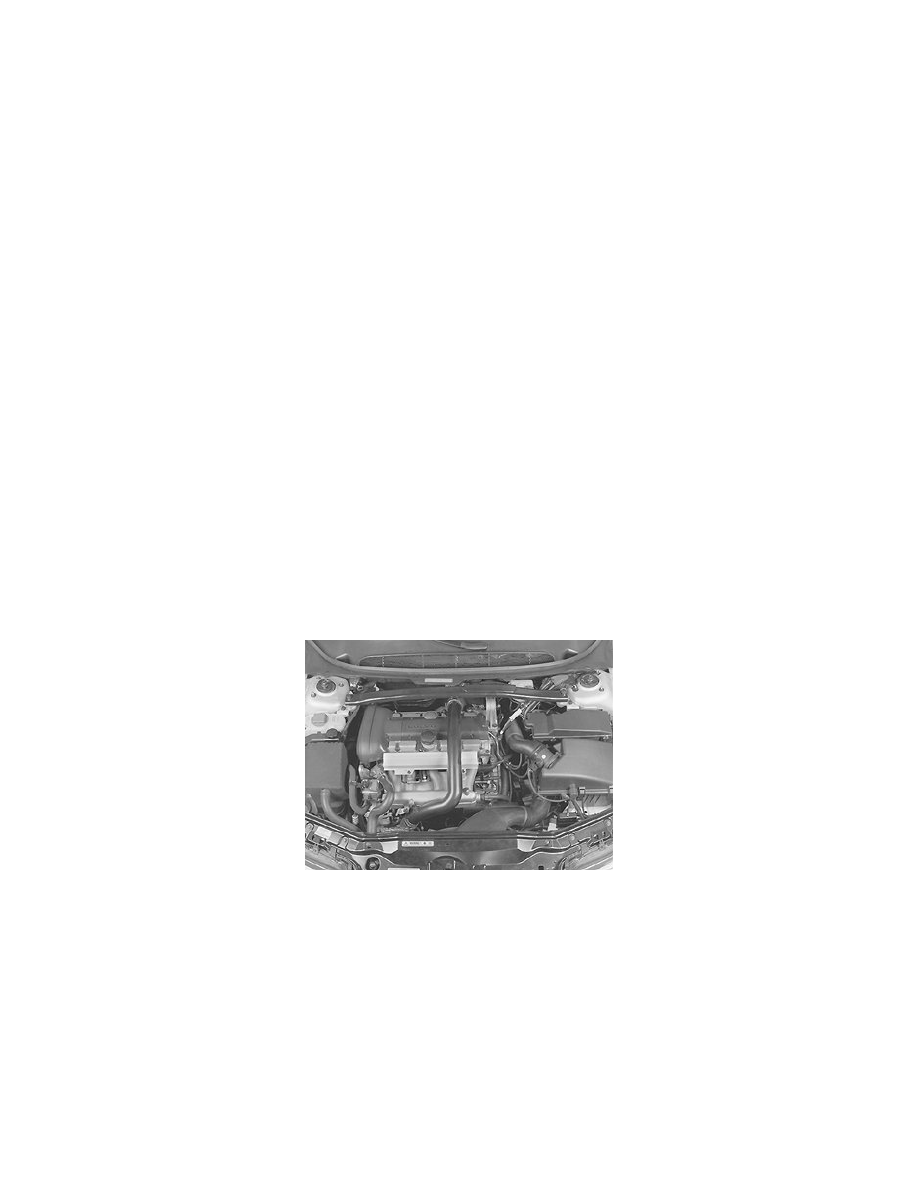
V70 2.4T L5-2.4L Turbo VIN 58 B5244T3 (2002)
Variable Valve Timing Actuator: Service and Repair
Camshaft Seal/Variable Valve Timing (VVT) Unit, Replacing
Camshaft seal/variable valve timing (VVT) unit, replacing
Special tools:
999 5452 CAMSHAFT ADJUSTMENT TOOL See: Tools and Equipment/999 5452 Camshaft Adjustment Tool
999 5651 Extractor See: Tools and Equipment/999 5651 Extractor
999 5719 Drift See: Tools and Equipment/999 5719 Drift
999 5718 Drift See: Tools and Equipment/999 5718 Drift
999 5474 RADIATOR PROTECTION See: Tools and Equipment/999 5474 Radiator Protection
999 5451 ADJUSTMENT TOOL See: Tools and Equipment/999 5451 Adjustment Tool
999 5919 PULLER See: Tools and Equipment/999 5919 Puller
999 5450 PUNCH See: Tools and Equipment/999 5450 Punch
Note! As the illustrations in this service information are used for different model years and / or models, some variation may occur. However,
the essential information is always correct.
Warning! There are a number of versions of the variable valve timing unit. Therefore it is extremely important to always read the information
referring to the engine variant/model year to be remedied.
Note! Crankshaft and camshafts must not be turned more than is stated in the method description!If the shafts are turned in any other way the
valves may be damaged.
Preparatory work
Disconnecting the battery lead
Remove the battery lead. See Battery, disconnecting See: Starting and Charging/Battery/Service and Repair/Procedures/Battery, Disconnecting.
Removal
Removing components
Remove:
-
the screw holding the engine stabilizer brace to the bracket on the engine
-
the screws holding the engine stabilizer brace to the suspension turrets
-
the engine stabilizer brace
-
the inlet hose for the turbocharger (TC) from the air cleaner (ACL) cover. Place it to one side
-
the charge air pipe over the engine. Seal the openings
-
the upper timing belt cover
-
the cover over the ignition coils
-
the brackets for the engine stabilizer brace on the cylinder head
-
the camshaft position (CMP) sensor housing
-
the trigger wheel
-
the cover at the rear edge of the intake camshaft. Insert a screwdriver into the centre of the cover and then pry it off
Note! Clear up any oil spillage under the cover.