V70 2.4T L5-2.4L Turbo VIN 58 B5244T3 (2002)

-
the belt tensioner
-
the centre screw for the belt tensioner slightly.
Hold the centre screw still. Turn the tensioner eccentric clockwise to 10 o'clock using a 6 mm Allen key.
Remove the timing belt from the camshaft pulleys.
Removing the timing gear pulley with the variable valve timing unit
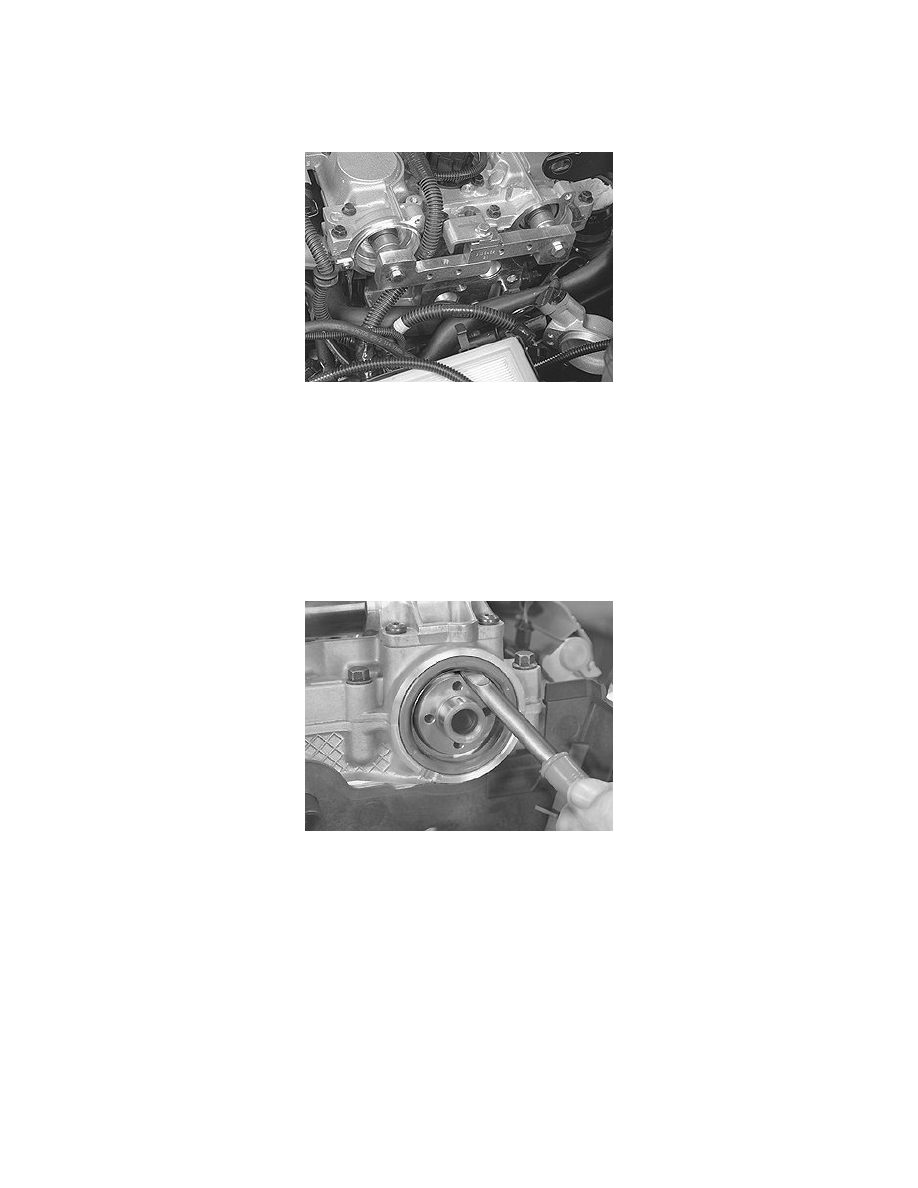
Install camshaft adjustment tool 999 5452 CAMSHAFT ADJUSTMENT TOOL See: Tools and Equipment/999 5452 Camshaft Adjustment Tool at the
rear of the camshafts. Screw the adjustment tool sections together into one.
Remove:
-
the centre plugs for the variable valve timing units (Tx55)
Note! Collect any oil spillage using paper or similar.
-
the centre screws for the variable valve timing units (Tx55). Pull or work off the variable valve timing units and timing gear pulleys.
Removing the front camshaft seal
Carefully press in tool 999 5651 Extractor See: Tools and Equipment/999 5651 Extractor between the sealing ring and the camshaft.
Carefully pry out the seal.
Installation
Note! For tightening torques, see: Tightening torque See: Engine, Cooling and Exhaust/Engine/Specifications/Mechanical
Specifications/Tightening Torque.
Cleaning
Note! When cleaning work around the shaft journal, not in and out. It is essential that any residue from the emery cloth and any other
contaminants are completely removed before the new sealing ring is installed.
Use emery cloth 951 1024 to clean the shaft journal and mating surface.
Installing the front camshaft seal
