
V70 2.5T L5-2.5L Turbo VIN 59 B5254T2 (2006)
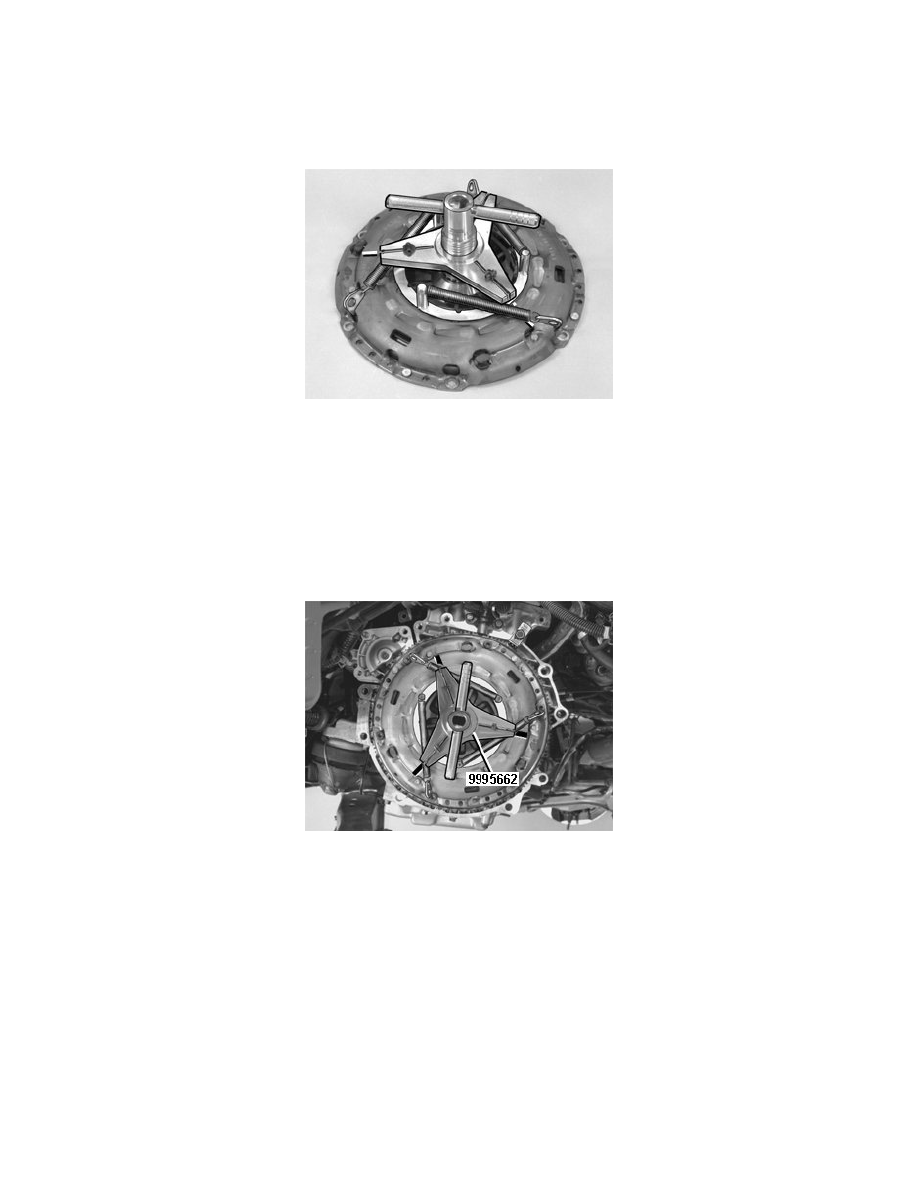
plate is erased, the illustration clearly depicts how the clutch driven plate must be installed.
Install the cone on the centering tool. Tighten the cone (by hand). Secure the clutch driven plate.
Note! Tightening tools must not be used on the cone or damage may be caused to the clutch driven plate.
Installing the compression tool on a removed clutch
Note! A clutch must never be installed without using a compression tool.
Mark where the compression tool hooks should be seated. See Blocking the flywheel.
Install the counterhold for automatic adjuster for the clutch. See Installing the counterhold.
Install the compression tool on the clutch. See Installing compression tool.
Tighten the compression tool until the diaphragm spring has pressed the clutch pressure plate to the free position. A loud click can be heard when the
clutch pressure plate "snaps out".
The clutch is now ready for installation with the compression tool and counterhold in position.
Installing the clutch
Install the clutch. Locate the clutch on the guide pins on the flywheel.
Check that the clutch is in contact with the flywheel all around its circumference.
Install and tighten the 6 x M8 screws crosswise.
Removing tools