
V70 GL L5-2.4L VIN 55 B5254S (1998)
Raise the front hatch.
Remove the four screws for the hatch.
Pull hatch backward.
Pull away carpeting and fold down rear seat back rest.
Sedan
Fold forward right side backrest.
Remove:
Trunk carpet, and pull away right side wheel housing panel (On some vehicles the panel is made of hard material and must be removed from the trunk).
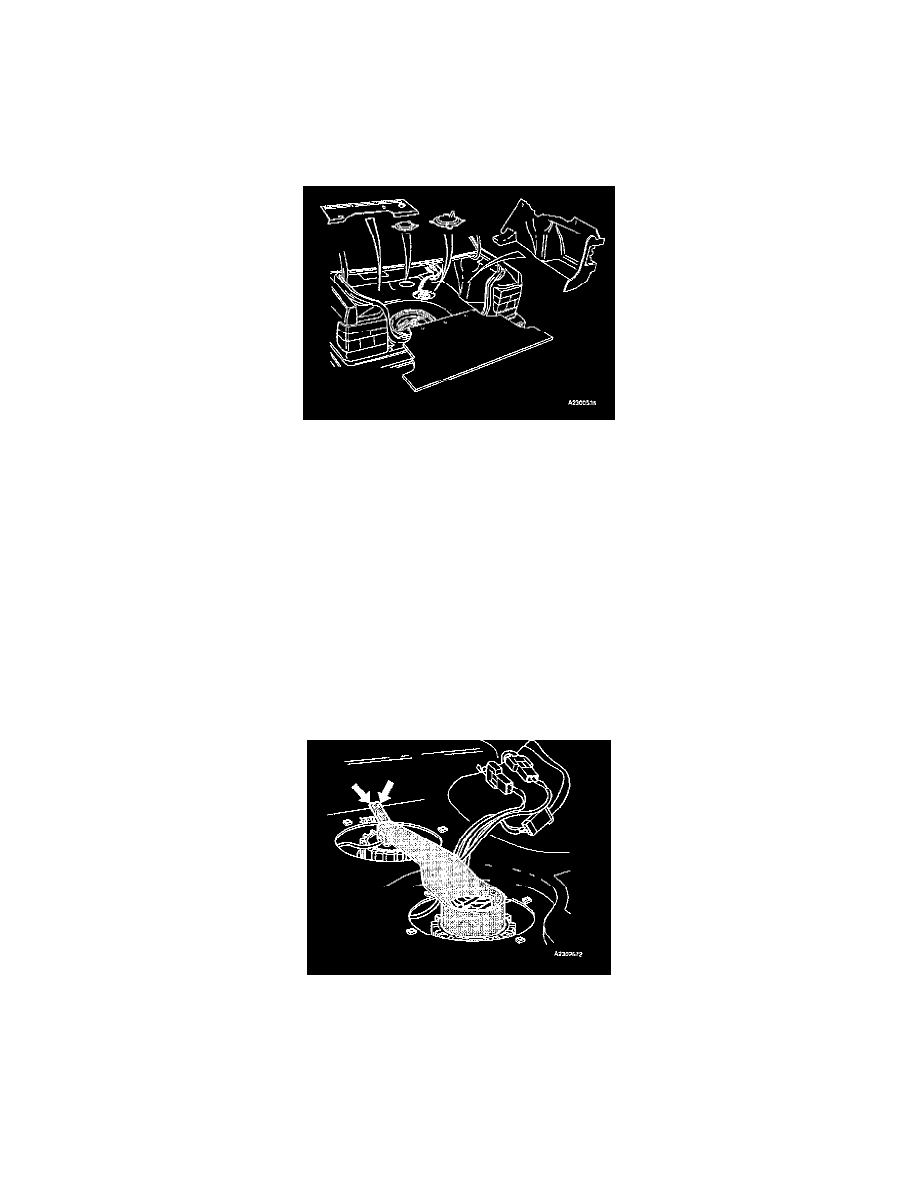
- Wire and connector attachments. The attachment is secured with two clips over the access cover for the sending unit.
- Remove the two access covers for the sending unit and fuel pump.
- Protective cap covering sending unit retaining nut (if applicable). In some cases it may be necessary to loosen fuel tank retaining straps, along with
clamp for filler neck, and reposition tank to remove protective cap.
Caution!
The fuel tank MUST be supported before the screws for the tank straps are loosened.
2
Mark up
Before removing old sending unit, place gauge as per illustration.
Place a piece of masking tape on the floor board, under the aim tab.
Make two lines on the tape, using the two slits on the tab as template.