
V70 GL L5-2.4L VIN 55 B5254S (1998)
Clutch Master Cylinder: Service and Repair
1. Remove:
-
Air Cleaner (ACL) and intake pipe.
Timing valve from ACL. (Turbo models only).
-
Screws holding bracket to ACL.
-
Cable tie to drain hose (move to one side).
2. Disconnect hose from brake fluid reservoir.
-
Put absorbent paper under clutch master cylinder to protect paintwork.
-
Collect brake fluid from reservoir and hose in a suitable container.
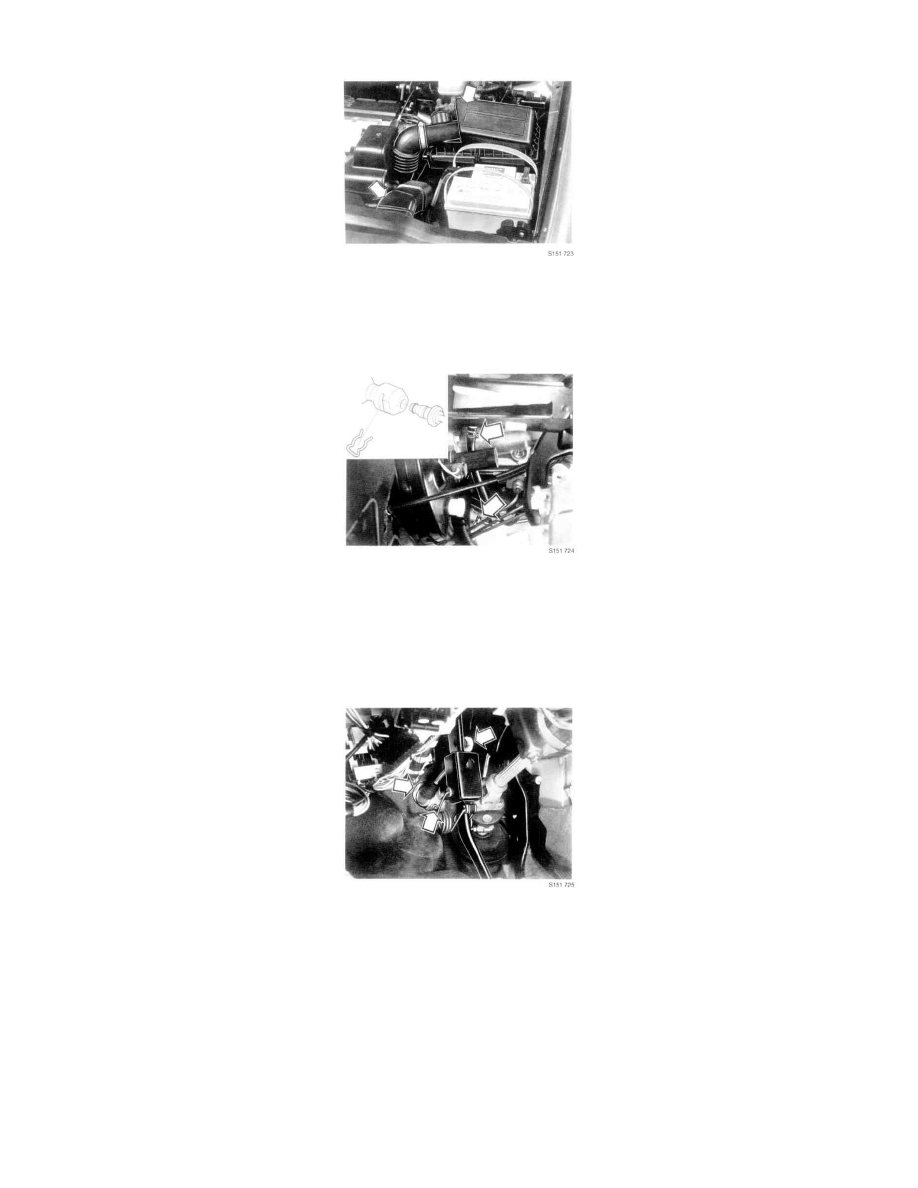
Disconnect pipe from clutch master cylinder.
Late models (left hand drive) only:
-
Disconnect snap-on coupling locks.
-
Disconnect pipe from clutch master cylinder.
3. Remove clutch master cylinder
-
Remove panel under dashboard.
Cars with SRS: Remove kneeguard also.
-
Fold back carpet.
-
Remove clip holding clutch master cylinder pushrod to clutch pedal.
-
Remove nut and bolt securing clutch master cylinder to firewall.
-
Remove clutch master cylinder.
4. Install new clutch master cylinder
-
Transfer brake fluid supply hose to the new clutch master cylinder.
-
Apply a little silicone grease to the clutch master cylinder pushrod lug.
-
Install clutch master cylinder, nut and bolt.
Tighten to: 25 Nm.
-
Install clip holding pushrod to clutch pedal.
Cars with SRS: Install kneeguard.